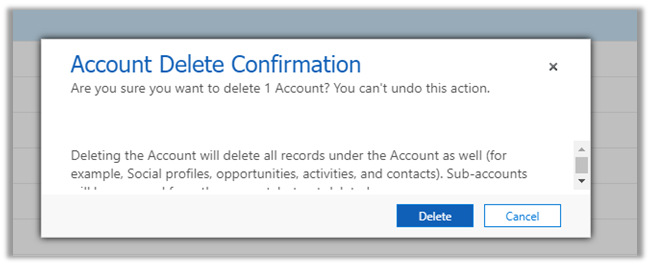
Recently we had a requirement to delete the Account record without deleting the associated Contact records.
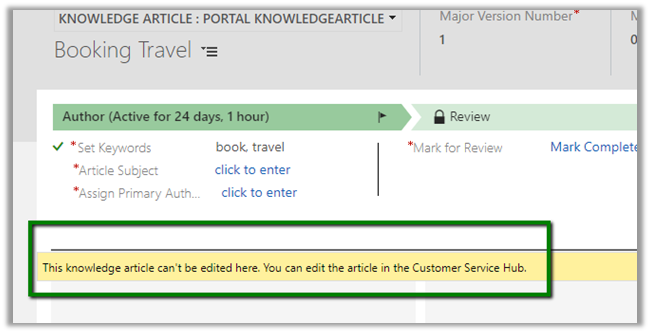
If we try deleting the account record we’d get the following message box
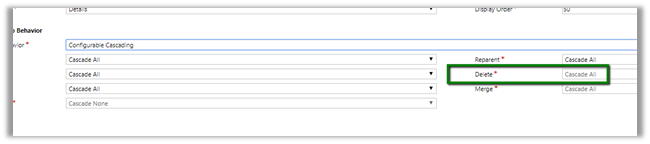
The relationship definition can’t be updated as well to achieve this
So, we wrote a plugin on the pre-validation stage of pre-delete event of Account, which will retrieve and loop through all the child contact records and set its parent customer field as null.
In case of pre-operation the child records were not available.
</p>
<p>public void Execute(IServiceProvider serviceProvider)<br />
{<br />
ITracingService tracingService = (ITracingService)serviceProvider.GetService(typeof(ITracingService));<br />
IPluginExecutionContext pluginContext = (IPluginExecutionContext)serviceProvider.GetService(typeof(IPluginExecutionContext));<br />
IOrganizationServiceFactory serviceFactory = (IOrganizationServiceFactory)serviceProvider.GetService(typeof(IOrganizationServiceFactory));<br />
IOrganizationService organizationService = serviceFactory.CreateOrganizationService(pluginContext.UserId);<br />
EntityReference targetEntity = (EntityReference)pluginContext.InputParameters["Target"];<br />
QueryExpression getContacts = new QueryExpression("contact");<br />
getContacts.Criteria.AddCondition(new ConditionExpression("parentcustomerid", ConditionOperator.Equal, targetEntity.Id));EntityCollection allContacts = organizationService.RetrieveMultiple(getContacts);foreach (Entity contact in allContacts.Entities)<br />
{<br />
Entity contactToBeUpdated = new Entity("contact");<br />
contactToBeUpdated.Id = contact.Id;<br />
contactToBeUpdated.Attributes["parentcustomerid"] = null;<br />
organizationService.Update(contactToBeUpdated);<br />
}}<br />
Another practical scenario
Hope it helps..
Advertisements