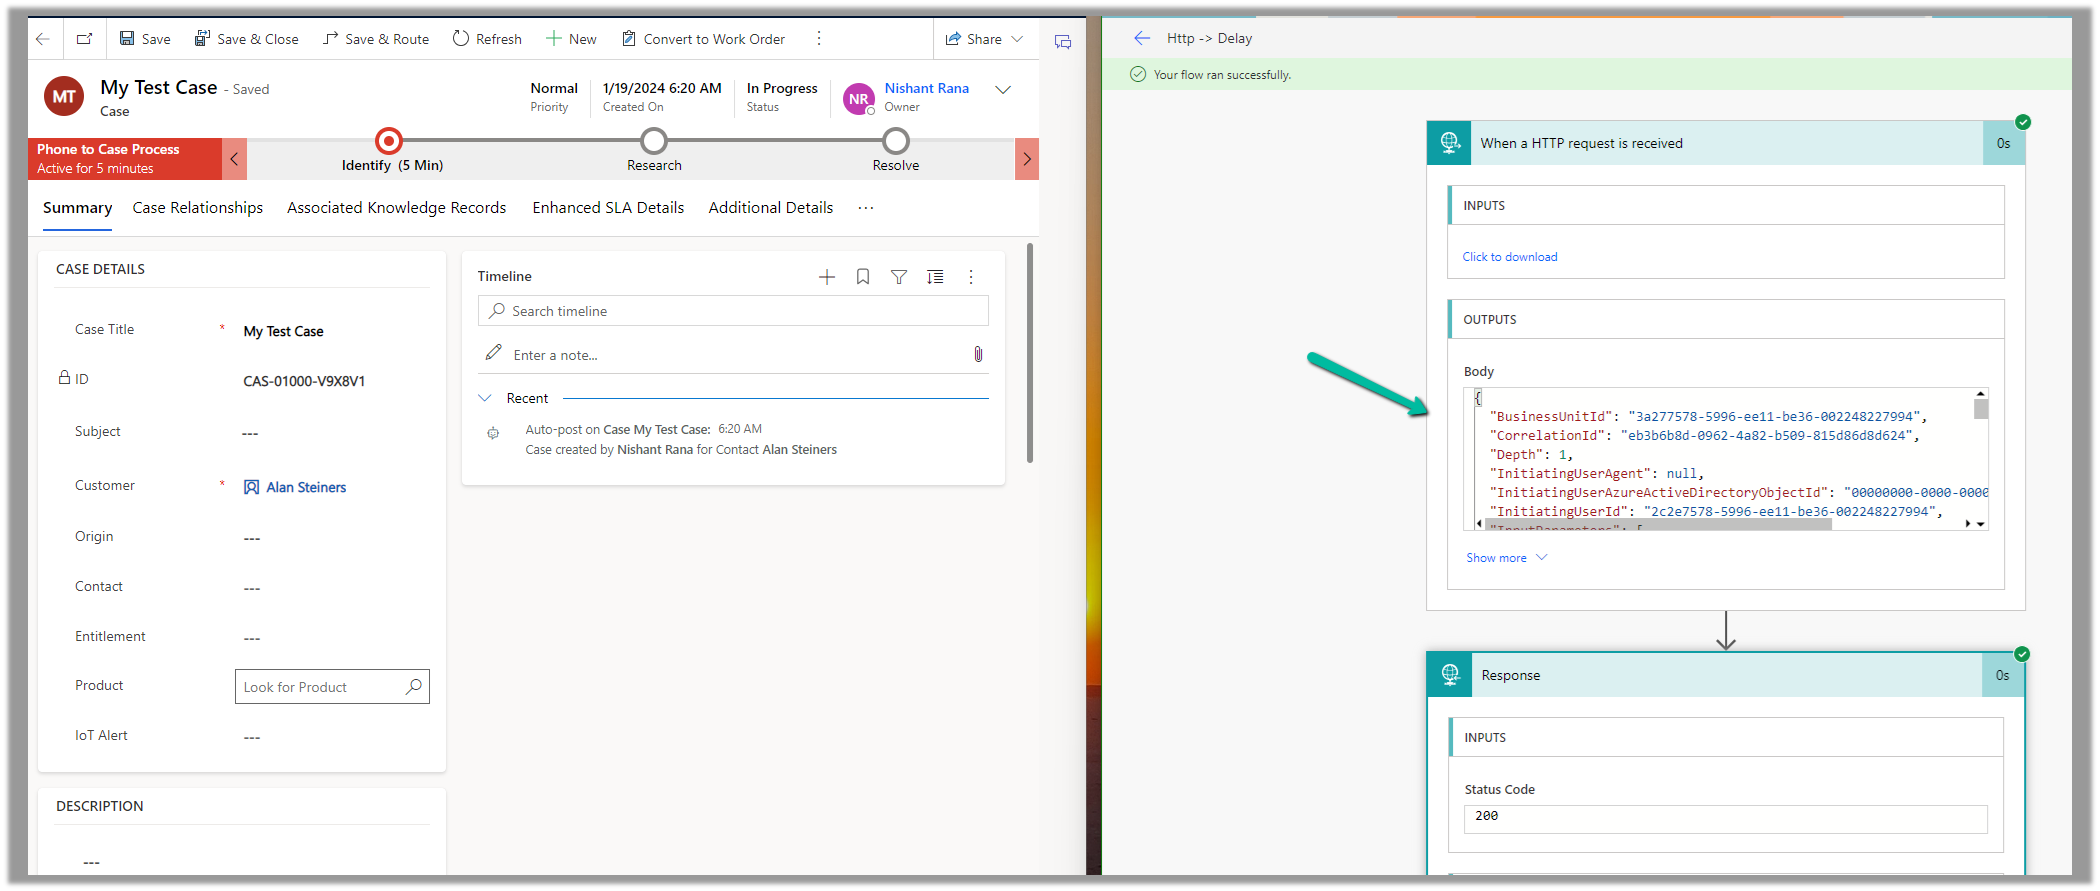
Recently we got the below exception for one of our plugins
Message: System.InvalidOperationException: Message size exceeded when attempting to send response to sandbox. Message Size 123 Mb. Max Allowed 128974848 Mb.
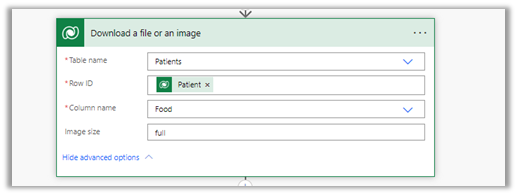
Below is the code where we were getting the error. We were retrieving the notes records associated with the inspection response/inspection attachments. (Dynamics 365 Field Service)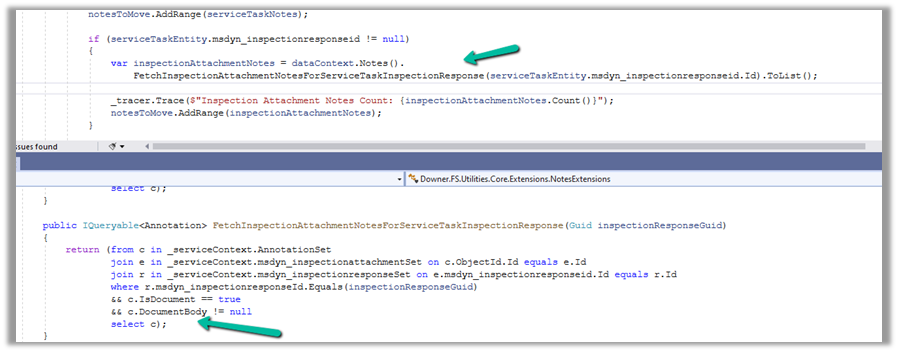
And if we had a total of all attachments to it more than 100 mb it was failing.
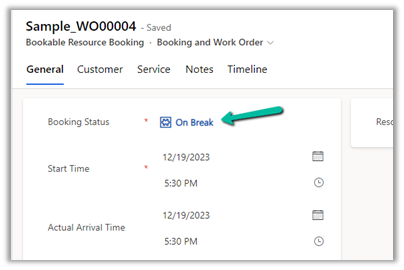
Below is the test Work Order Service Task record for which we were getting the error.

There were a couple of other attachments also to it making a total of more than 100 Mb.
Here to fix the error instead of fetching all the note details at once and then processing the notes attachments, we updated our logic to process the notes attachments one by one.
Hope it helps..