Let us continue with our previous posts on using Microsoft Bot Framework for writing a simple bot.
- Getting Started with Microsoft Bot Framework
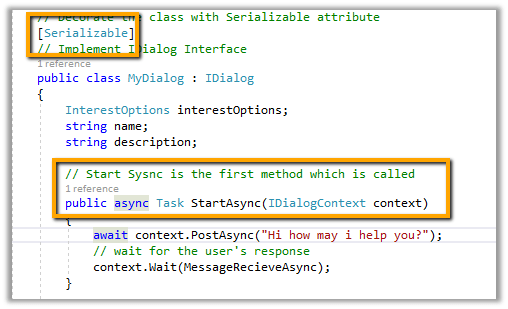
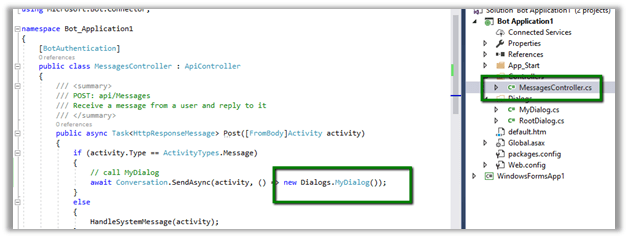
- Using Dialogs in Microsoft Bot Framework.
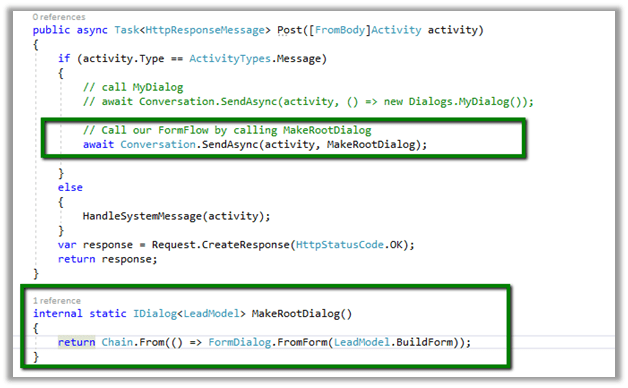
- Using FormFlow in Microsoft Bot Framework.
- Using LUIS AI in Microsoft Bot Framework Part 1
- Using LUIS AI in Microsoft Bot Framework.- Part 2
- Publishing Bot to Azure and adding it to Skype
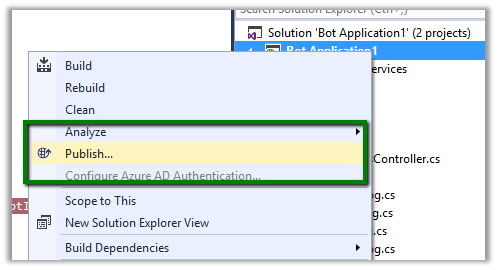
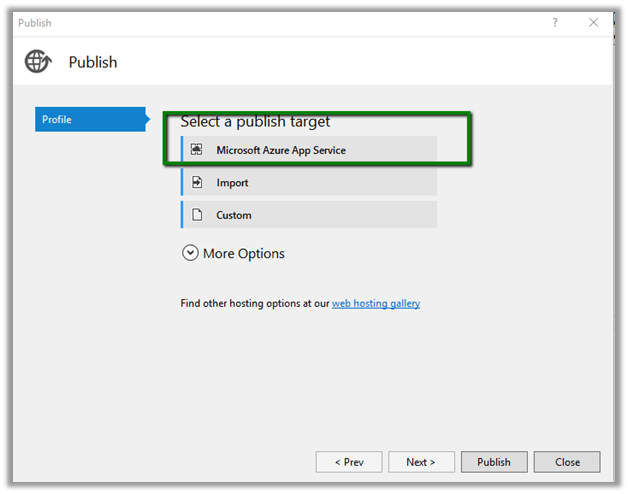
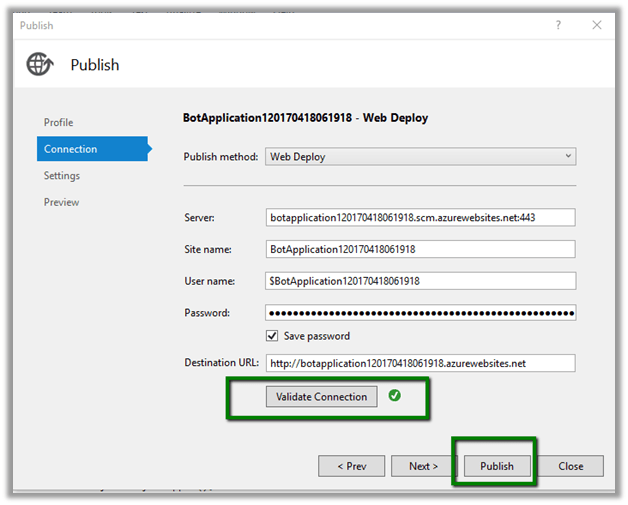
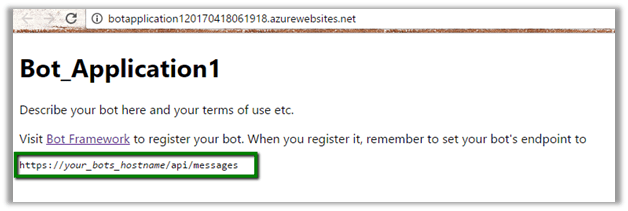
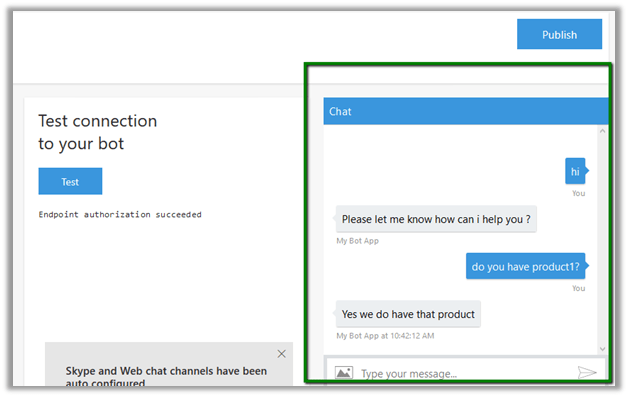
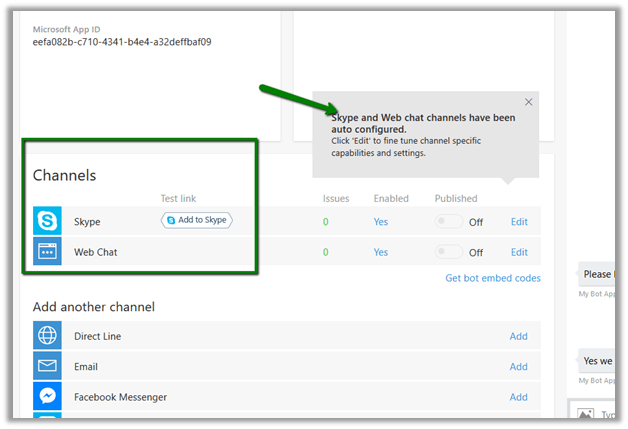
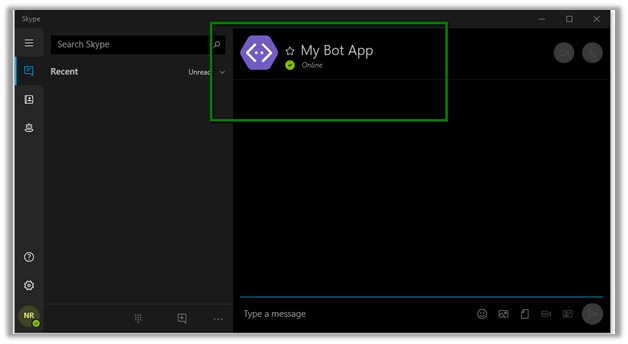
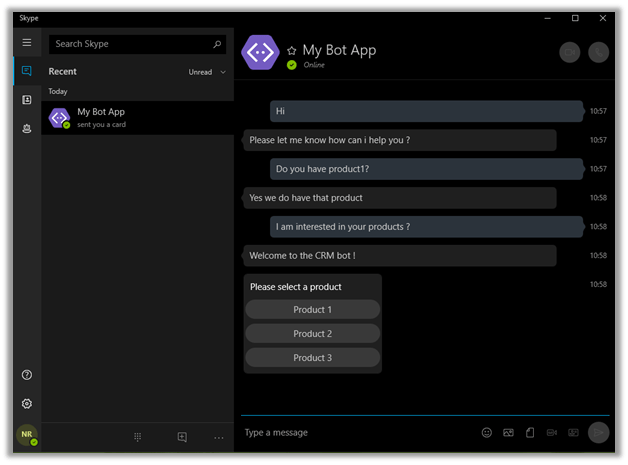
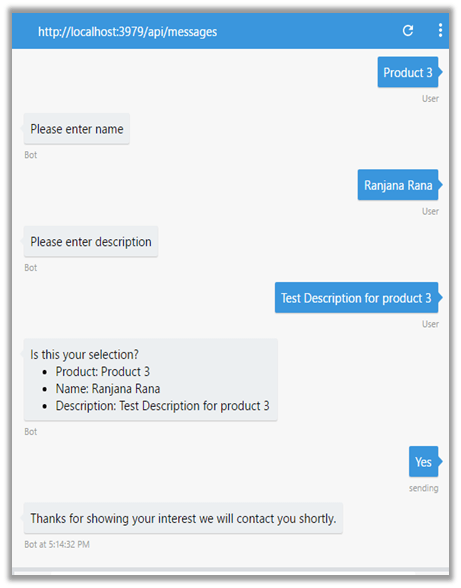
In our previous post, we published the bot app to Azure and also tested using Skype which is already configured.
In this post, we will be deploying the Bot to Facebook Messenger.
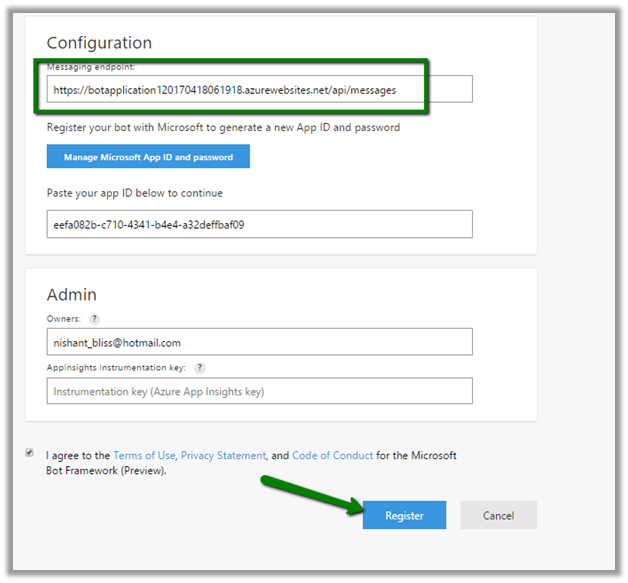
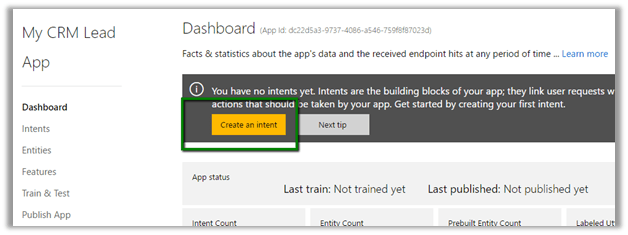
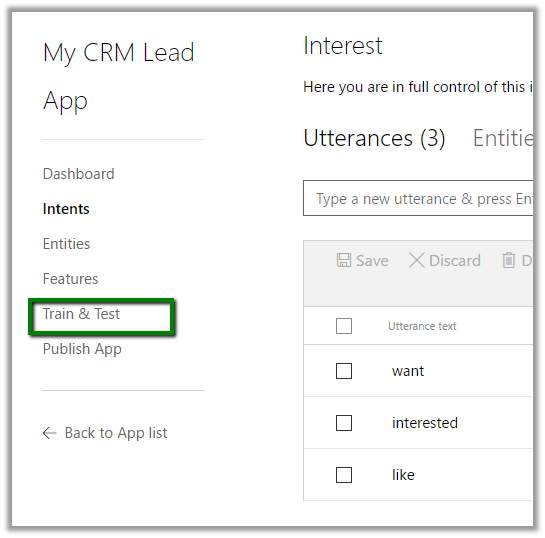
Sign in to Bot Developer Framework site
and open the bot application deployed.

Scroll down and we can see Facebook Messenger as one of the Channel available.
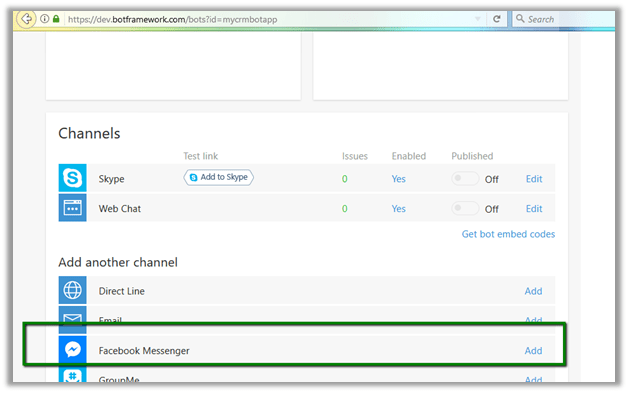
Click on Add.
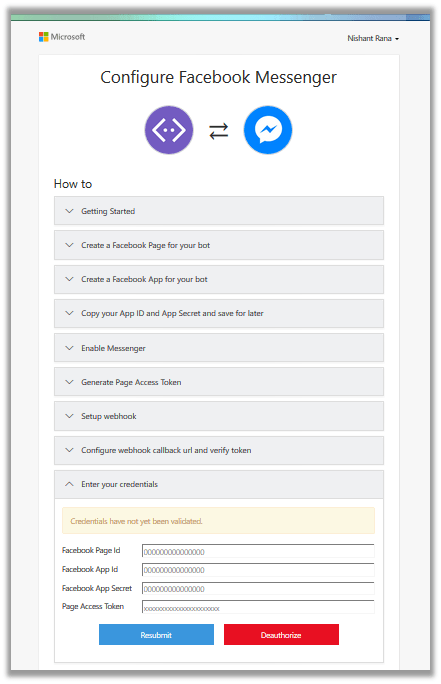
Here we can see the guidelines and all the steps we need to do follow to configure the Facebook messenger
As a first step, we need to create a Facebook page for the bot

Click on the link and create a Facebook page
https://www.facebook.com/bookmarks/pages

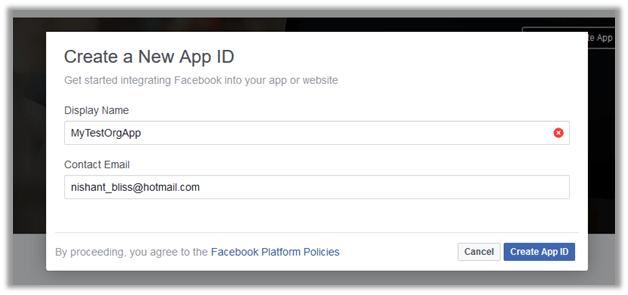
Next step is to create a Facebook App for the bot

Click on the below link to create the Facebook app.
https://developers.facebook.com/quickstarts/?platform=web

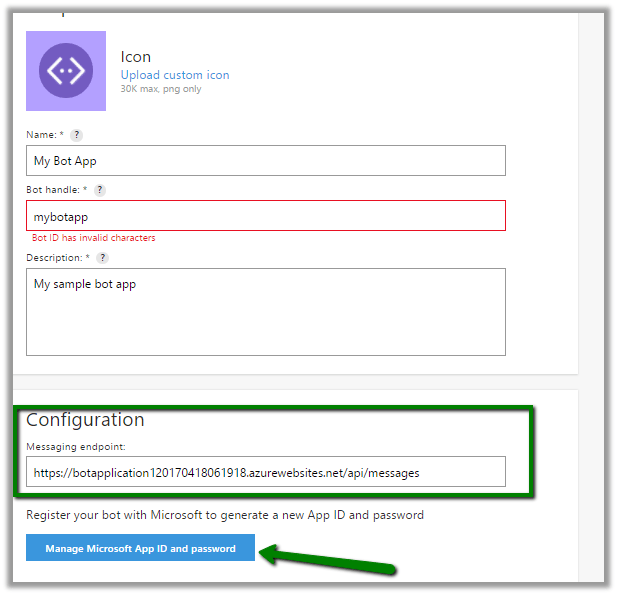
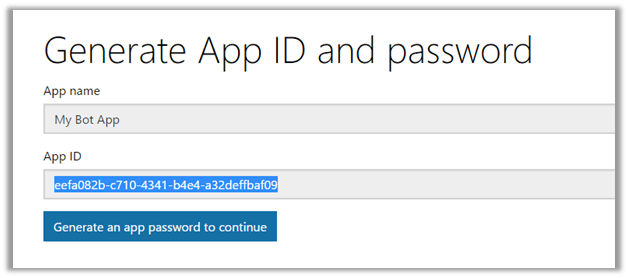
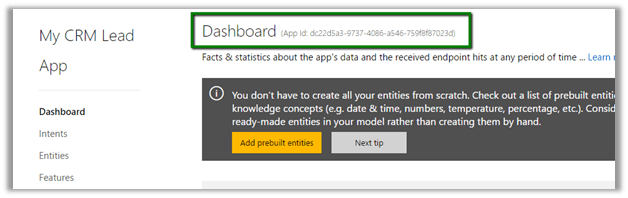
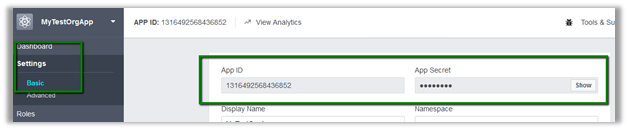
Next step is to copy App ID and App Secret
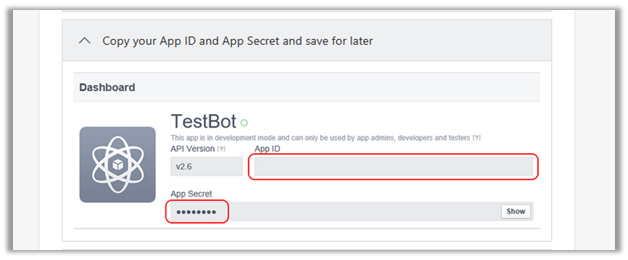
Go to App Dashboard and copy these values. These values be used in the last step where we need to enter the credentials to authorize the app.
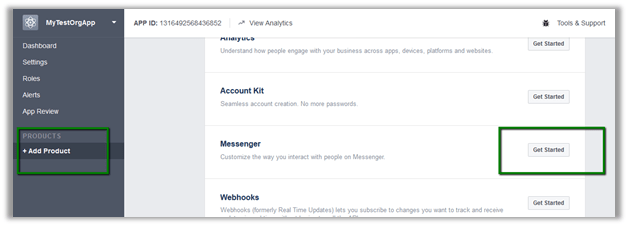
Next step is to enable the Messenger
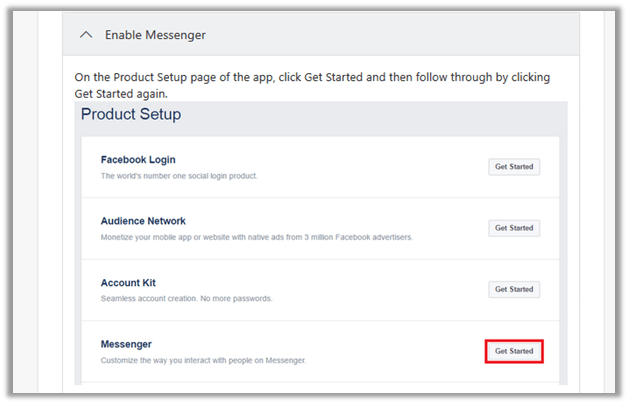
Go to Dashboard and select Add Product.
Click on Get Started for Messenger.
Select the page from the dropdown and copy the token generated.

Next step is to set the Web Hook
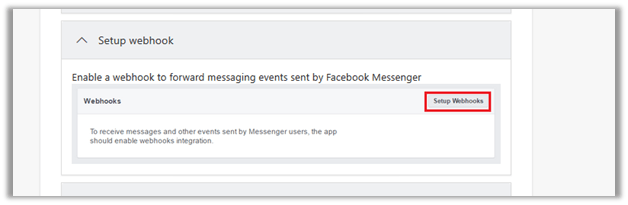
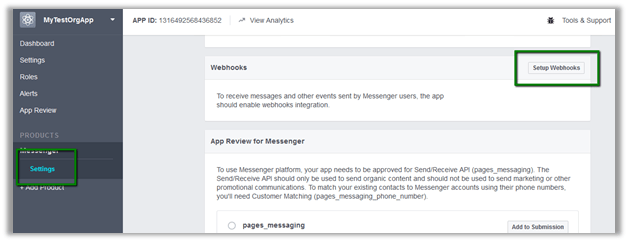
Go to Messenger – Settings in Facebook App Dashboard.
And click on Setup
Webhooks.

Go back to Configure Facebook Messenger page and copy the url and token from there.
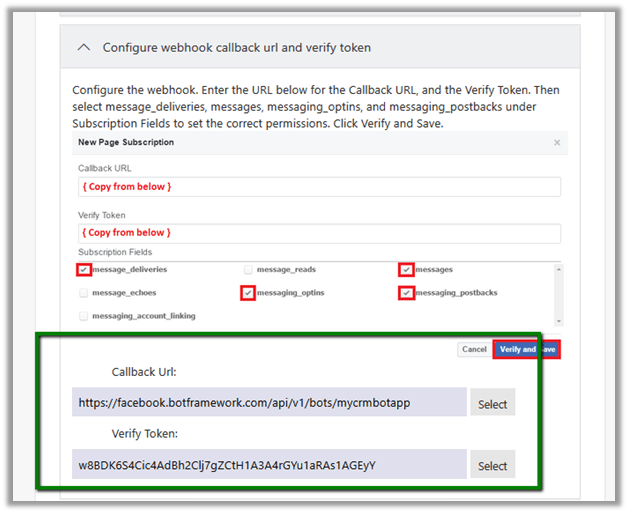
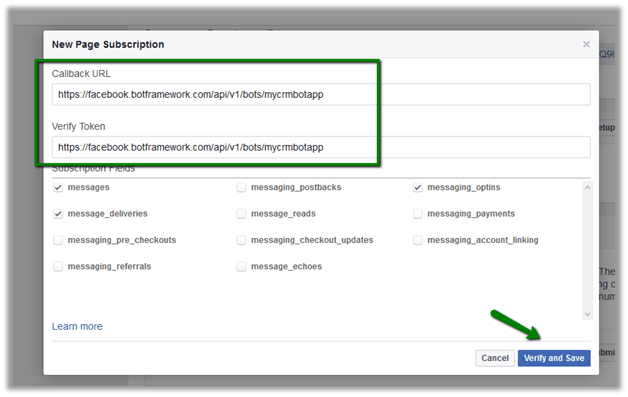
Copy these values and paste it to New Page Subscription. Check the required subscription fields and click on Verify and Save.
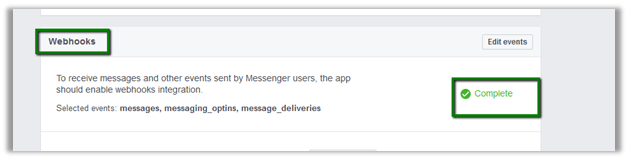
It will show the status as complete on successful verification.
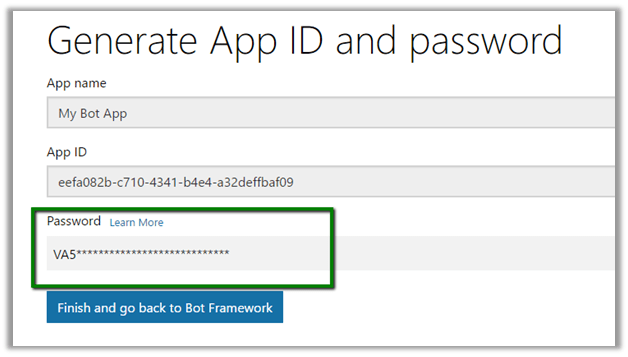
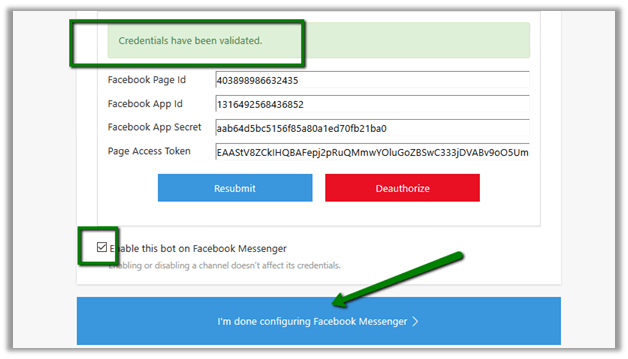
Now as a last step we need to enter our credentials

- Facebook Page Id –

i.e. 403898986632435
All other values we had already copied earlier. So just passt those values.
And Click on Resubmit.

Once the credentials are validated. Click on “I’m done with configuring Facebook Messenger”.

Click on Message Us to start the conversation.
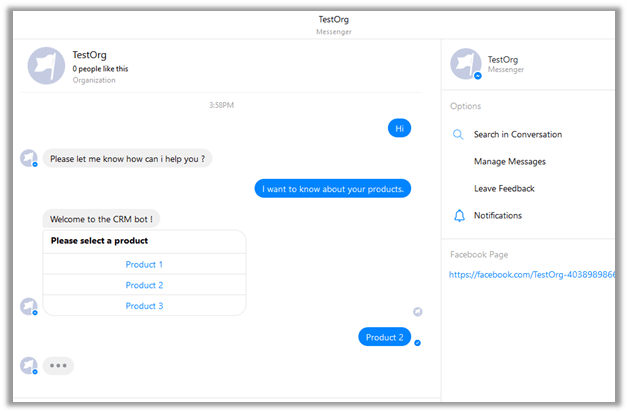
Hope it helps..