In Microsoft Dataverse, calculated columns are a powerful way to derive values dynamically without the need for manual updates. However, one challenge is that plugins do not trigger directly on calculated column changes since these values are computed at runtime and not stored in the database.
Calculated field considerations

Since calculated columns use/depend on other fields, we can register a plugin on the change of those dependent fields. If a calculated column Total Amount is based on Quantity and Unit Price, then we can trigger the plugin on the Update event of Quantity and Unit Price.
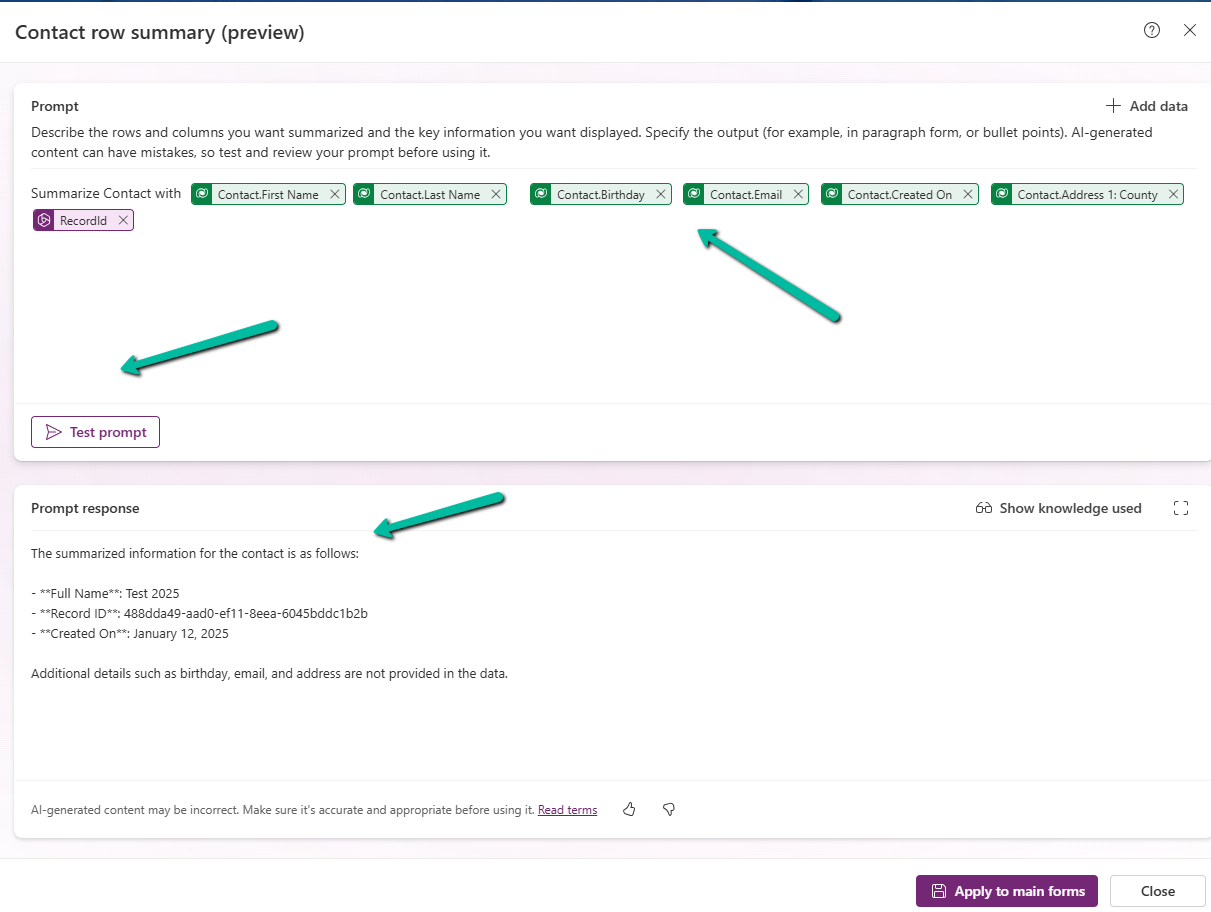
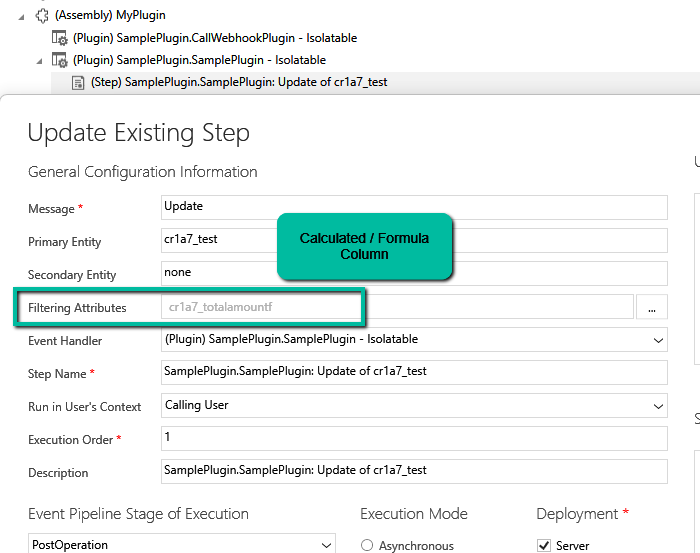
Let us see it in action, we have the below plugin registered in the update event.

On specifying the Formula / Calculated column as a Filtering attribute, our plugin doesn’t get triggered.
Here we updated the Unit Price, which changed the Total Amount, but we do not see any trace log generated.

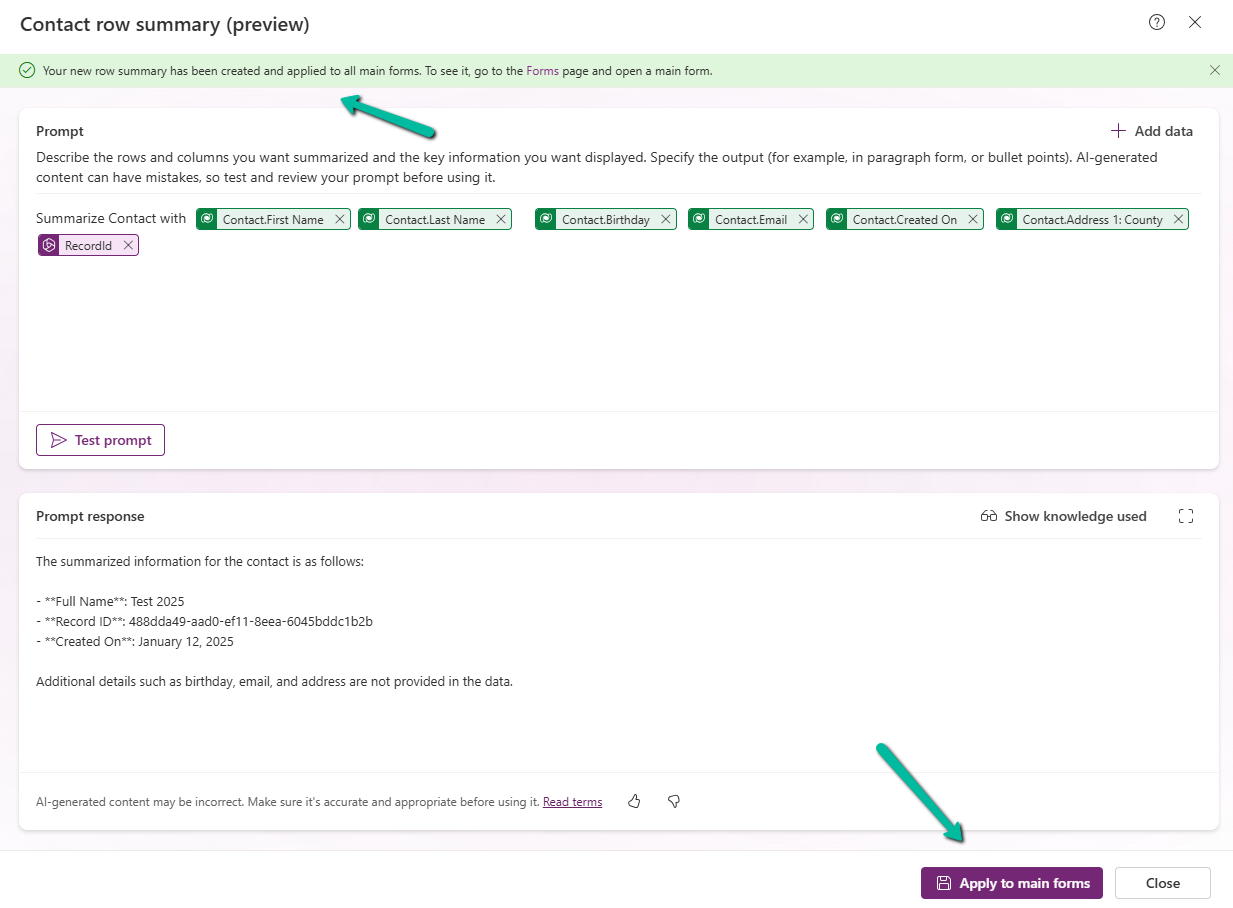
Now we have updated the filtering attribute to be Quantity and Unit Price the field used by the Calculated column.

We updated both the Quantity and Unit Price and see the log generated i.e. plugin triggered.

The trace log –

While plugins can’t directly trigger on the calculated column changes, this workaround ensures we still get the desired automation.
Hope it helps..