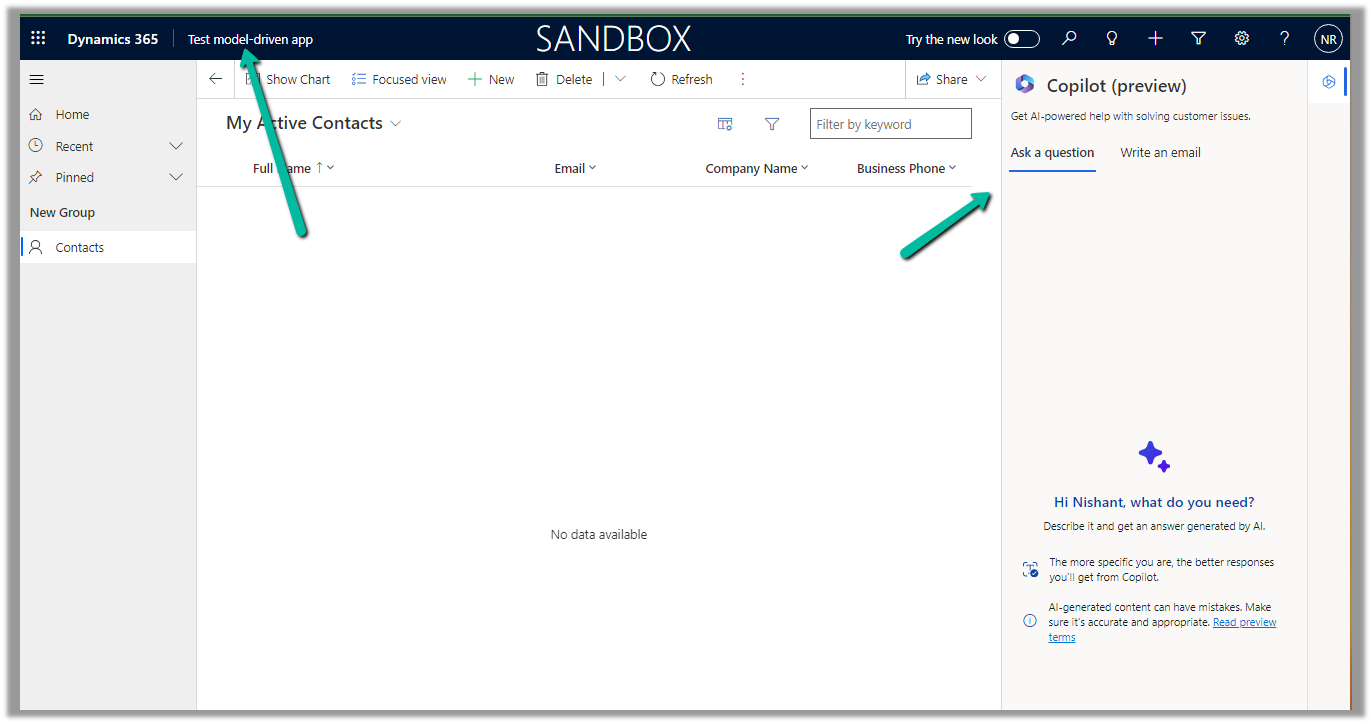
Agents can use the “Ask a question” functionality from within the Copilot help pane, to ask questions for quick resolution of the case.
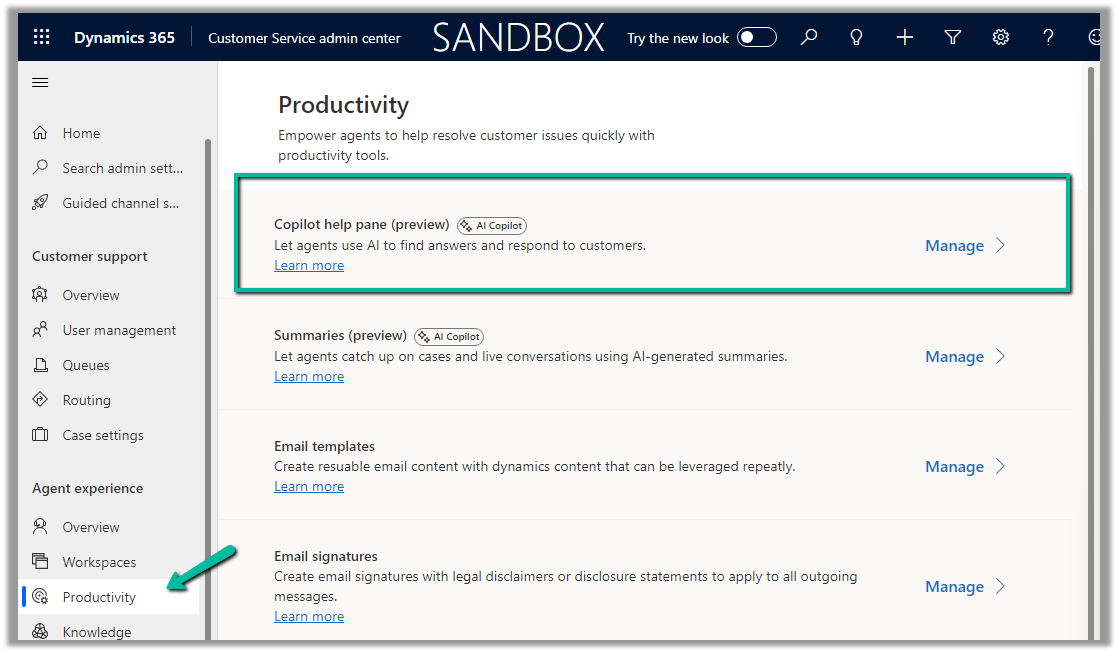
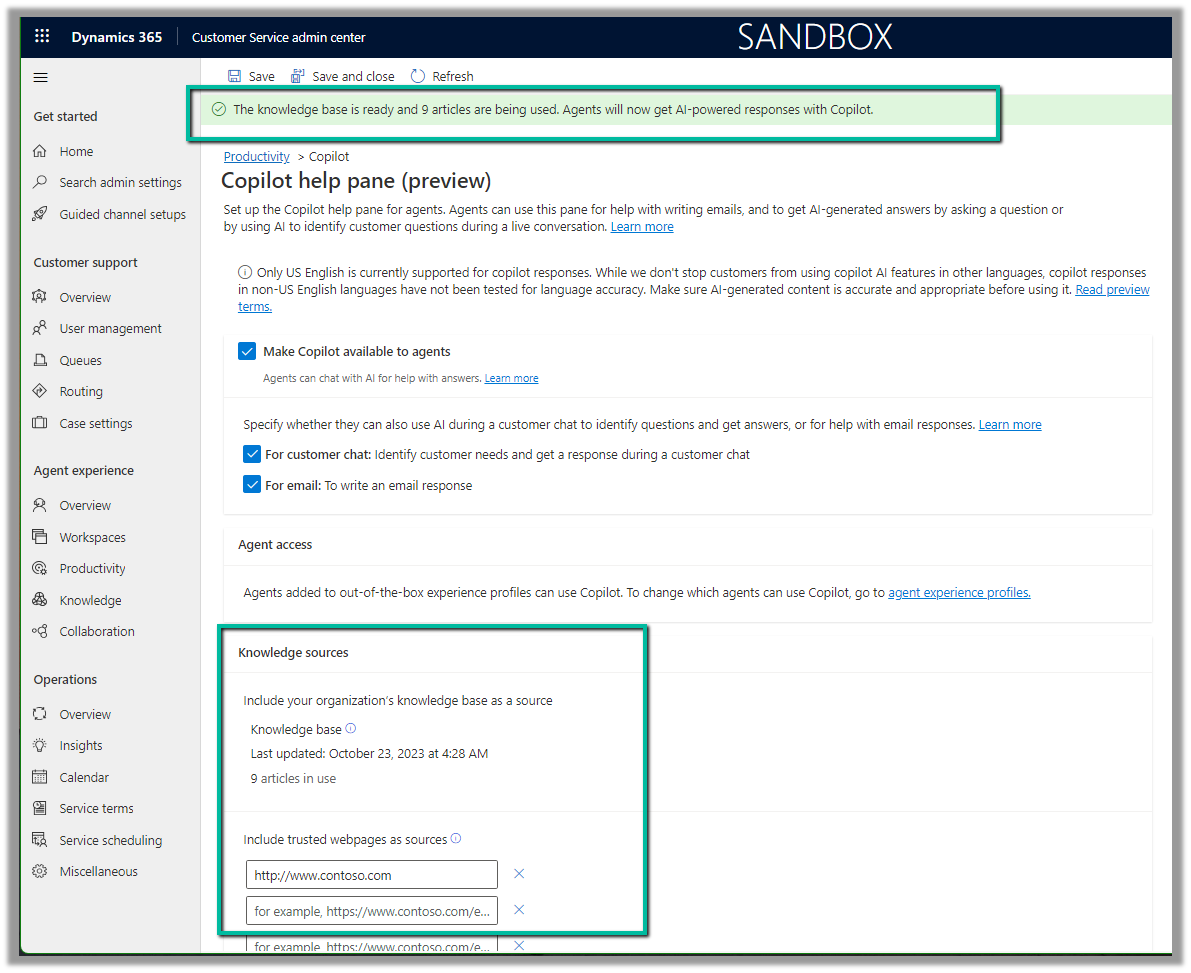
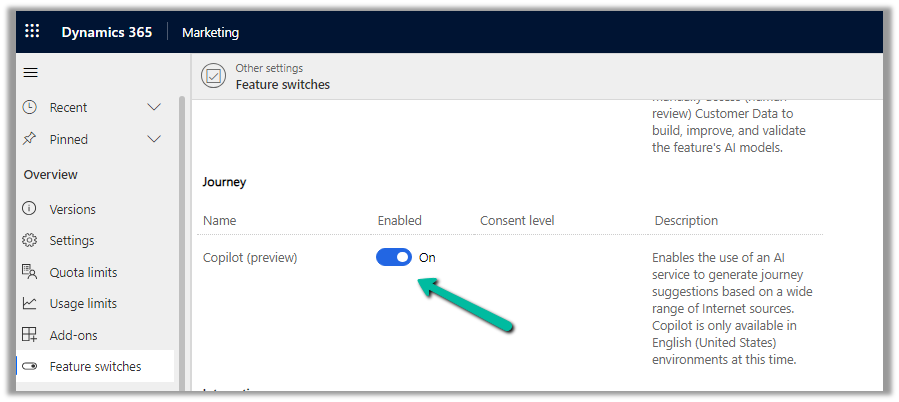
To enable it navigate to Customer Service admin center >> Agent Experience >> Productivity >> Copilot help pane (preview) (Manage)
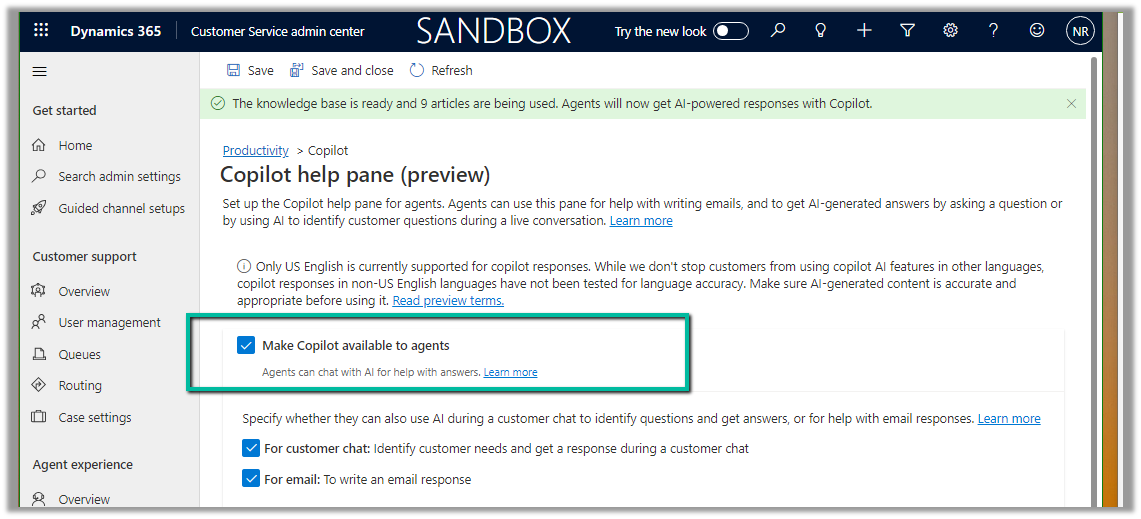
Check Make Copilot available to agents option and save the settings.
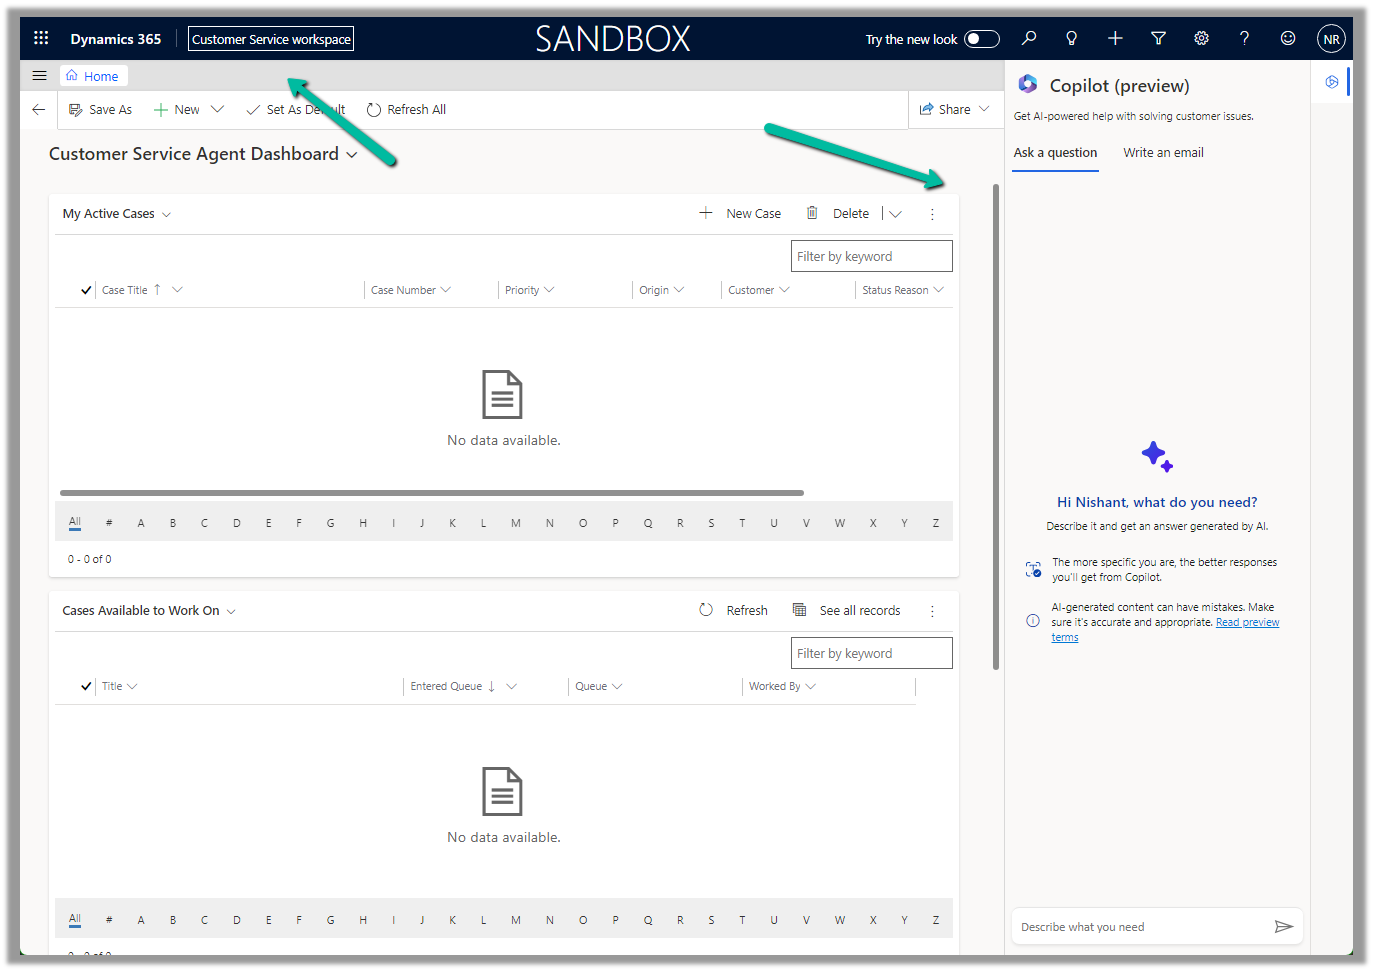
Back in Customer Service Hub (or any other apps where we have Copilot enabled), we can see the Ask a Question tab in the Copilot help pane.
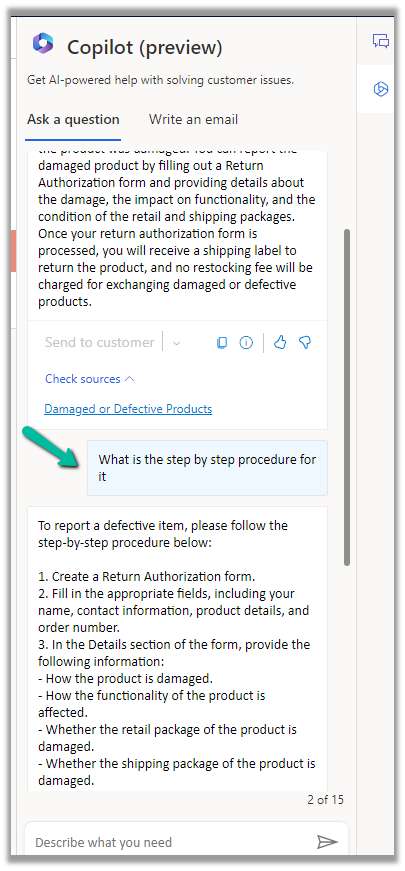
We can then post our questions, specific to the case in hand.
Below we can see we have asked for any policy about defective items and the response we received.
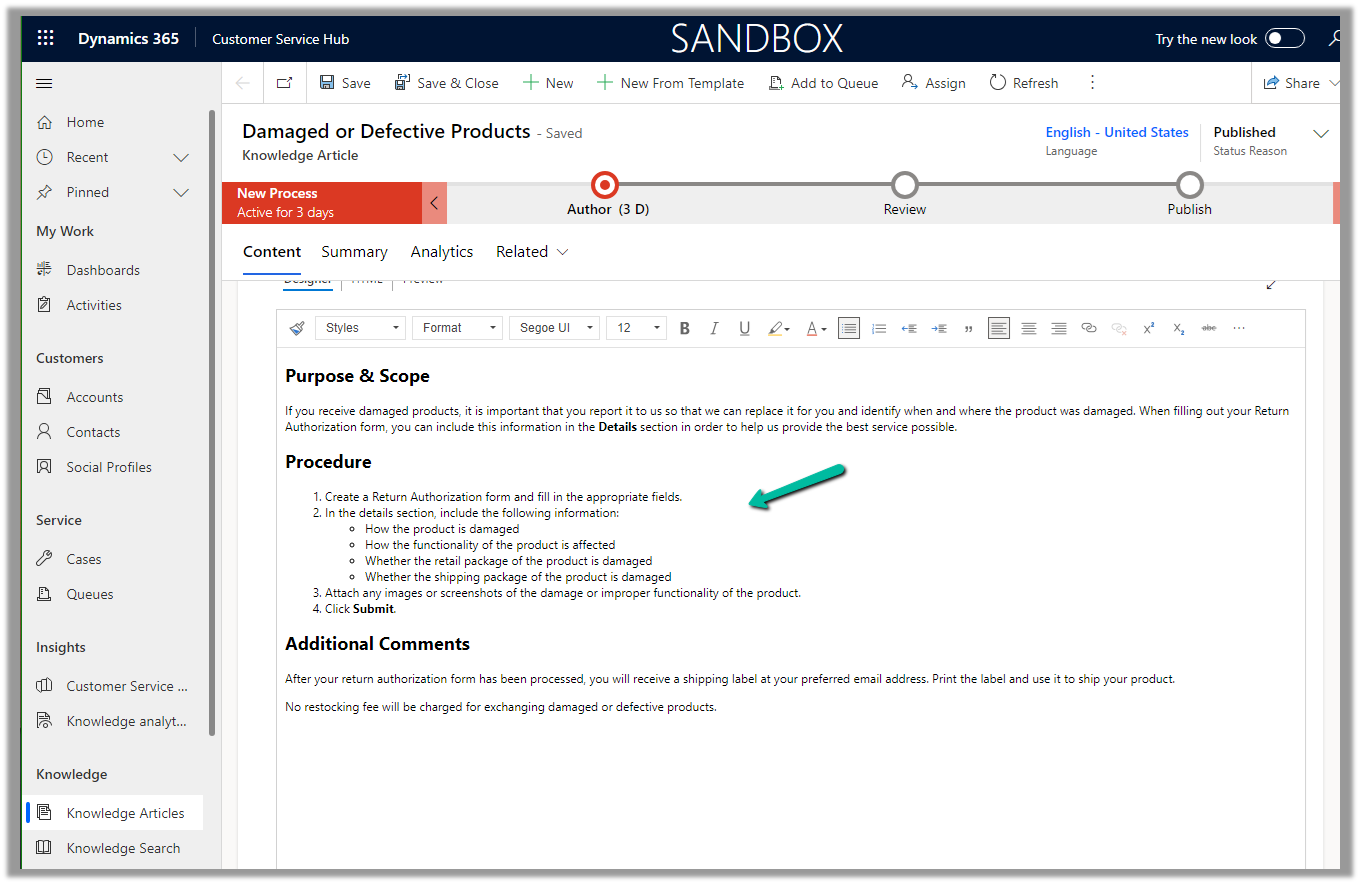
It also mentions the source from which it got the response.
The copilot uses the internal (Published) Knowledge Articles to generate the responses.
If we go back to the setting where we enabled the Copilot help pane, we can see the message at the top about the knowledge base articles being used. Apart from the internal Knowledge base, a maximum of 5 trusted domains can be configured and can be used to produce the result.
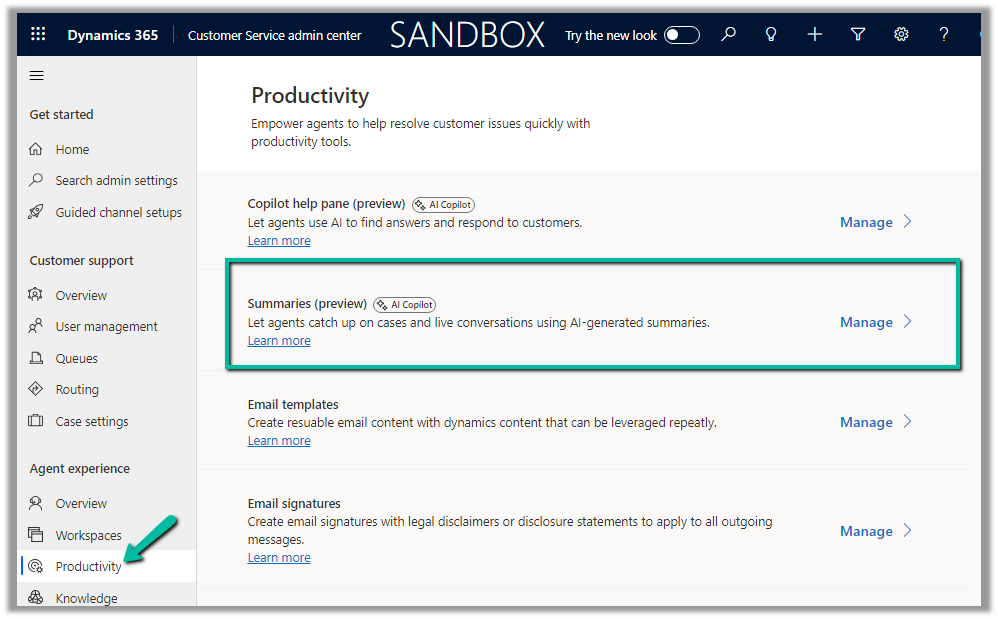
We can make use of copilot to summarize the cases. It applies to cases that are canceled and resolved also.
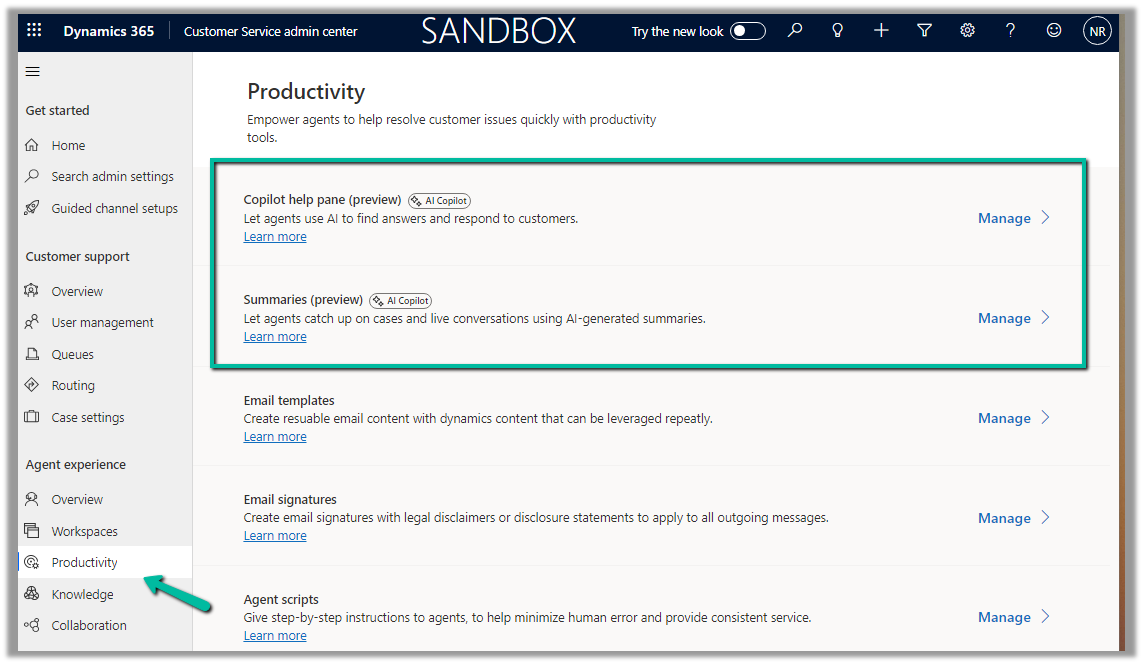
To enable it Navigate to the Customer Service admin center >> Agent Experience >> Productivity >> Summaries (Manage)
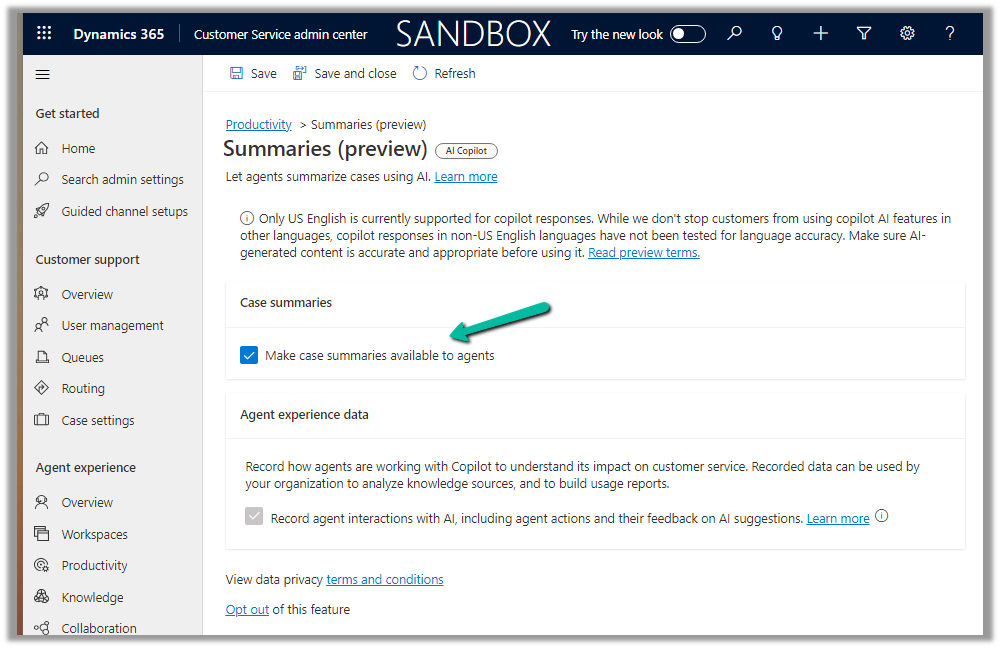
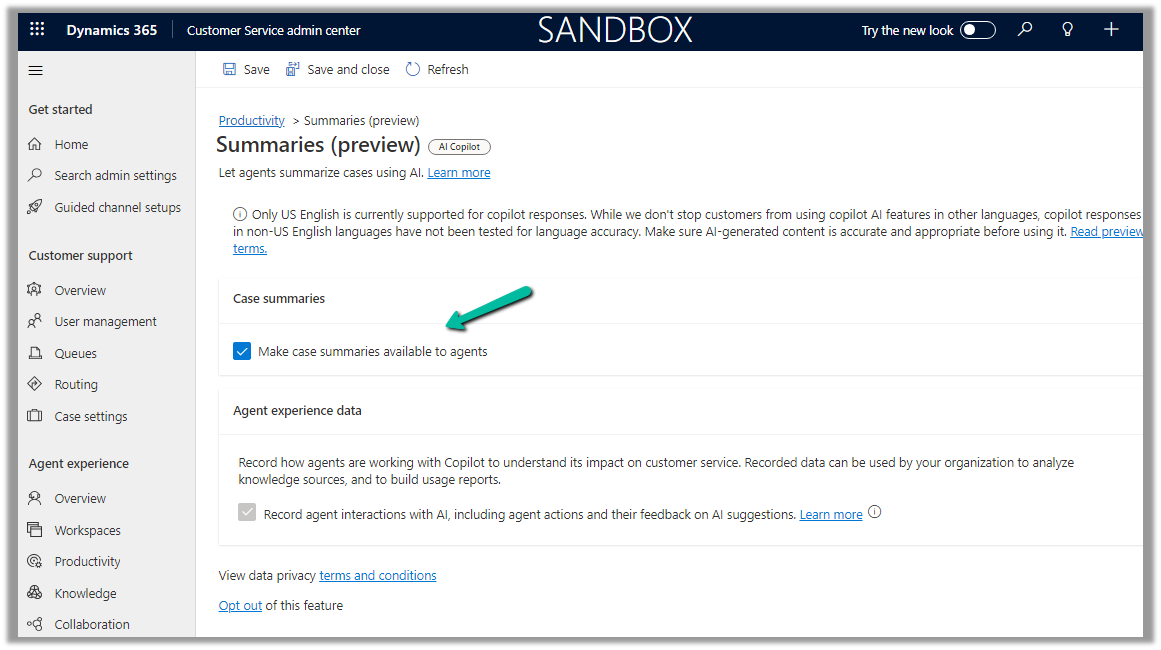
Check the Make case summaries available to agents option and save the setting.
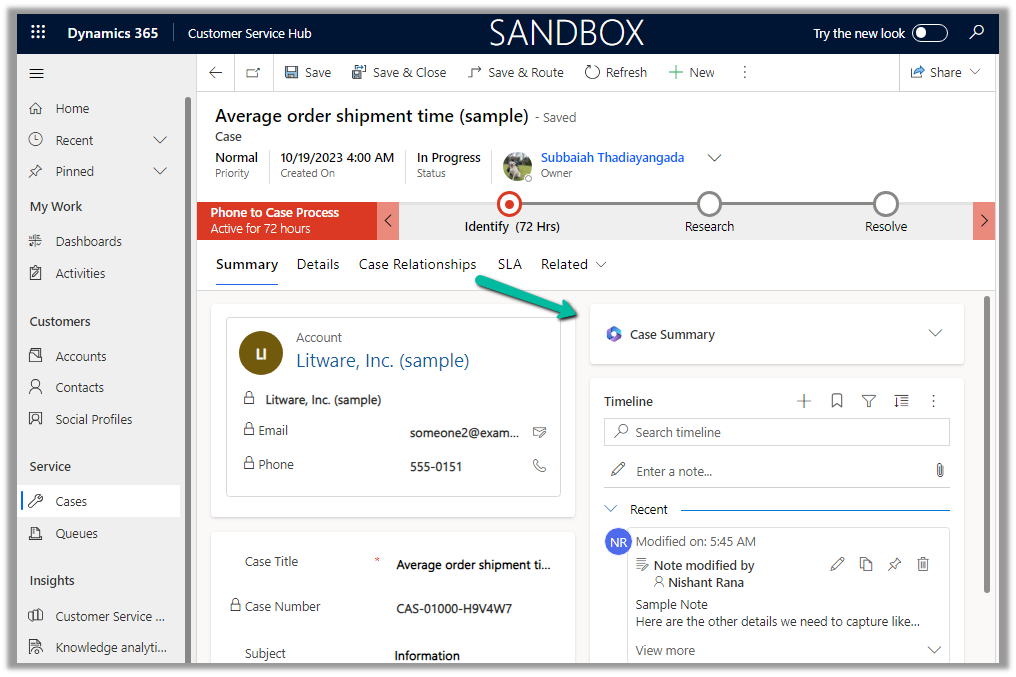
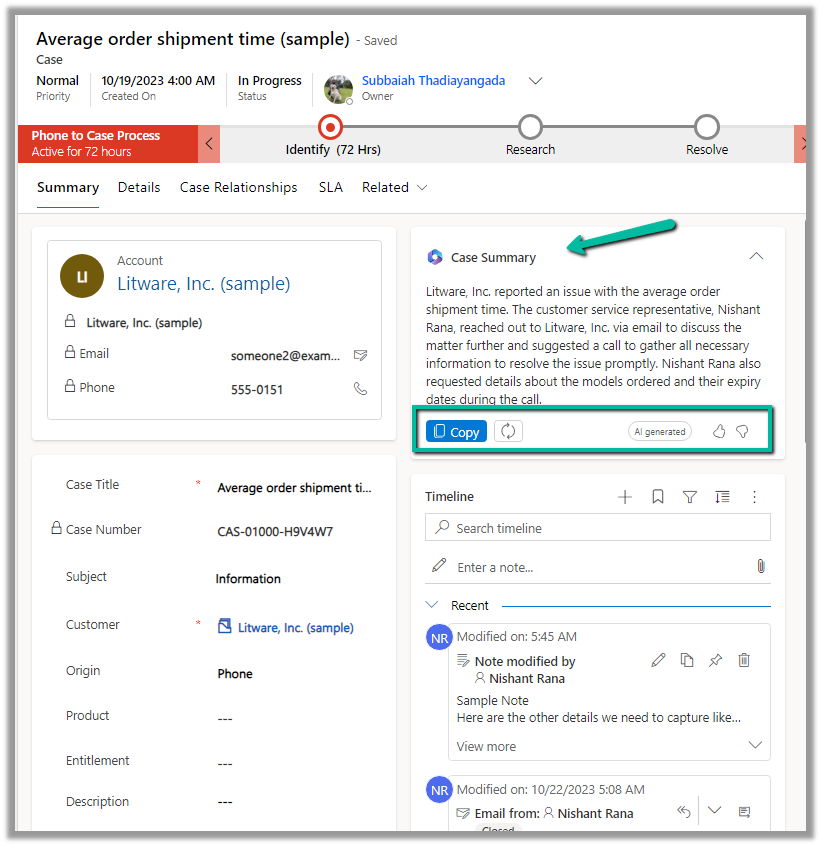
Now when we open a Case record, we can see the Case Summary card added, collapsed by default.
We can expand it to see the summary generated.
We can copy it, regenerate it, provide feedback etc.
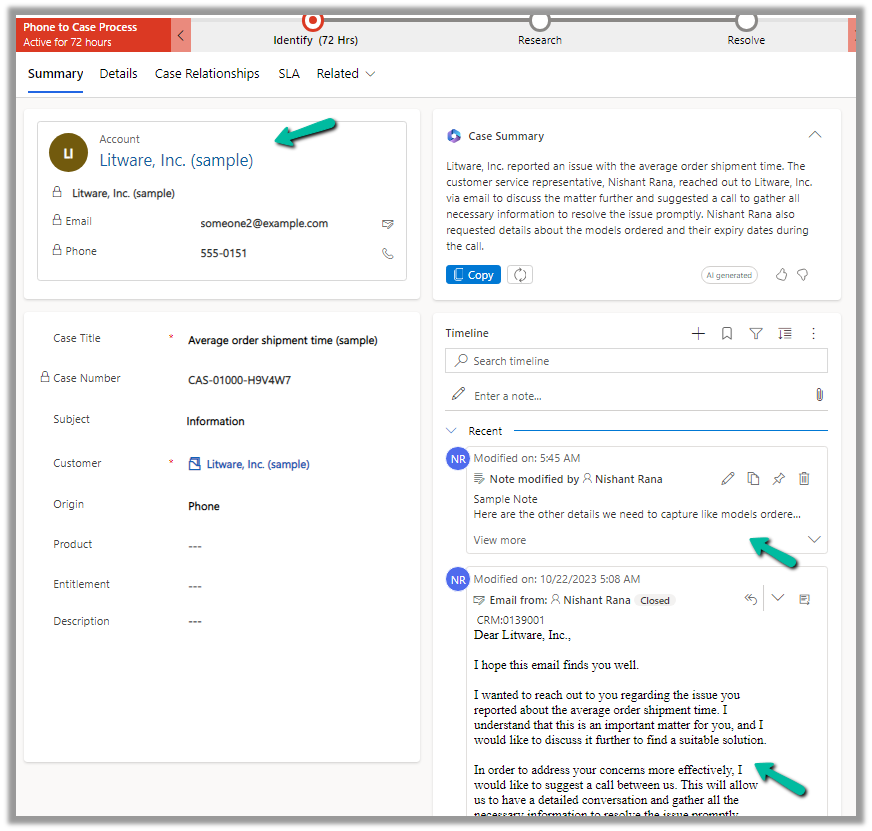
The case summary considers key Case details like Case Title, Subject, Priority, Case Type, Description, Product, Emails, and Linked Notes as shown below.
The agents can quickly get the required details from the case summary instead of going through all the key fields, emails, and notes associated, thus allowing them to resolve the case quickly.
Copilot (preview) for Dynamics 365 Customer Service provides the following features –
Case Summary
Conversation Summary
Ask a question
Write an email
Draft a chat response.
To enable it, navgiate to Customer Service Admin Center >> Agent Experience >> Productivity >> Manage (Copilot help pane and Summaries)
Check the required Copilot help pane settings and save.
Similarly for Summaries
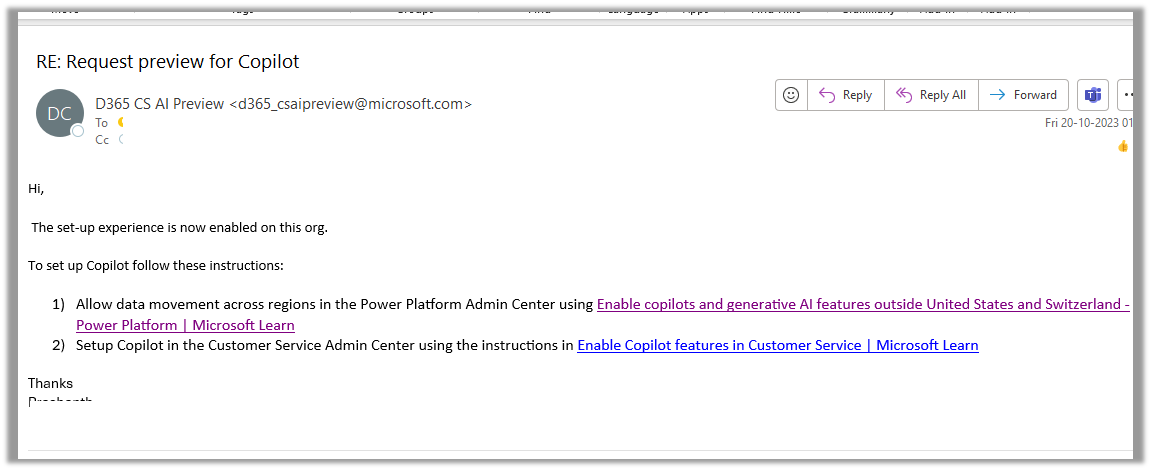
For geographies outside the United States, to enable the Copilot features for Customer Service, we need to send an email to d365_csaipreview@microsoft.com with the Organization ID to enable the preview.
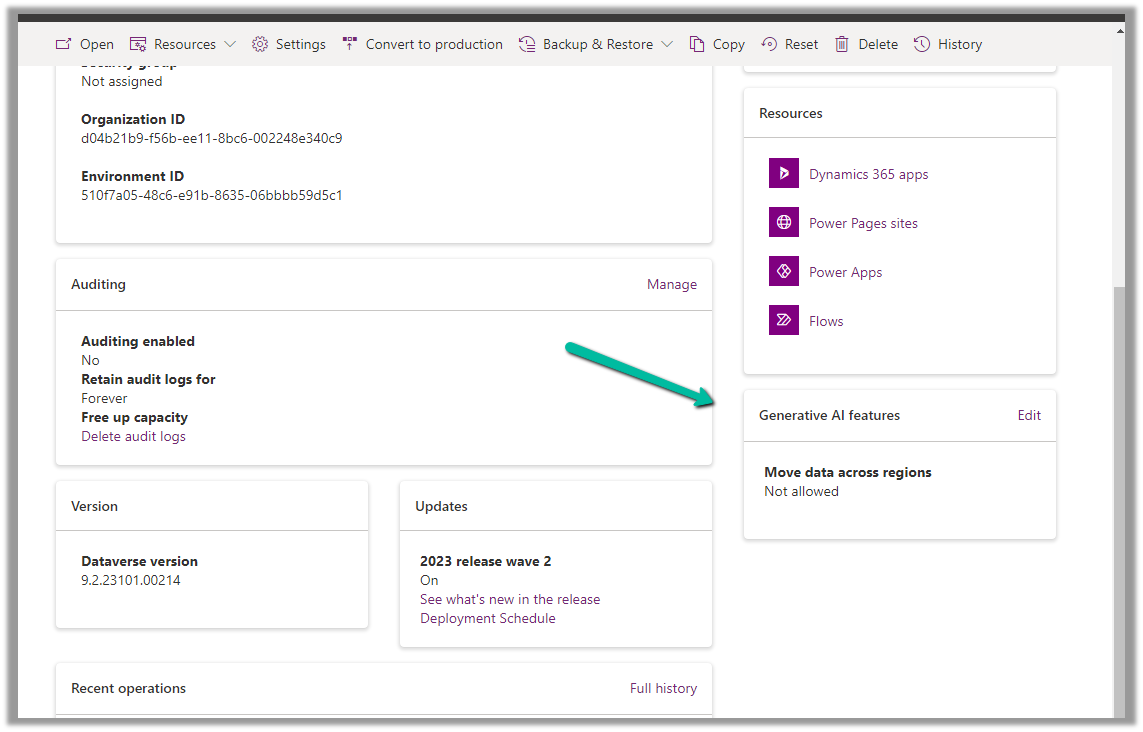
We can get the Organization ID from the Power Platform admin center for the environment.
As our environment was in the Australia region, we followed the same and within the next day, we got a response from Microsoft that it had been enabled in our Environment.
As per the email, the next step is to Enable copilots and generative AI features outside the US and Switzerland, for this again open the environment in the Power Platform admin center, and select Edit for Generative AI Features.
Check the Move data across regions option and enable it. (We need Global Admin or Power Platform admin role to enable it)
Once we have followed the above steps it adds the Copilot help pane in the Customer Service Hub app.
Similarly, for the Customer Service Workspace app, we can manage it in the corresponding Agent Experience profile.
Navigate to the Agent Experience >> Workspaces >> Manage (Agent Experience profiles)
We can see the Copilot AI features section (below is the out-the-box Customer Service workspace – default profile), we can accordingly update the corresponding agent experience profile(s) records configured/used for the agents.
Below we can see the Copilot help pane in the Customer Service workspace app.
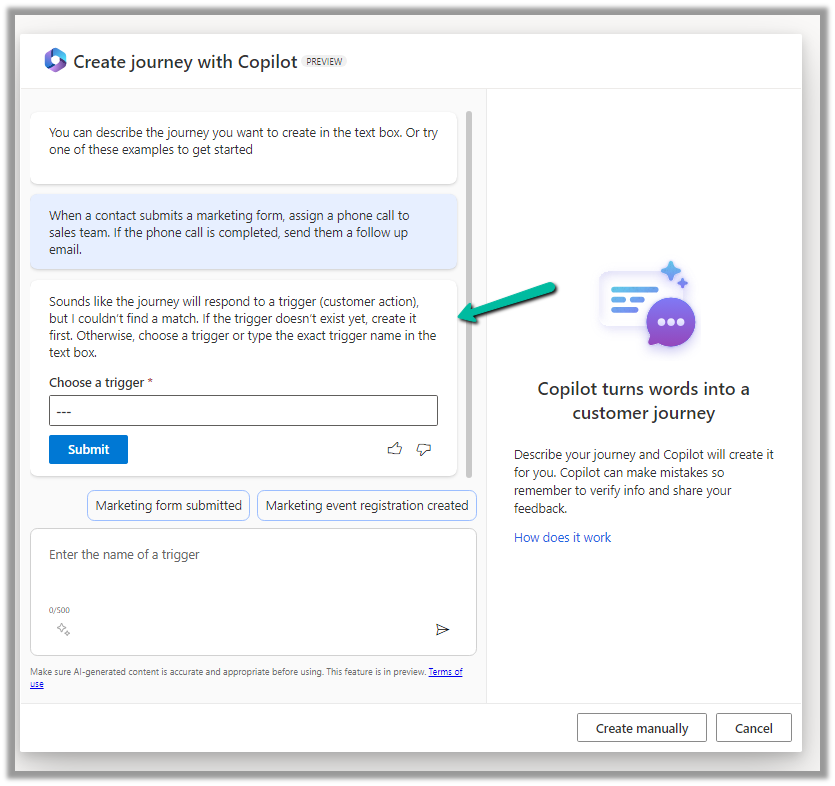
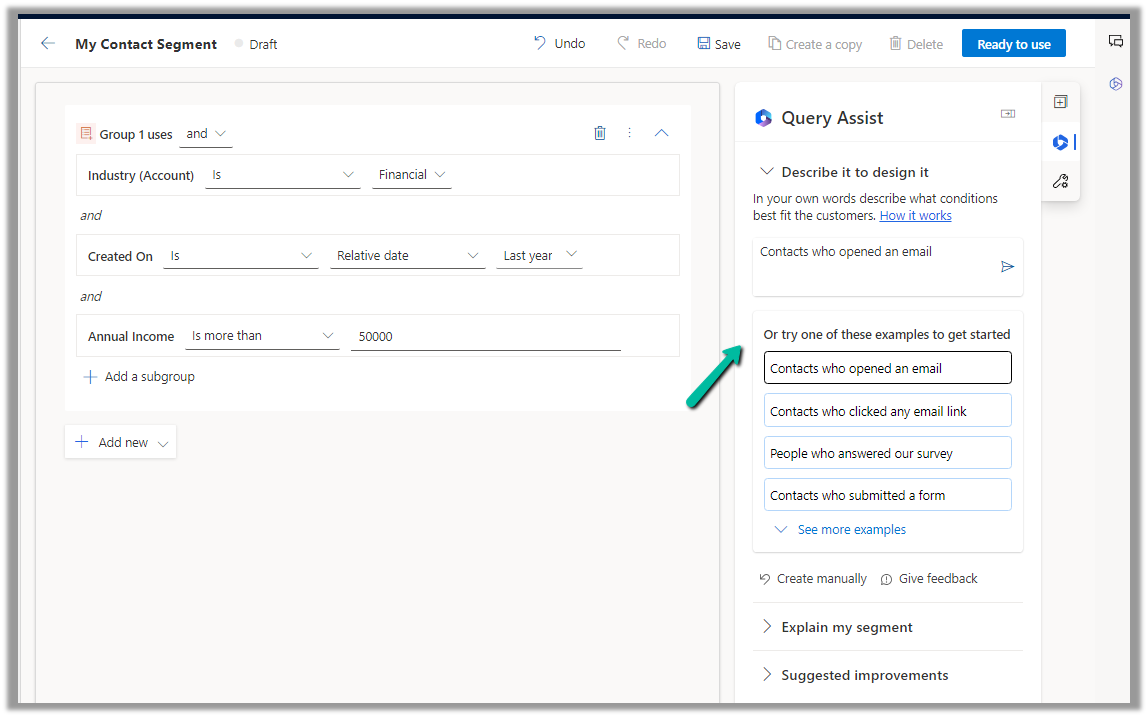
Let us see it in action, by creating a new journey record.
We get the option to select predefined examples to start with.
Here we have selected the last example “When a contact submits a marketing form, assign a phone call….”
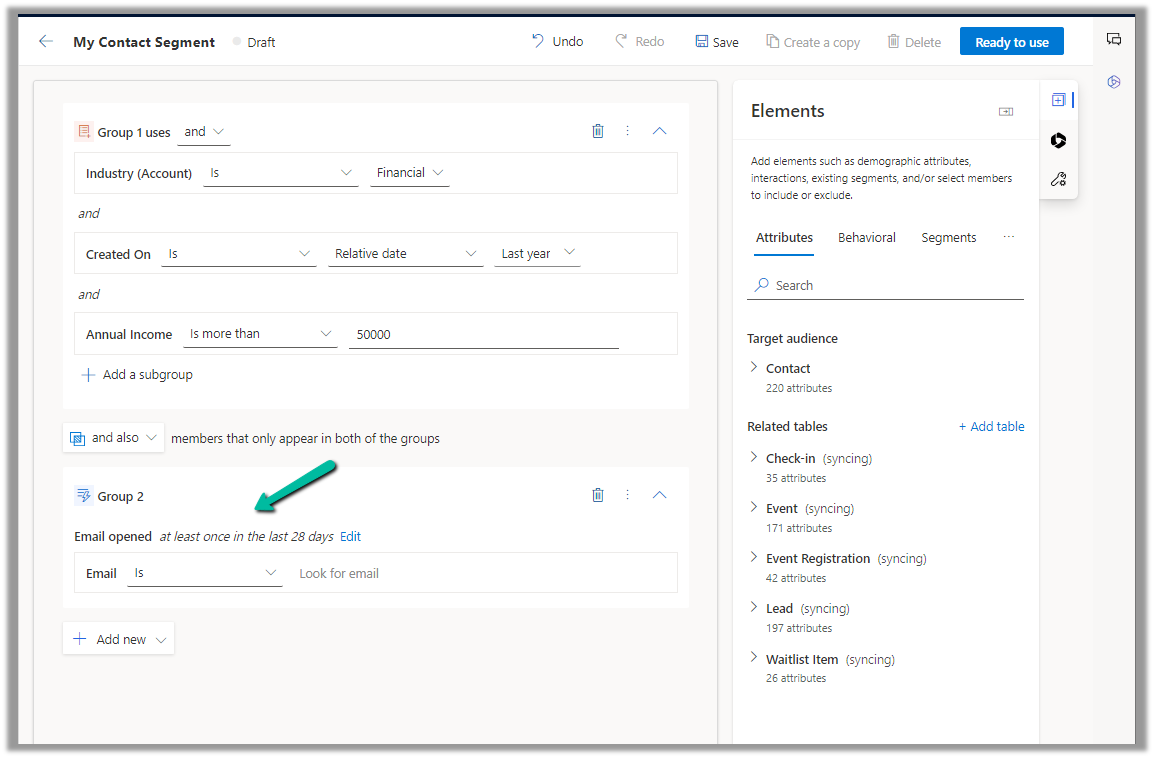
On selecting it, we are presented with the option to specify the Trigger.
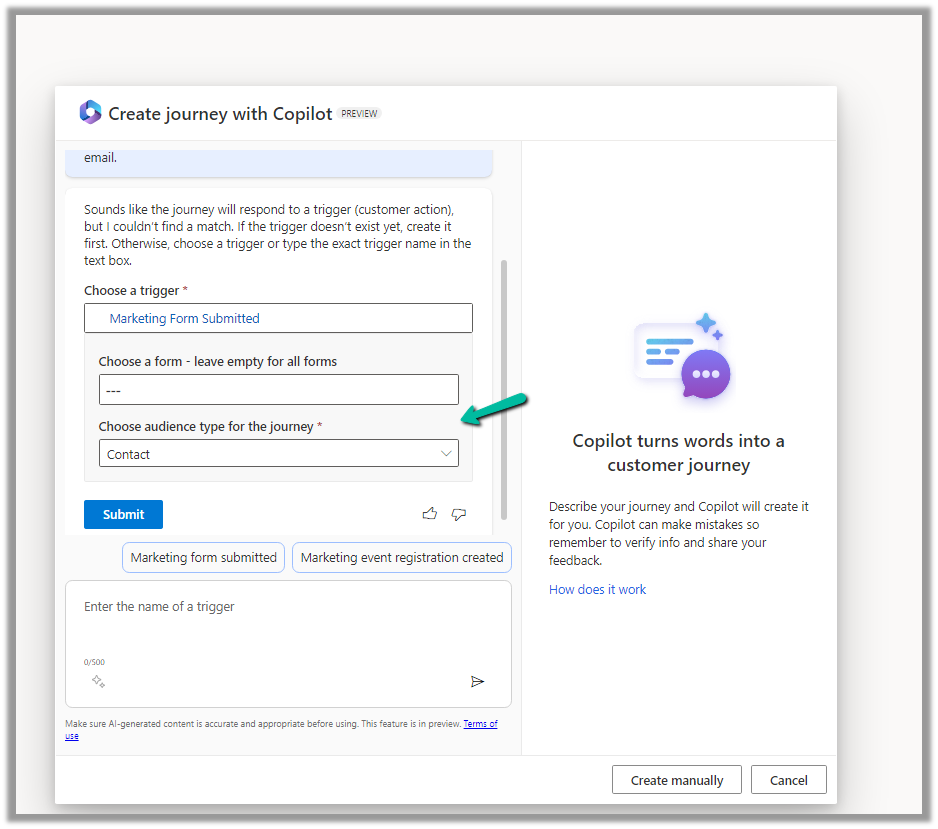
We have selected the existing Marketing Form Submitted trigger record here.
After specifying the trigger, we get the option to specify the marketing form or to leave it empty to run it for all the form submissions and also the audience type, which could be either Contact or Lead.
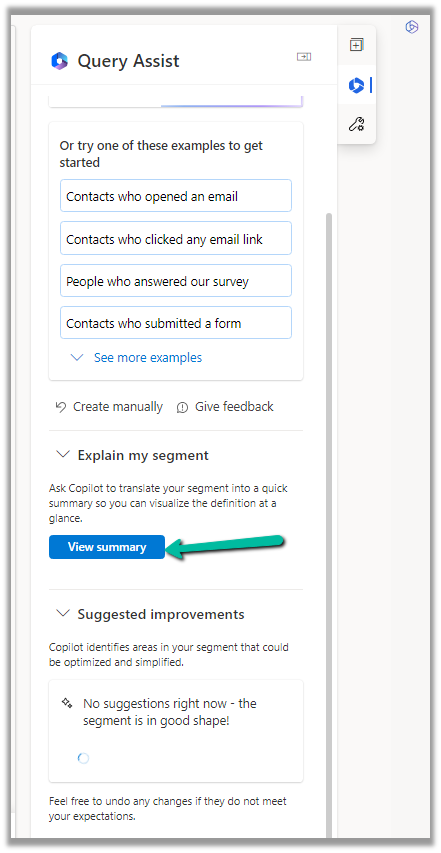
Clicking on Submit gives the option to review and then eventually Create Journey.
Clicking on Create Journey generates the journey for us.
We can review the journey, add any further content required, modify it, etc.
For example, we need to specify the follow-up email to be sent, before we can save and publish it.
Once we are done with defining the journey, we can publish it.