Enabling Microsoft Team chats inside Dynamics 365 allows the agents/sellers to start a new chat from a record or connect an existing chat to a record from within the application itself.
We can enable it from the Power Platform Admin Center or the corresponding Sales, Customer Service, Marketing, and Field Service applications.
Inside Power Platform Admin Center – Navigate to Environment >> Setting >> Team Integration Settings

We can either enable it for all the Dynamics 365 Apps or specify the apps.
Here we have specified the Customer Service Hub and Sales Hub.

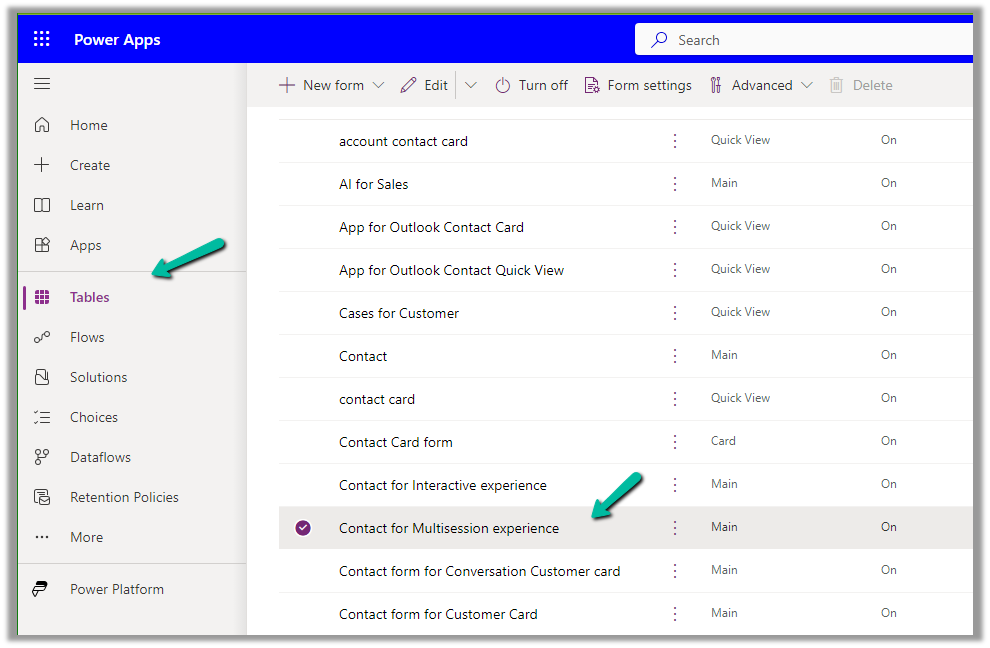
We also have the option to specify the record types for Teams chats.

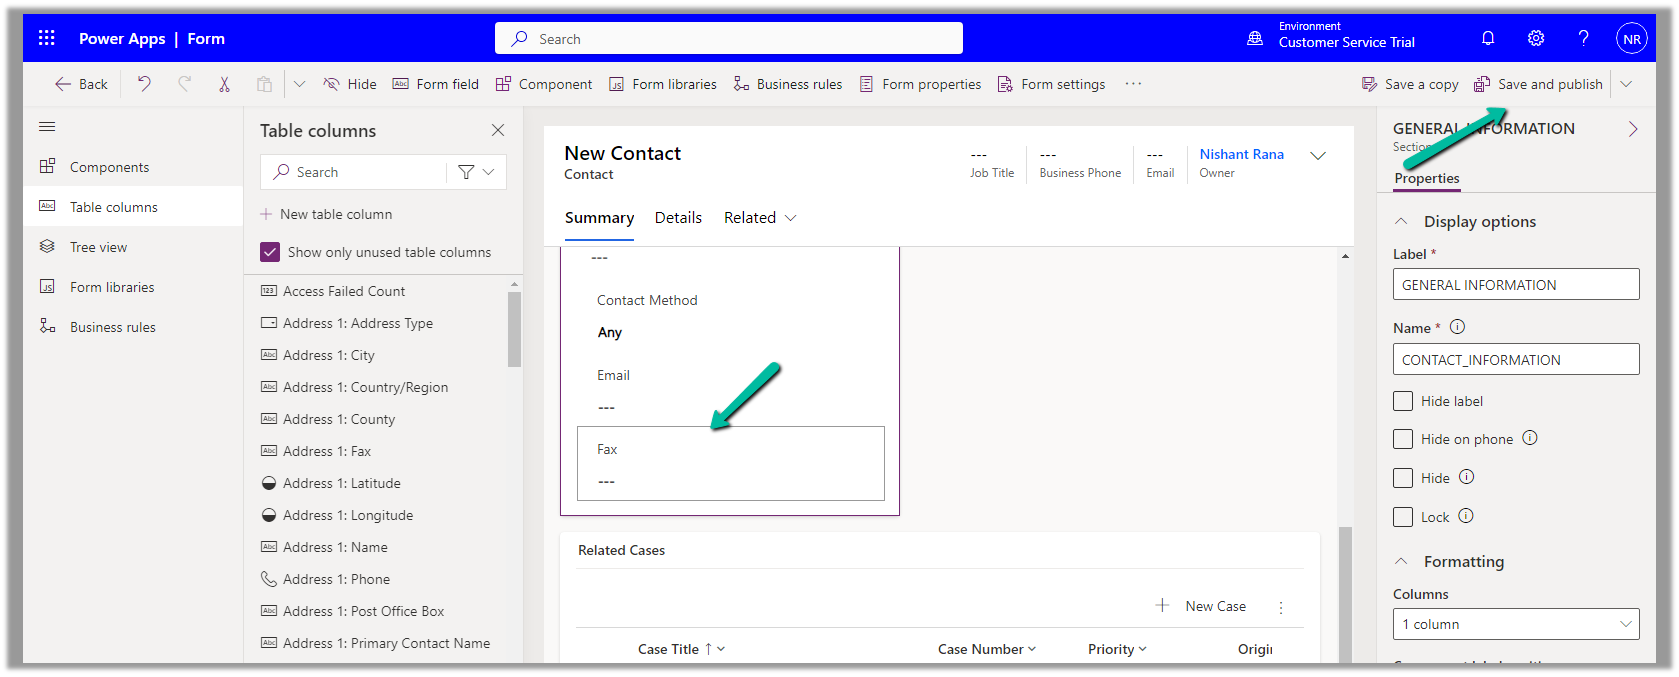
Let us open a contact record inside Sales Hub to see it in action.
We can see 2 sections on the Team chats pane, Chats connected to the record and Other chats.
As we have not connected chat currently, we see the option New connected chat to connect the record to the team chat.
The Other chats section lists the top 200 chat conversations on the Team, from where we can select any conversation to connect it to the record.

Clicking on the New connected chat allows us to search the Participants whom we want to chat with, update the chat name (suggested), and include a note as well.

It also suggests the participant (as the record is owned by a user, it will suggest the name of the record’s owner)
More on the record suggestions.

We can also select a user from the Other chat section, and select the Start a connected chat option, which populates the participant.


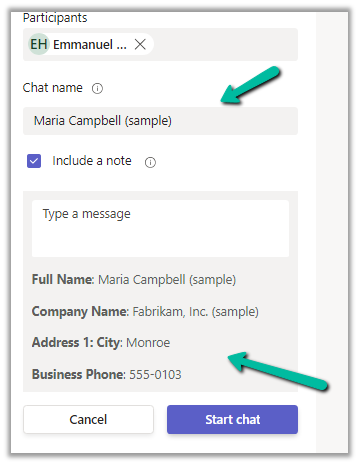
We can also have multiple participants added.
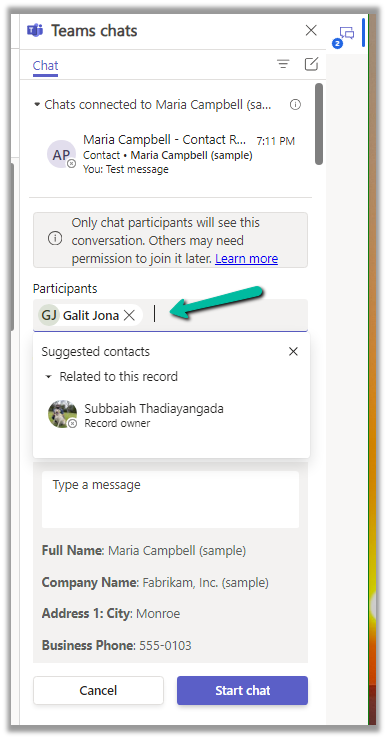
Add the required details and click on the Start chat

We can see the chat window opening with the participant selected and details / message added.

We can also connect other chats to that record using the Connect to this record option.

We can also disconnect the chat using the Disconnect form this record option.

Similarly, we can also start a regular chat (not associated with any record) using the compose icon in the Teams Chat panel.

This opens the New chat window as shown below.

As we saw earlier, we can use the + Add record types option to add more record types to connect to Teams Chats. (including custom table)

For each record type added, we get the following settings.

Here we can specify who can join and disconnect the chat.
We can also specify if the record’s title can be used for the Chat name, should the note be included or not, and which view fields to be considered for the Message.
Get all the details here.
Hope it helps..