When working with Power Automate (Cloud Flows) for Dataverse, a common scenario is handling multiple triggers efficiently. By default, we often create separate flows for different events, such as Create, Update, or Delete. However, using the SdkMessage field, we can identify the event that triggered the flow and handle different scenarios within a single flow. This approach reduces redundancy and simplifies flow management.
When a row change occurs in Dataverse, the SdkMessage value represents the operation that triggered the event e.g. Create, Update, and Delete.
Benefits of using SdkMessage –
Avoid multiple flows: Instead of separate flows for Create, Update, and Delete, use one flow and branch logic accordingly.
Improve maintainability: Less duplication means fewer flows to update when business logic changes.
Enhance performance: Fewer active flows reduce execution overhead and clutter.
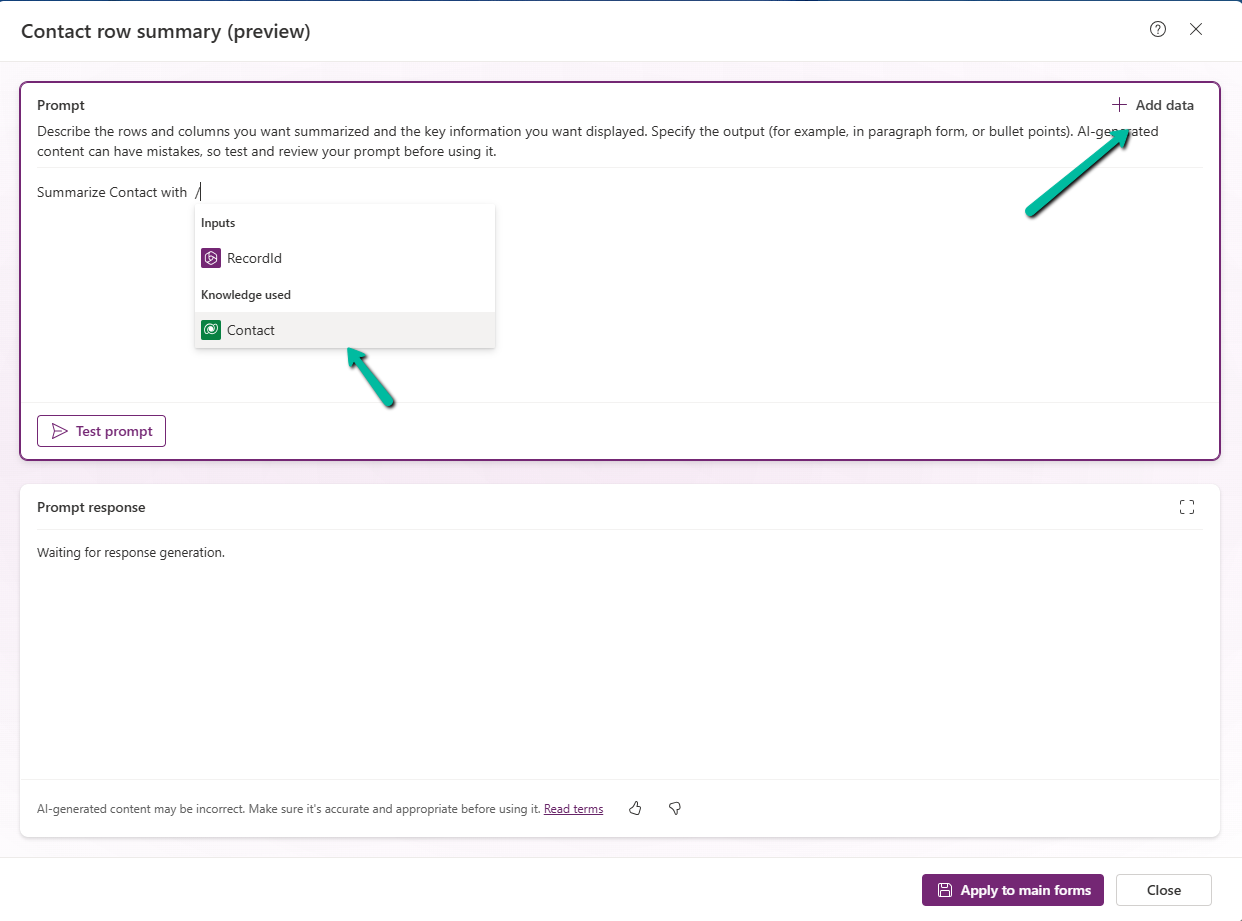
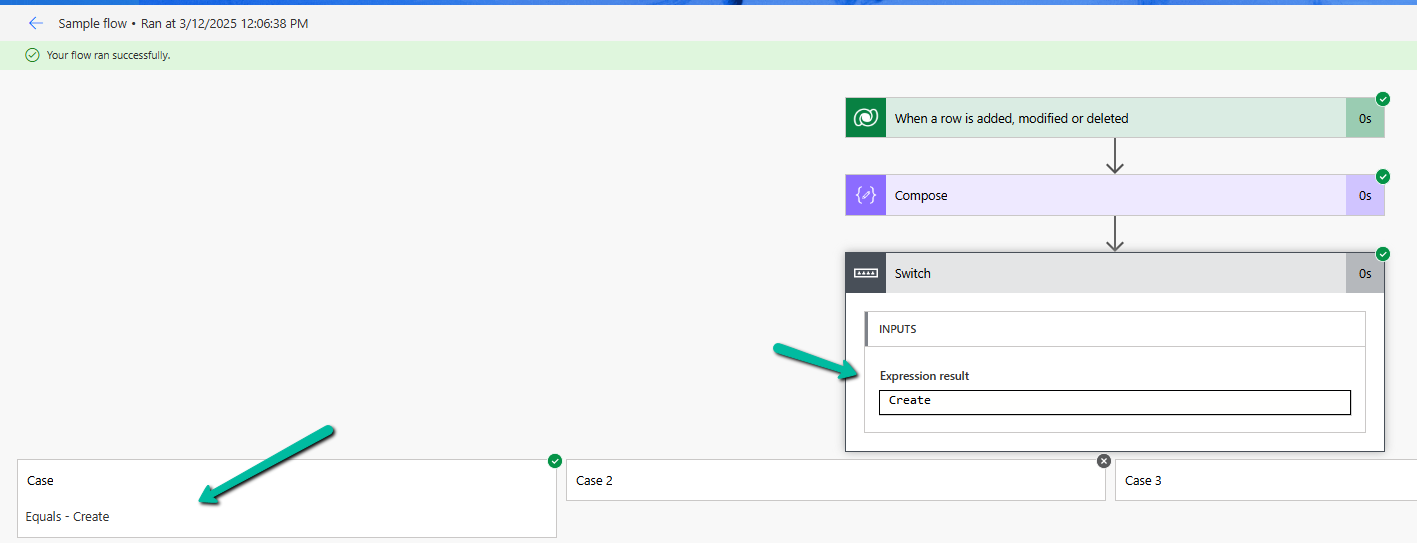
Let us see it in action, we have created a flow with the “When a row is added, modified, or deleted” Trigger.

And a switch action on SdkMessage with Case for Create, Update, and Delete.
triggerOutputs()?[‘body/SdkMessage’]
On creating the lead record we can see the corresponding action being triggered.
Same for the update.

Using SdkMessage in a single Dataverse flow allows you to consolidate multiple triggers into one, making your automation cleaner and more efficient.
Additionally, we should use the Select columns and the Filter rows properties to avoid unnecessary flow runs and improve efficiency.

Hope it helps..