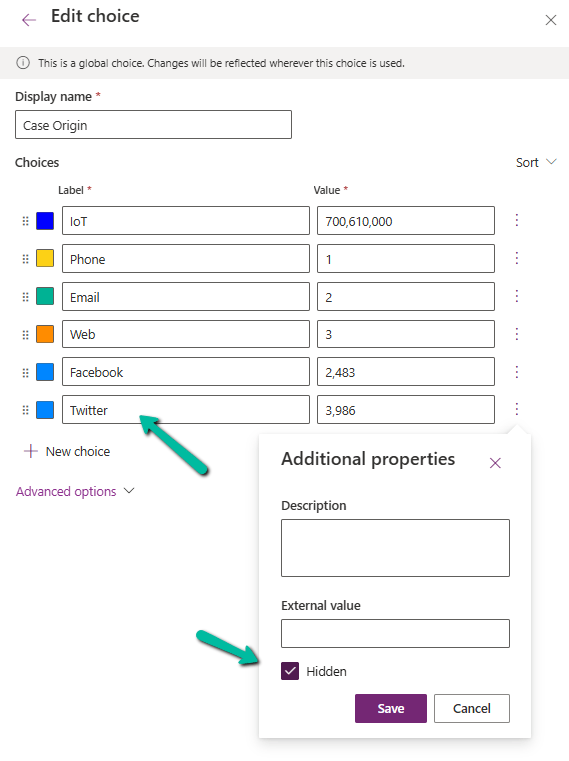
When working with Choice fields (Option Sets) in Dataverse, we mostly use the label and internal numeric value. But there’s also a lesser-known property — External Value — which can be quite handy, especially in integration scenarios.
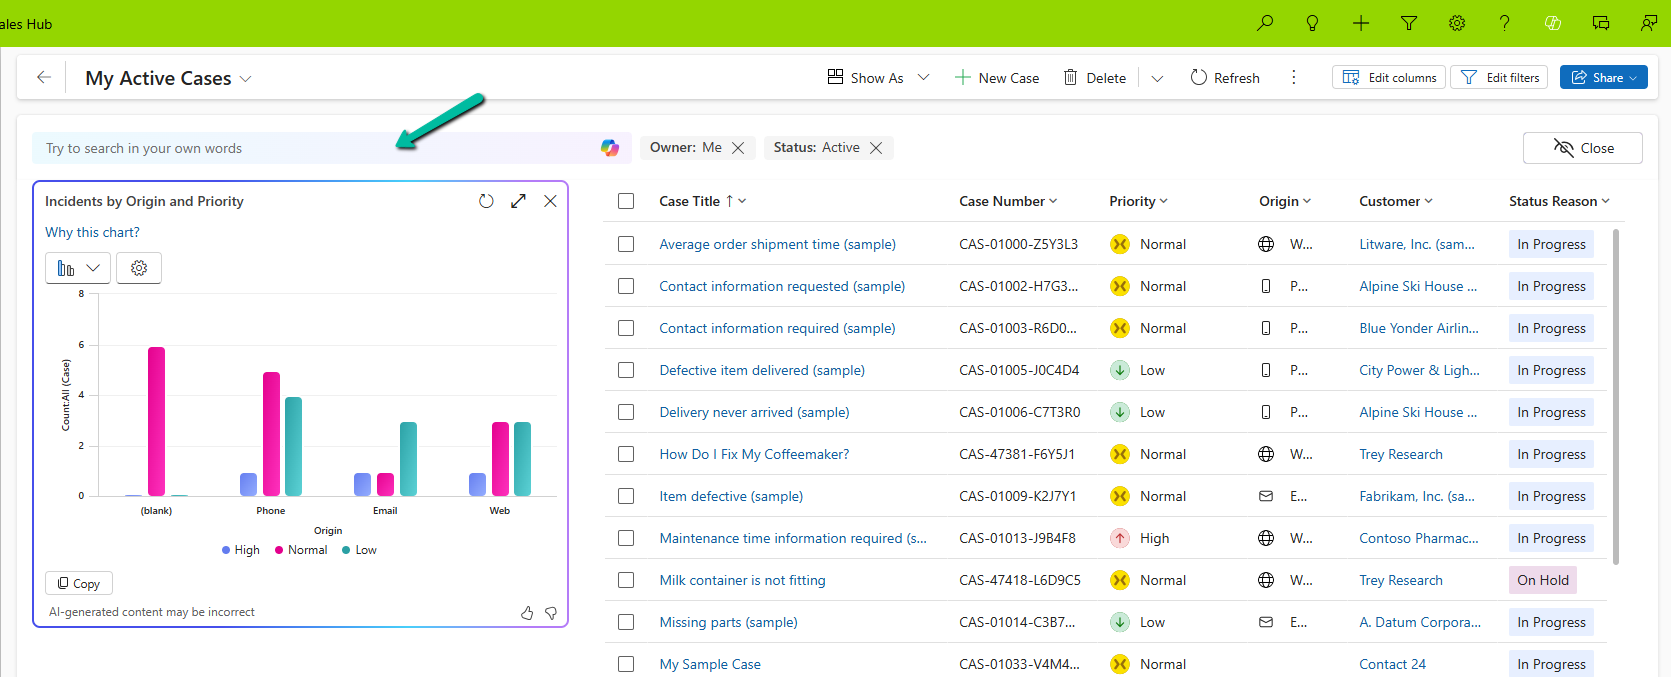
Below is the Priority column of the case table.

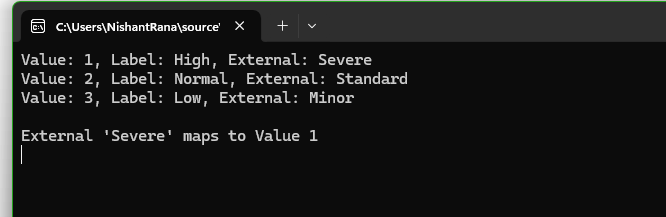
We have Severe, Moderate, and Minor external values specified for High, Normal, and Low choices respectively. These external values could be how the external third-party system is tracking the priority values to which we are integrating.
The external system sends us “priority”:” high” and we map that to the internal value 1 in Dataverse.
While sending data to the external system we convert the internal value to the external code i.e. 1 to. High
Below is how we can read the external values.
     var myServiceClient = new CrmServiceClient(connectionString);

        if (myServiceClient.IsReady)
        {
            var request = new RetrieveAttributeRequest
            {
                EntityLogicalName = "incident",
                LogicalName = "prioritycode",
                RetrieveAsIfPublished = true
            };

            var response = (RetrieveAttributeResponse)myServiceClient.Execute(request);
            var picklistMetadata = (PicklistAttributeMetadata)response.AttributeMetadata;

            foreach (var option in picklistMetadata.OptionSet.Options)
            {
                Console.WriteLine($"Value: {option.Value}, Label: {option.Label?.UserLocalizedLabel?.Label}, External: {option.ExternalValue}");
            }

            string ext = "Severe";
            var match = picklistMetadata.OptionSet.Options.FirstOrDefault(o => o.ExternalValue == ext);
            if (match != null)
            {
                Console.WriteLine($"\nExternal '{ext}' maps to Value {match.Value}");
            }

        }
Using External values, we can decouple integrations from the internal values that we use for our choice column. By using them, we can speak the language of the external system while still maintaining proper structure and metadata within Dataverse.
Hope it helps..