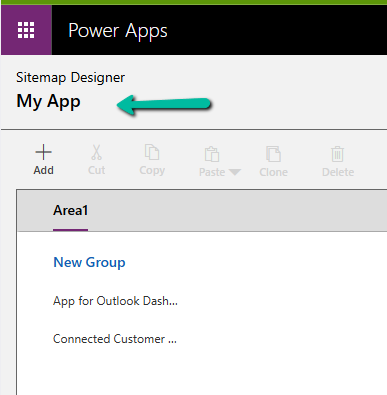
While working with a model-driven app in Dataverse, we needed to change the display name of the sitemap. What made this interesting was that there is no option in the UI to rename the sitemap display name directly.

After exploring the UI options and confirming that the sitemap display name cannot be updated there, the only approach that worked was a solution-level change. The solution was to export the solution that contained the sitemap, update the sitemap display name in customizations.xml, and then import and publish the solution again. We exported the solution as unmanaged and extracted the ZIP file. Inside the extracted files, we opened customizations.xml. This file contains the full definition of the app’s sitemap, including its localized display name. Within the XML, the sitemap definition appears under the AppModuleSiteMaps section. A simplified version of the relevant structure looks like this:
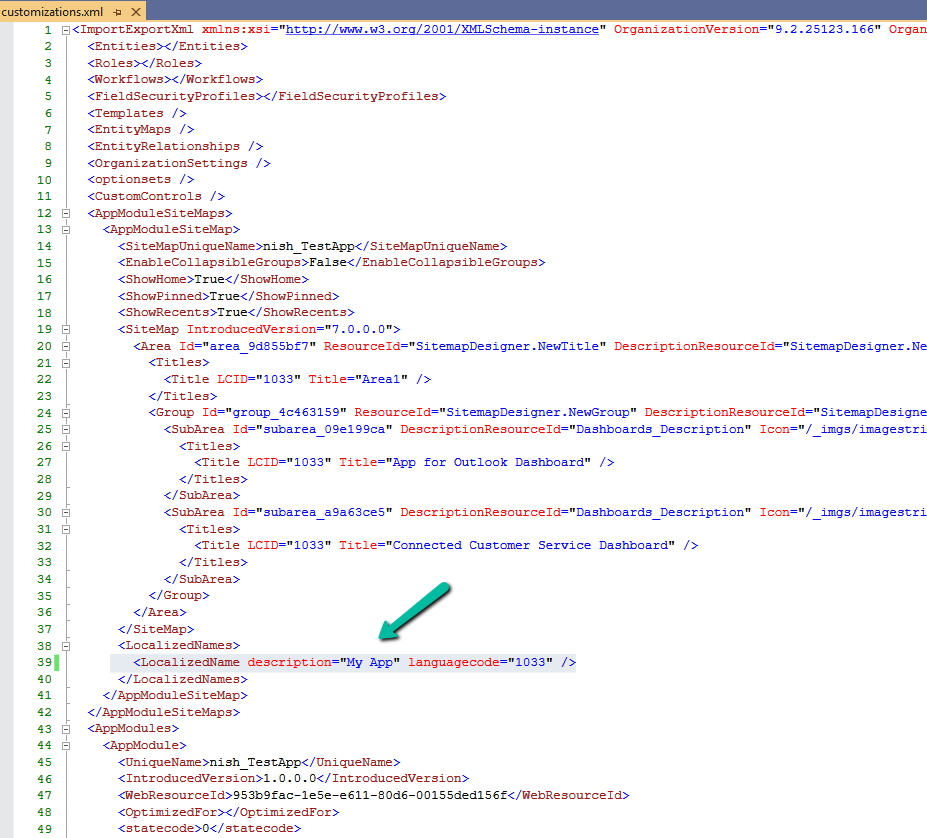
The key part here is the LocalizedNames node. This is where the sitemap display name is defined. To rename the sitemap, we updated the value of the description attribute for the required language code.
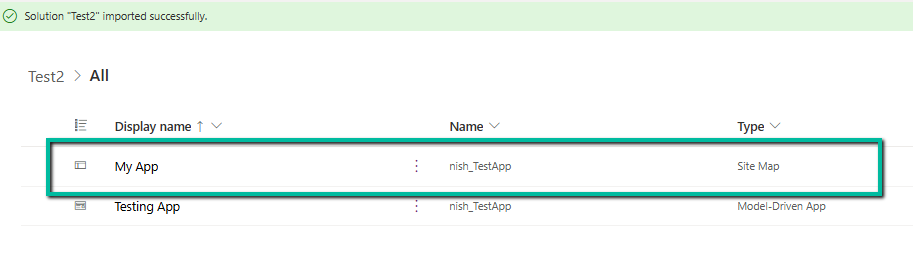
After making this change, we repackaged the solution, imported it back into the environment, and published the customizations. Once the import was completed / published, the sitemap display name reflected the new value everywhere and, importantly, the change persisted.
Hope it helps..