Dynamics Marketing JavaScript API is only available for the marketing form hosted as Script. It is not available for forms hosted as Iframe.
More on embedding form on external page – https://nishantrana.me/2022/11/10/how-to-embed-marketing-form-on-an-external-page/
Add a reference to form-loader.js or load.js to access the API.

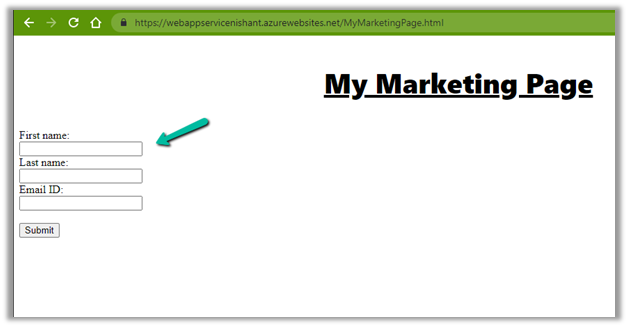
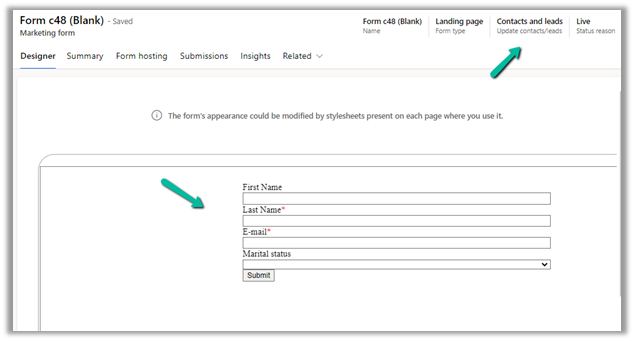
Below is our form with a hidden field in it.
Based on the current living situation (drop down), we want to set the value of the Financially Capable field (bool) – the hidden field’s value as either True or False.

For this, we have added the below script, in the formSubmit event.
formSubmit triggers on form submit before the form submission is sent to the server.
Check all the events here – https://learn.microsoft.com/en-us/dynamics365/marketing/developer/marketing-form-client-side-extensibility#form-events

The script – Get the id of the element through browser’s developer tools.

Hope it helps..
  // Extending Marketing form with code
        // formSubmit - Triggers on form submit before the form submission is sent to the server.
        MsCrmMkt.MsCrmFormLoader.on('formSubmit', function (event) {

            // get the id of the elements through developer tools of the browser
            // based on selected current living situation (optionset)
            if (document.getElementById('deb110aa-e266-ed11-9561-000d3ae090c0') != null) {
                var selectedCurrentLivingValue = document.getElementById('deb110aa-e266-ed11-9561-000d3ae090c0').value;
                if (selectedCurrentLivingValue == 881990000) {
                    // set the value of Financially Capable field (boolean)- true / false
                    document.getElementById('dcc46e64-2867-ed11-9561-000d3ae090c0').value = "1";
                }
                else {
                    document.getElementById('dcc46e64-2867-ed11-9561-000d3ae090c0').value = "0";
                }
            }
        });


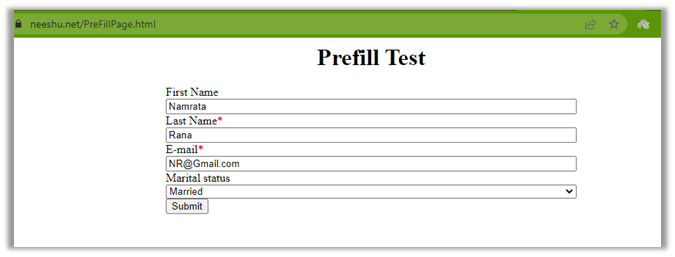
 Submit the form –