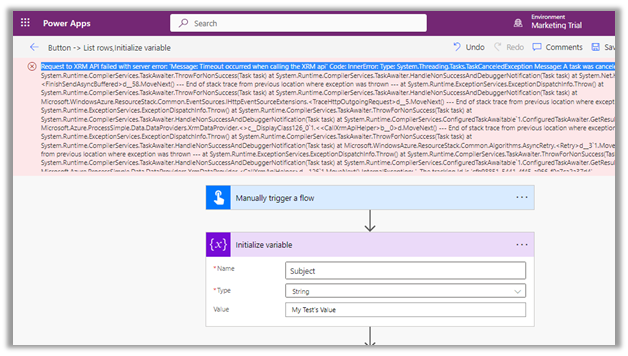
We were getting below Timeout error while trying to save our Power Automate flow.
Request to XRM API failed with server error: ‘Message: Timeout occurred when calling the XRM api’ Code: InnerError: Type: System.Threading.Tasks.TaskCanceledException Message: A task was canceled.
It could be because of some issues at the product end – some outage or server load. It lasted for around 15-20 minutes for us, after which we were able to save and test our flow successfully.
Sharing Records in CDS/ Dynamics CDS automatically based on a specific action??!!! we used to write Custom Workflow Activity or some kind of plugin to Achieve it which may take some hours to develop deploy and Fix.
Well ! NO CODE 1 Step workflow can achieve this!
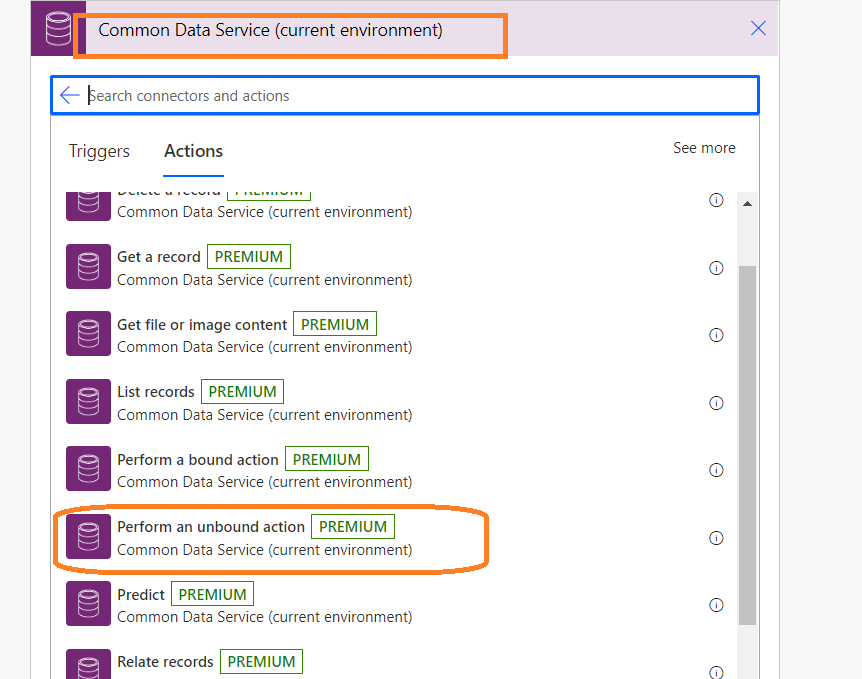
By using the Common Data Services ( Current Environment) -> Select Perform Unbound Action
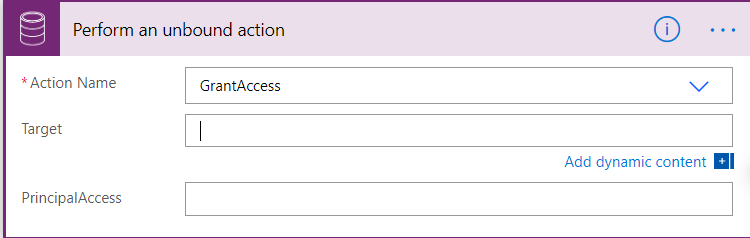
2. Choose Grant Access
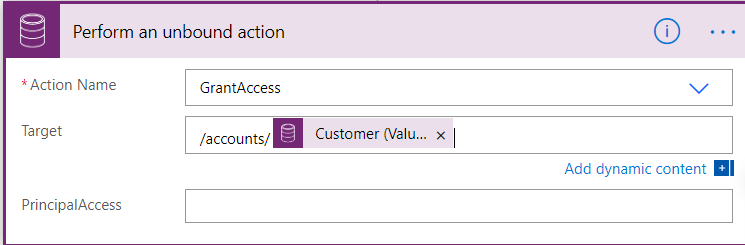
3. Now the Target should be entitylogicalname-plurarl(recordid) or entitylogicalname-plurarl/recordid , record if will be pulled from the Dynamic Contents Property
4. PrincipalAccess which needs to be in JSON format, which will include user or team to which the access will be provided and the Access Mask for the Privilege they will be given.
Recently while trying to debug a plugin with Persist to Entity mode on the update step, we didn’t find any profile record getting created.
One option is to try to reinstall the profiler. This could happen when we are using a different version of the plugin registration tool and it has the Profiler already installed/configured from the other version of the tool.
If that doesn’t help, then opt for Exception mode, that has always worked.
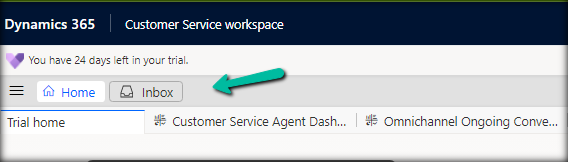
Inbox view in the agent workspace allows agents to quickly perform a preliminary assessment of the service requests coming from different channels for a timely response. Agents can view cases, conversations, and activities assigned in the inbox tab.
To enable inbox for the agents, inside the Customer Service admin center
To view marketing interactions, we need to add a custom connector to the timeline of the lead and the contact form. This step is only required if we are using custom forms and not the out-the-box marketing forms for lead and contact.
The OOB Form already has this connector defined.
Open the form for customization, select the timeline control, scroll down to Advanced >> Additional Settings >> Custom connectors, and click on Add connector.
Specify Constructor and Resource Path and save the record.