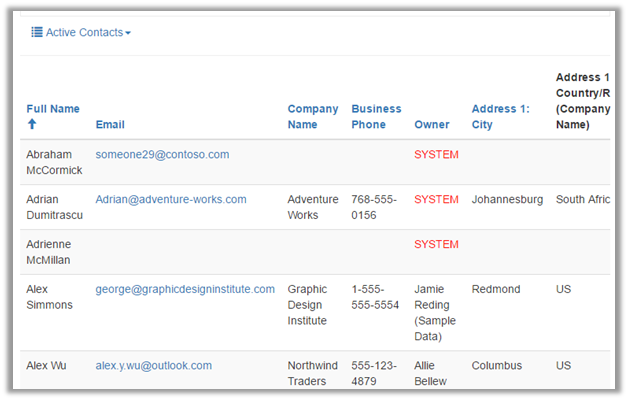
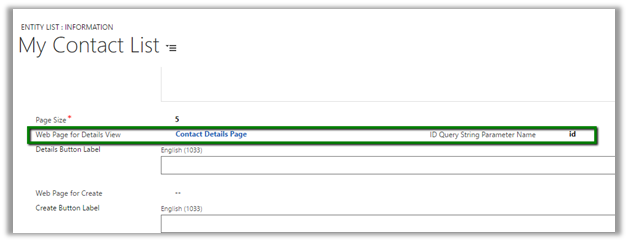
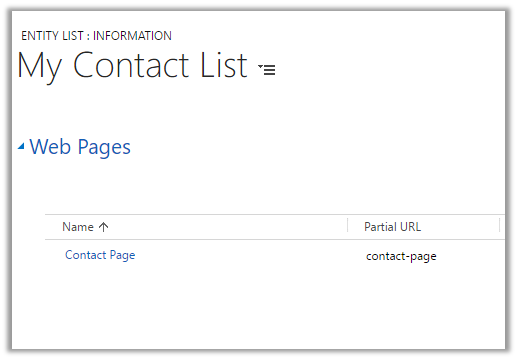
Suppose we have Entity List configured for a custom entity name Locations.

To configure OData feed go to OData feed tab and check the Enabled checkbox.

Specify the Entity Type Name and Set Name, if none is specified the entity’s schema name is used.
Select the View to be exposed for feed.
URL for the feed
<a href="http://<>/_odata”>http://<<domain>>/_odata

Get the data for the LocationSet à

Filter option à

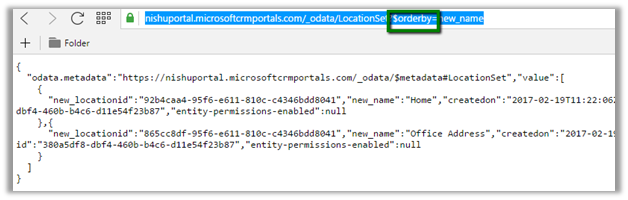
OrderBy option à
Supported options: –

Hope it helps..
Advertisements