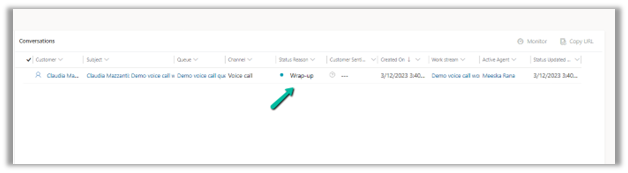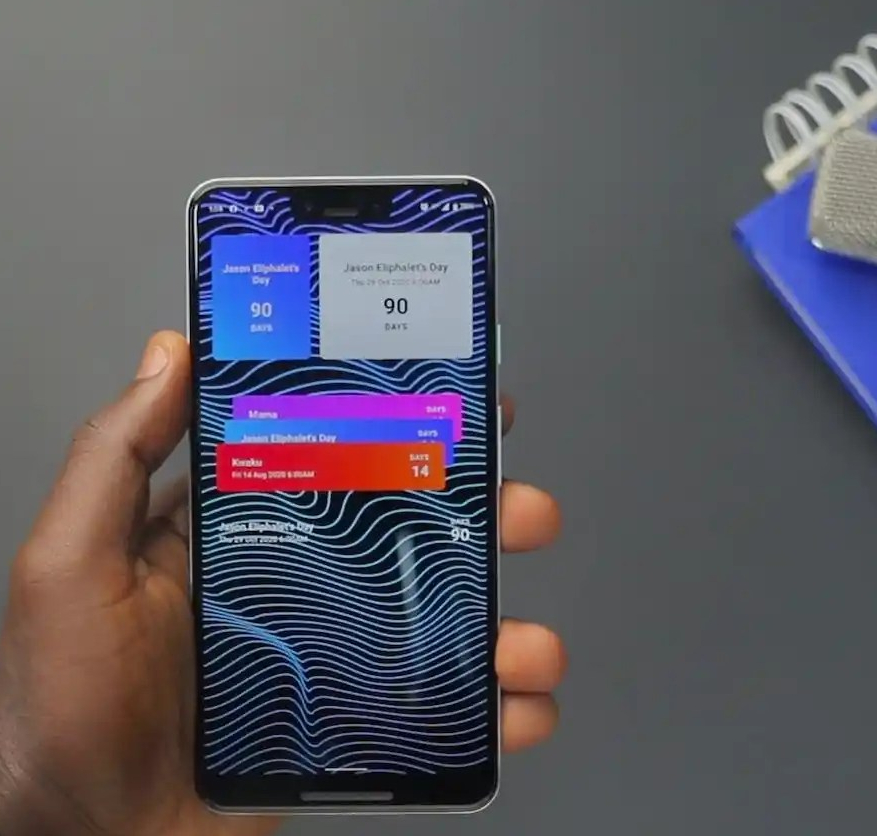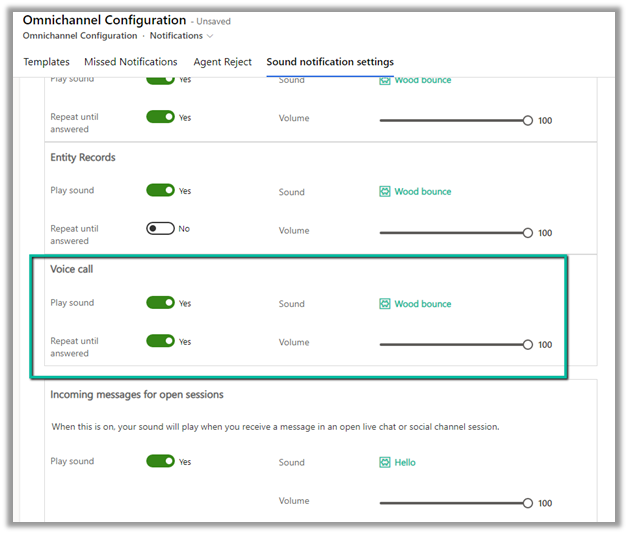
Below is the default notification the agent receives on incoming conversations/calls.
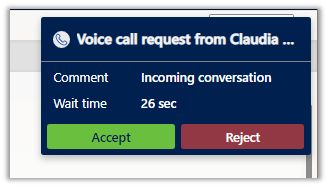
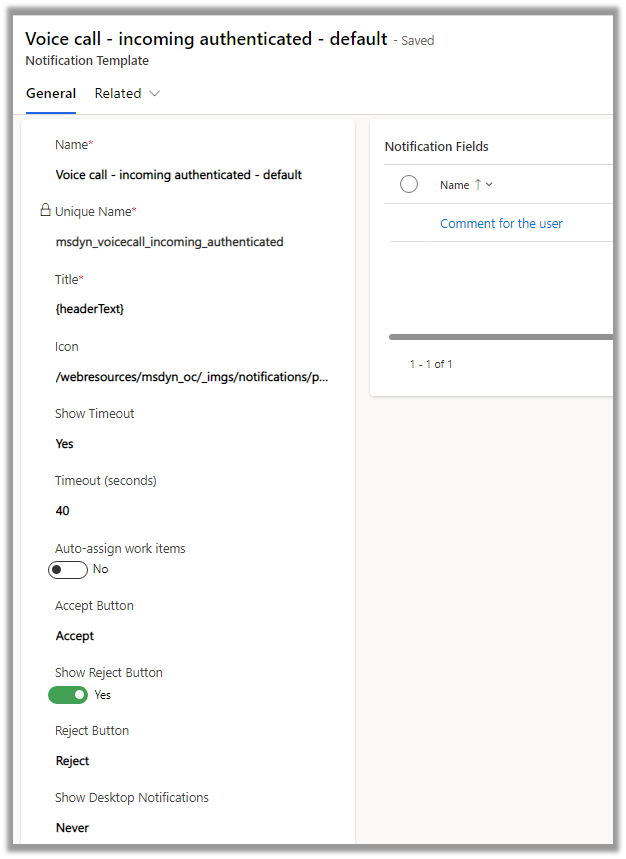
It is defined through the below out-of-the-box template.
|
Property |
Description |
|
Title |
To define the title. |
|
Icon |
To define the icon. |
|
Show Timeout |
Yes / No – to hide/show the timer (timer still runs in the background) |
|
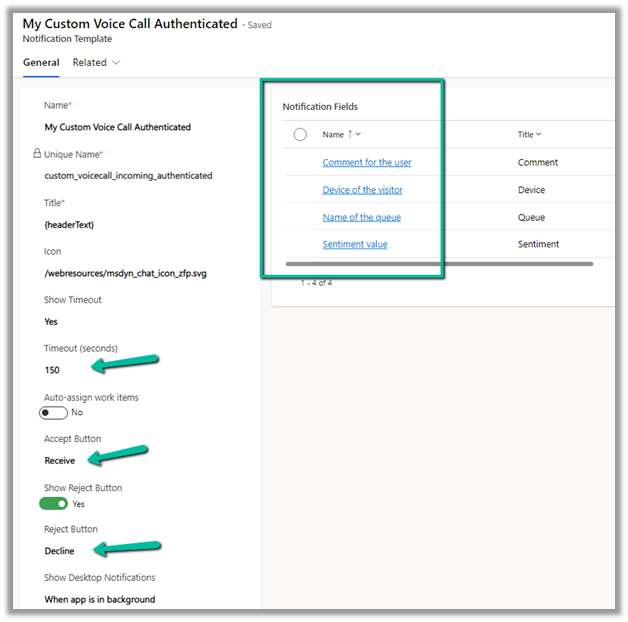
Time (seconds) |
For the Phone Call / Voice workstream the maximum value = is 150 seconds. |
|
Auto-assign work items |
Auto-assign incoming work item |
|
Accept Button |
Specify the text of the Accept Button |
|
Reject Button |
To hide or show the button |
|
Show desktop notification |
Never / When the app is in the background |
|
Notification Fields |
Specify fields to be shown in the notification using Slugs. |

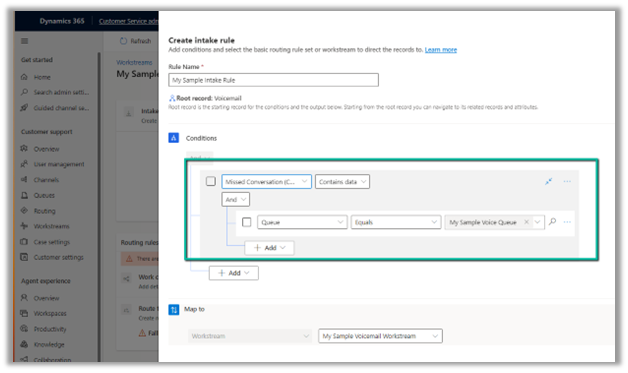
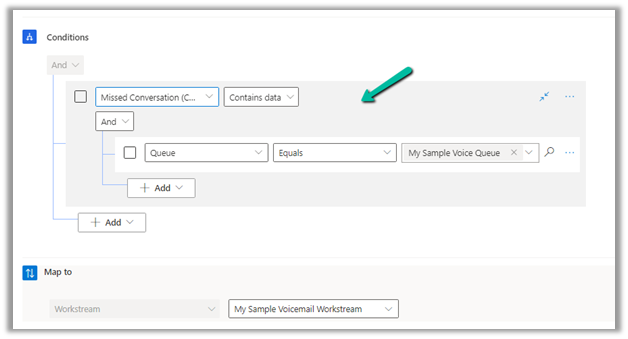
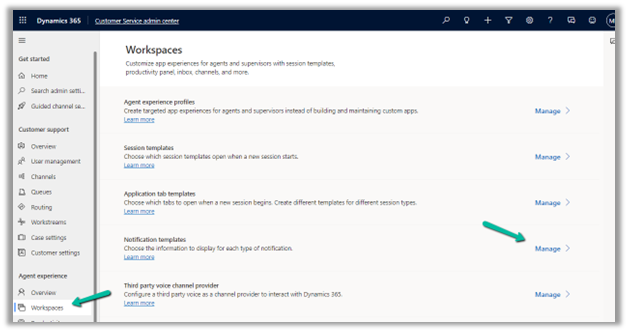
To make changes in the notification, we need to create a new notification template as we cannot update the box notification template.
Navigate to Agent Experience >> Workspaces >> Notification Templates (Manage)
Here we will create a new notification template to be used in place of Voice call – incoming authenticated – default template 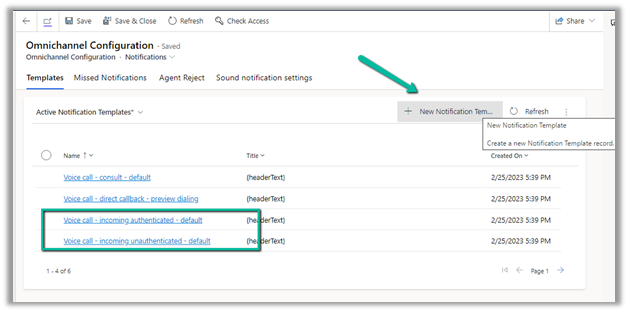
For our custom template, we have made the following changes –
Increased the timeout value, and changed the text for Accept and Reject buttons.
Added notification fields and enabled Desktop notification.
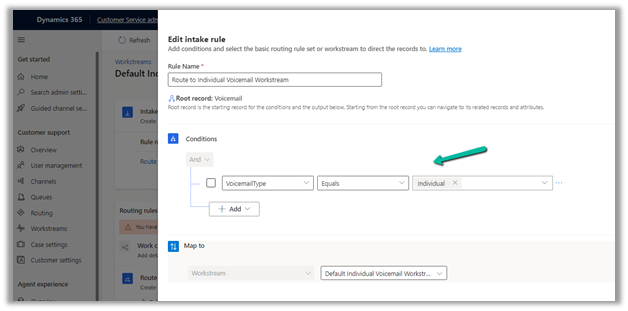
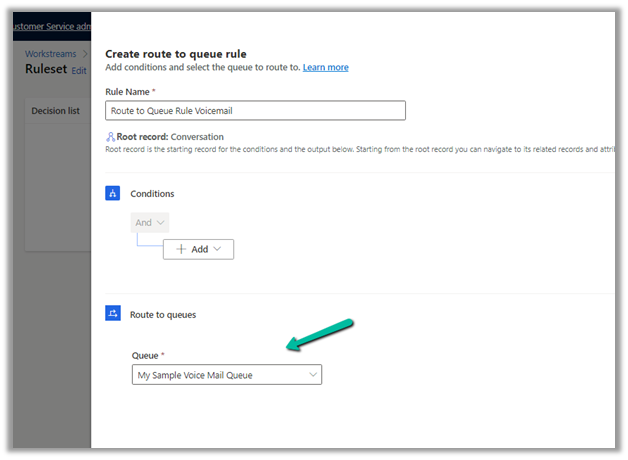
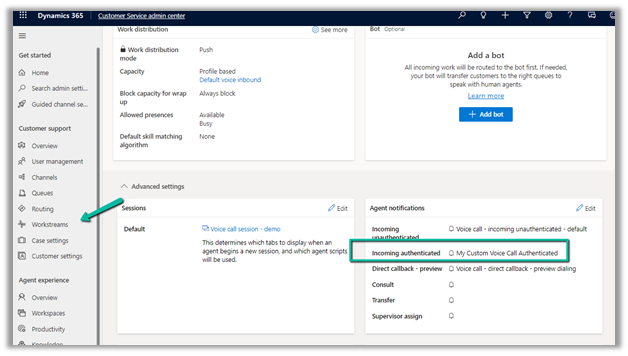
Let us update one of our workstreams to use this custom notification template.
Navigate to Customer Support >> Workstreams – Open the workstream and open the Advanced Settings and update the Incoming Authenticated template in the Agent notifications section.
We can see the changes reflected in the Notification.
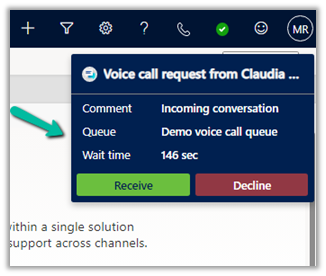
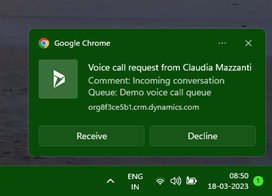
And also in the desktop notification –
Get all the details here-
https://neilparkhurst.com/2020/06/29/omnichannel-for-customer-service-notifications/
Hope it helps..