Similar to the apps that we see in Menu Bar for Dynamics 365, we can create our own apps.

First we need to enable the Preview for it.
Go to Administration à System Settings

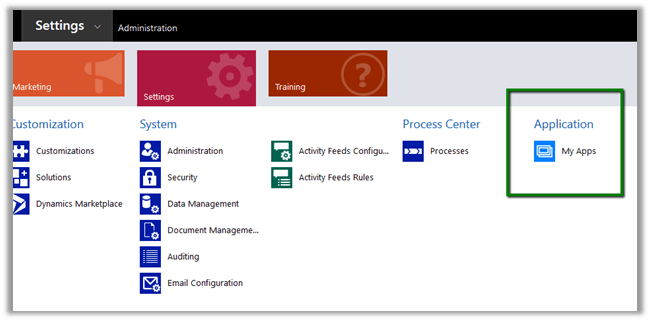
Go to Settings à My Apps
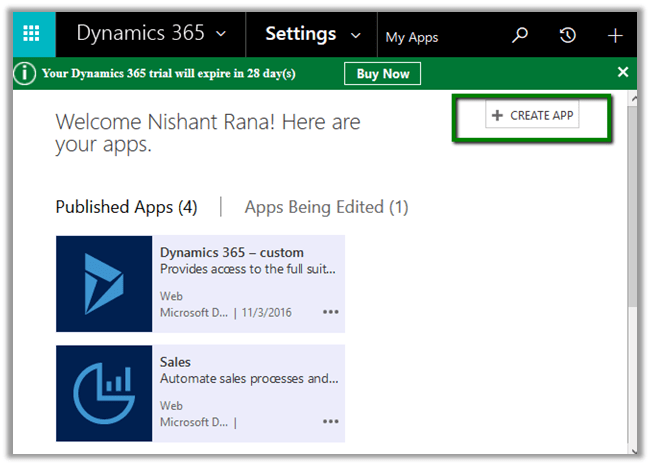
Click on Create App
It will take us to App Designer, provide details.

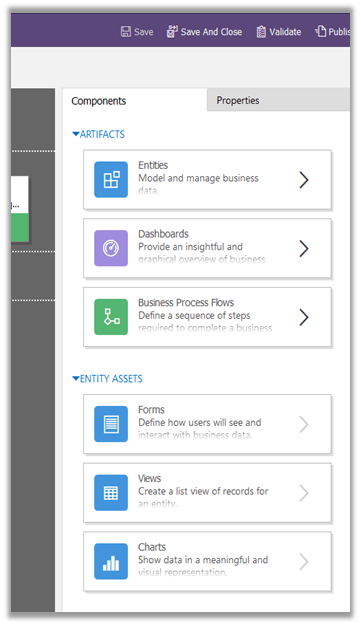
Different components that we can add
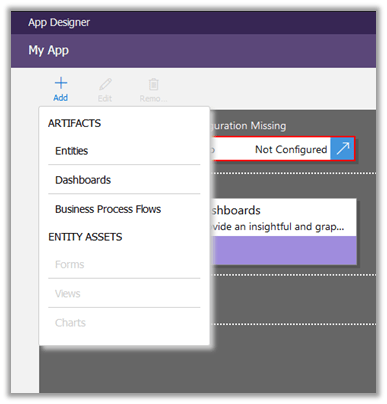
Or drag drop
First we need to configure the SiteMap for the app. Click on arrow inside Sitemap area to configure.

Inside Site map designer we can add Area, Group and Sub Area (the usual components of Site Map)

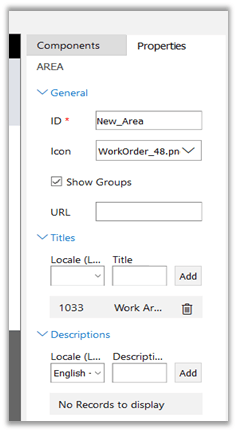
Update properties of Area, Group and Subarea and add new Sub Areas.
Area Properties.
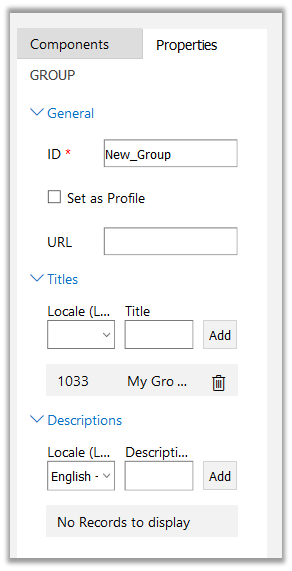
For Group
For SubArea
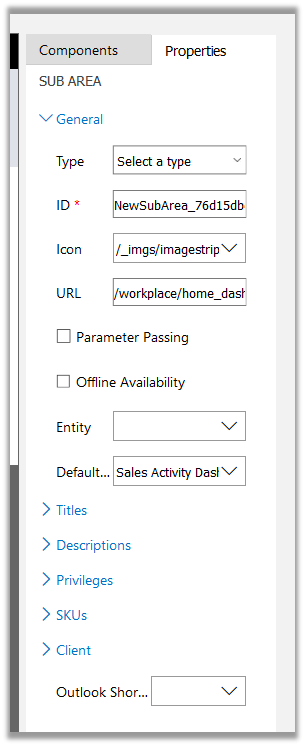
Different Types of Sub Area can be defined.

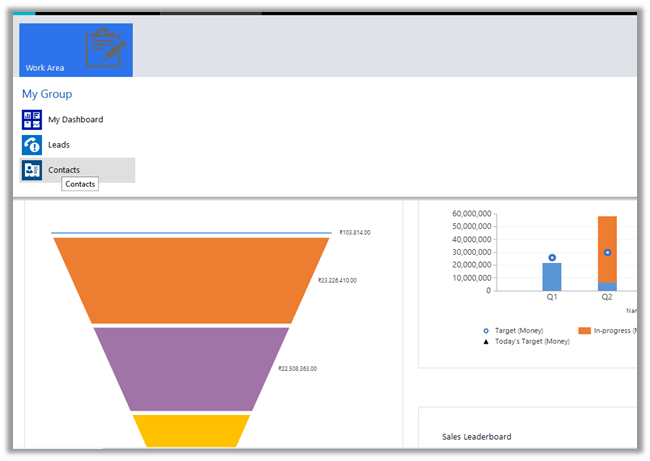
This is how the app looks inside Site Map Designer
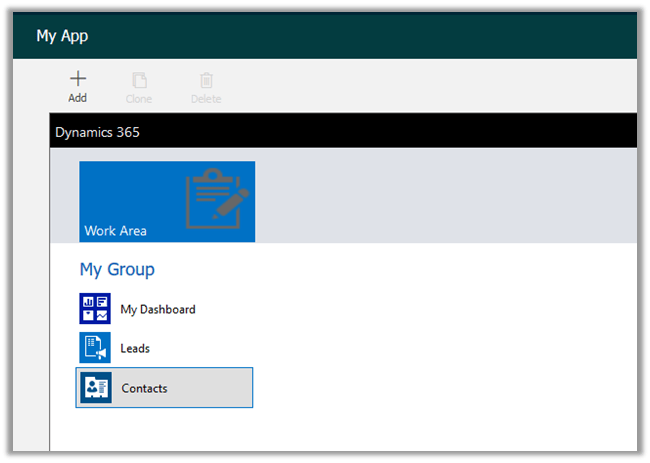
Save and close to go back to App Designer
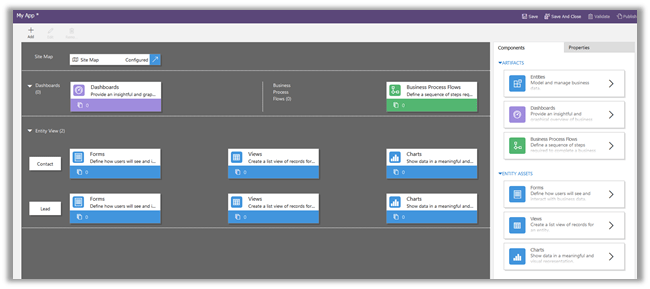
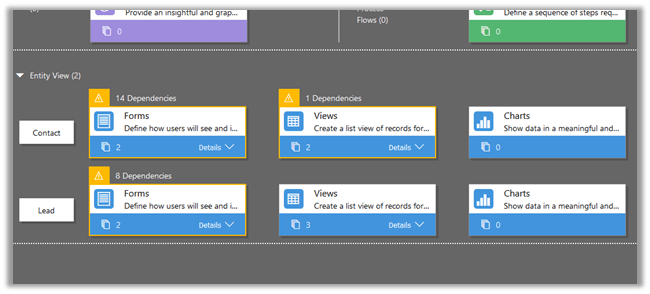
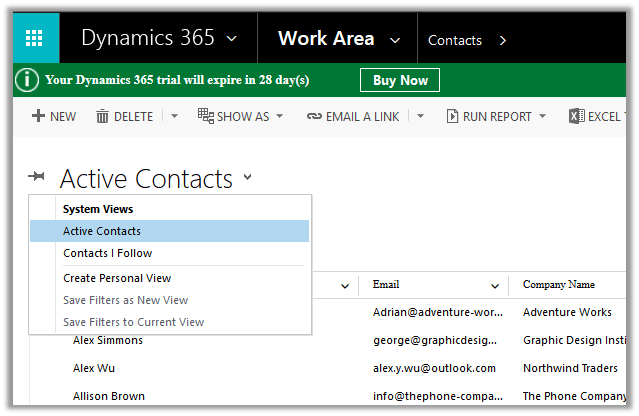
It has added Dashboard along with Contact and Lead Entity View.
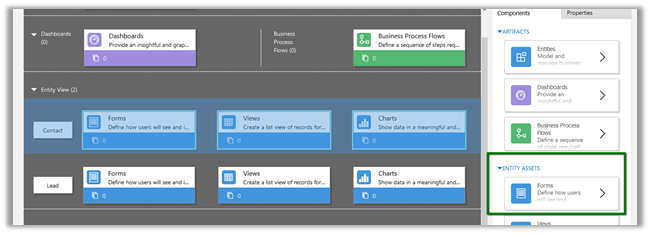
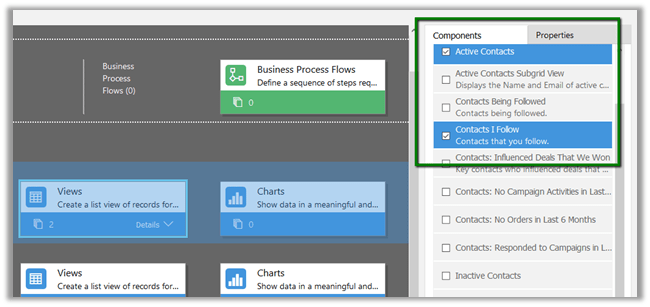
Now let us add Form and Views to Contact and Lead Entity View using Entity assets.
Select Contact in Entity View and select Forms in Entity Assets
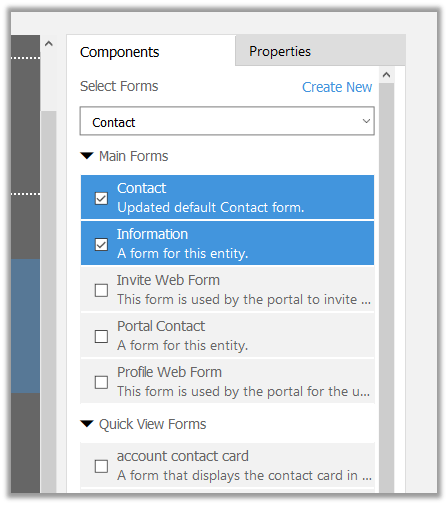
Similarly, for Views
Repeat the same steps for Lead entity.
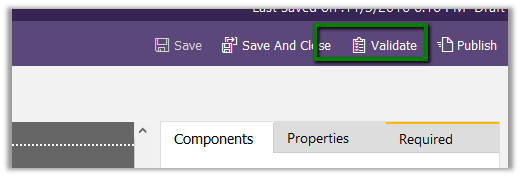
Click on Validate
It will show up all the dependencies
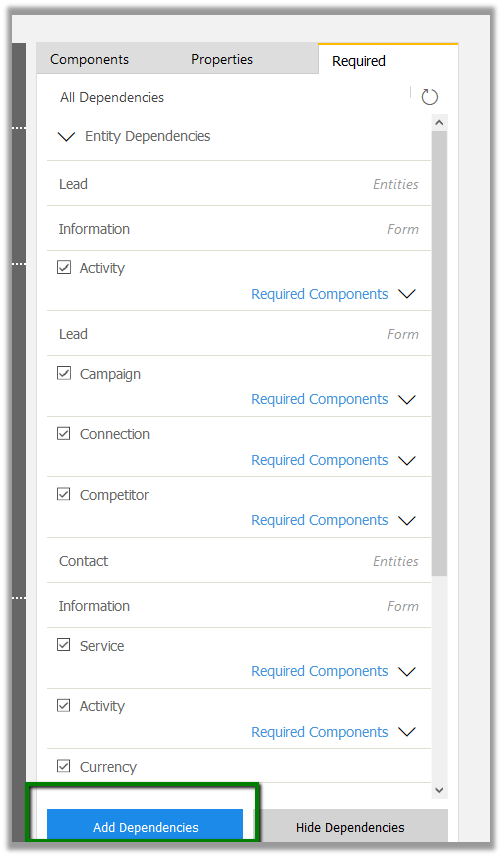
Required tab will list all the dependencies. For time being let us add all the dependencies
Publish the app.

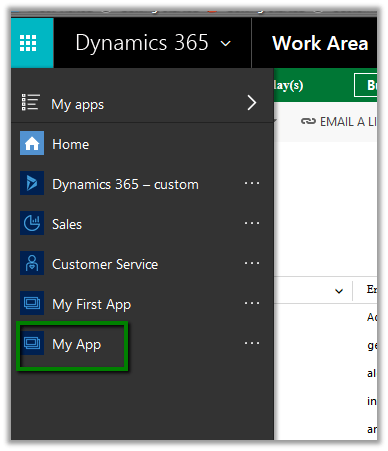
The apps would appear now in Dynamics 365 menu
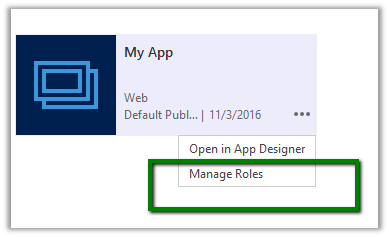
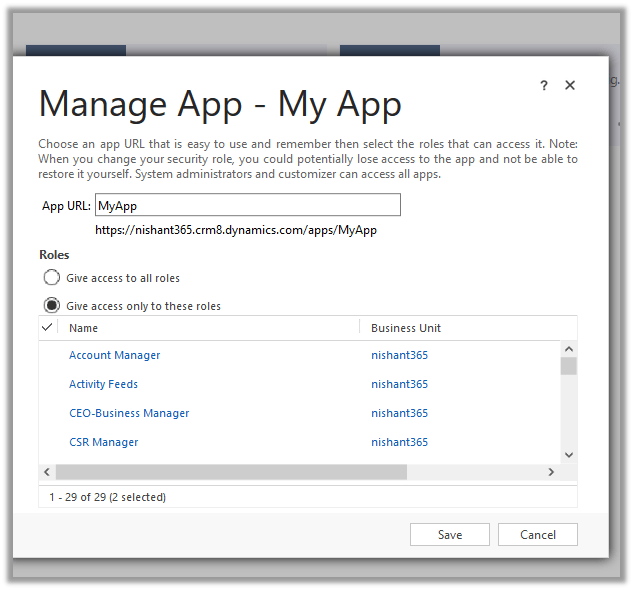
We can specify specific roles which could access the apps.
Hope this helps ..