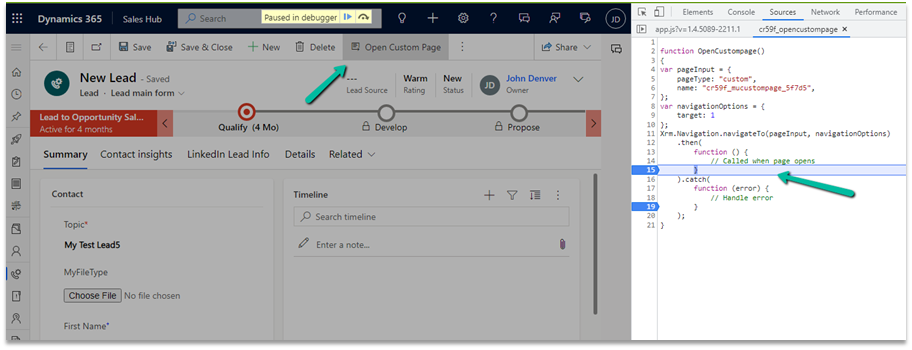
Recently we created a custom page to be opened from the Ribbon / Command bar, however, the page was not opening for us, even though the function was running properly.

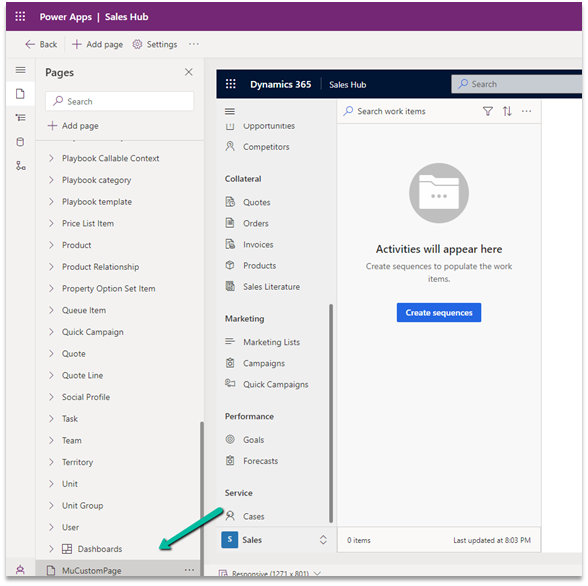
Here we had created the custom page from within the solution area, so we need to add this custom page to our model-driven app. (The other option is to create the page from the Modern App Designer.)
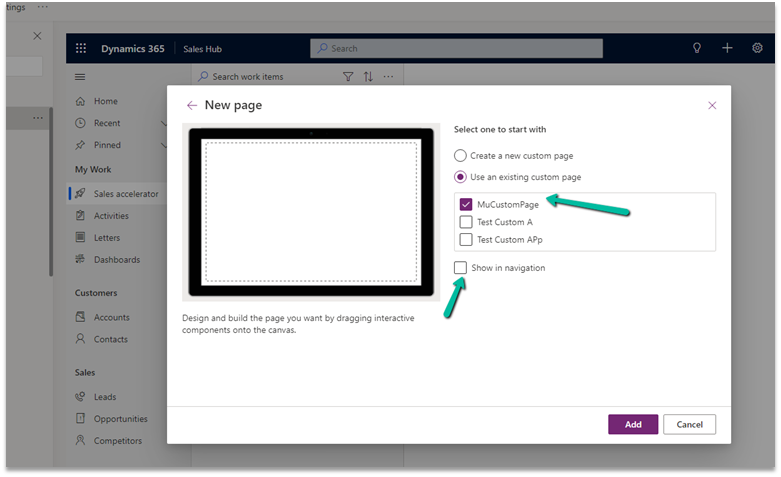
Open the app in the Modern App Designer and click on Add Page

Select Use an exiting custom page, select the page and uncheck the Show in navigation option as we are opening this page from the form.
Publish the app.

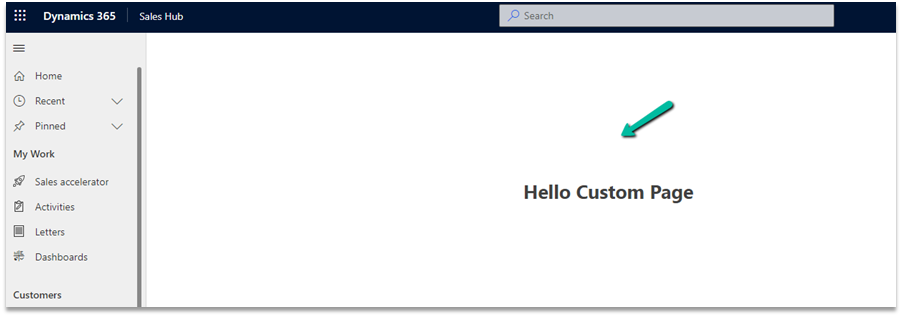
This time clicking on Open Custom page command/button on the form successfully opened the custom page for us.
Thanks to Andrew (https://butenko.pro/) for the solution.
Hope it helps..