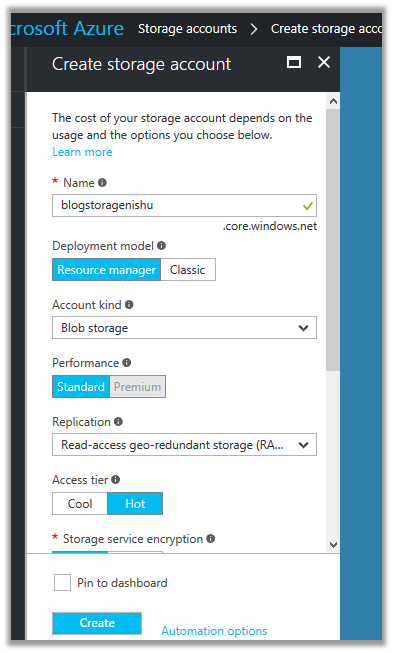
Here we will be creating a storage account of type blob storage and a container inside it. Then we will create a console application, add required nuget packages and upload a file to the container.
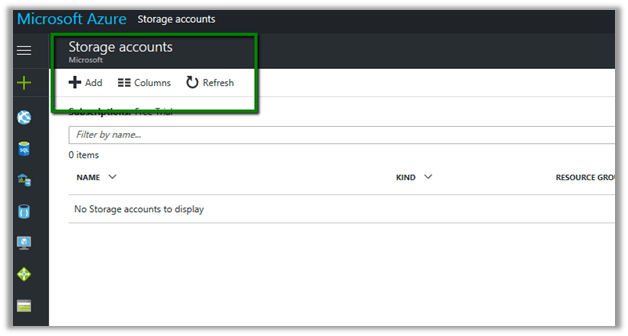
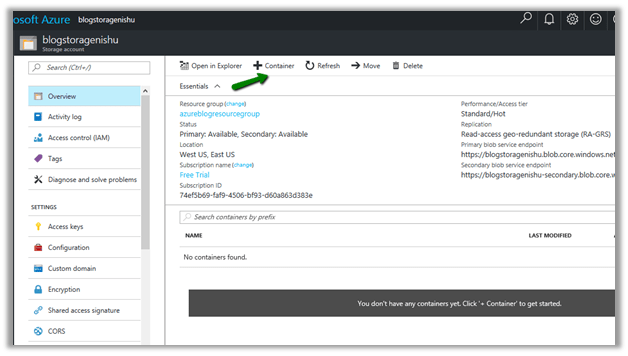
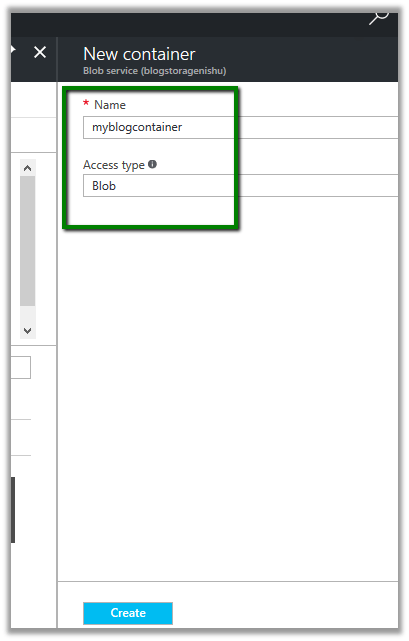
Create a new container in it to store the blob files
Now we’d write a console app to connect to this container and upload a file.
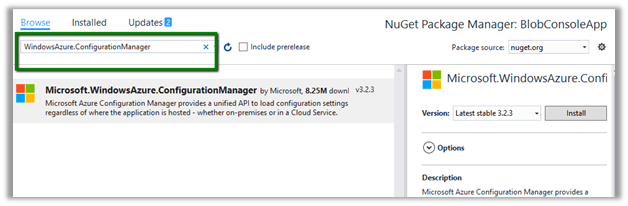
Create a new console application and add references to below Nuget Packages.
Windows.Azure.Storage
Windows.Azure.ConfigurationManager
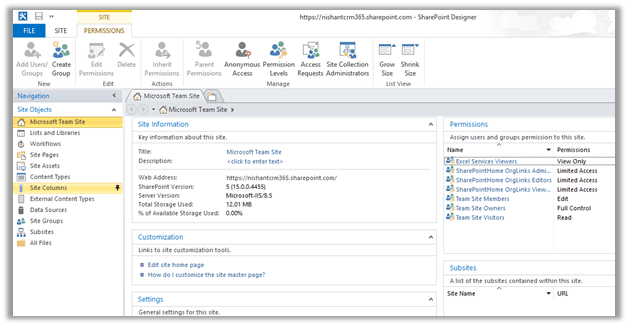
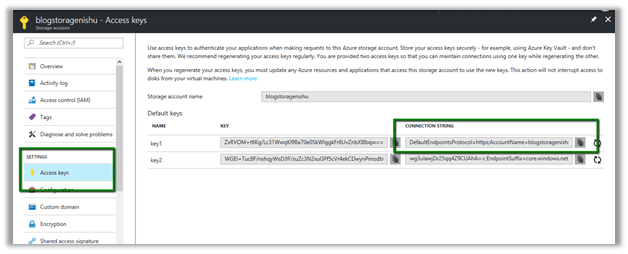
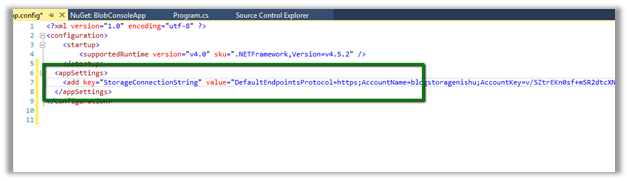
In Azure Portal – Storage Account, go to Access Keys and copy the connection strings for the storage account.
Inside console application add an appSettings section and add a key and paste the above copied connection string there.
The source code to upload the Blob file
// Retrieve storage account from connection string.
CloudStorageAccount storageAccount = CloudStorageAccount.Parse(
CloudConfigurationManager.GetSetting("StorageConnectionString"));

// Create the blob client.
CloudBlobClient blobClient = storageAccount.CreateCloudBlobClient();

// Retrieve a reference to a container.
CloudBlobContainer container = blobClient.GetContainerReference("myblogcontainer");

// Retrieve reference to a blob named "myblob".
CloudBlockBlob blockBlob = container.GetBlockBlobReference("WeekendChamps.jpg");

// Create or overwrite the "myblob" blob with contents from a local file.
using (var fileStream = System.IO.File.OpenRead(@"C:\Users\Bliss\Downloads\WeekendChamps.jpg"))
{
blockBlob.UploadFromStream(fileStream);
}
If you are a CRM developer or consultant, you can’t live without Plugin Registration Tool. The tool provided with CRM SDK is MUST in order to register/ uninstall any plugin to a CRM instance, be it online or on-premises.
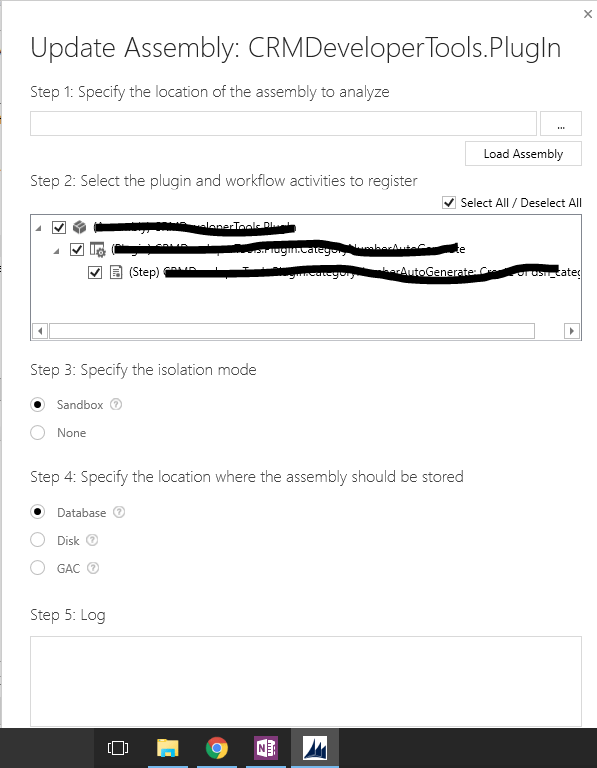
However, there is one weird issue with the tool (atleast the one provided in SDK 2013, and SDK 2016). That is, except for a few specific screen resolutions, the tool doesn’t show buttons to allow users to complete the actions.
Notice the screenshot below, where are the buttons to “Update Selected Plugins”? There is no scrollbar either.
There are few workarounds to get rid of this issue. For example, hitting TAB key for 2 times from the Step 2 control. Or hitting a shortcut key. But, for me the preferred method is to rotate the screen to left or right, this is because at least you can see what button you are hitting.
Let us see how we can configure Live Assist step by step.
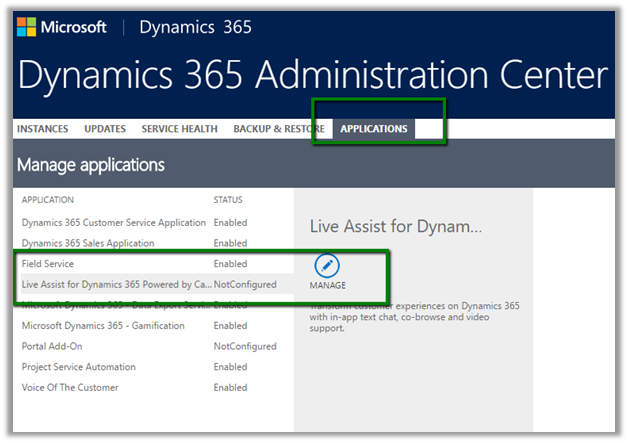
First, go to Applications tab of the Dynamics 365 Administration Center.
Select Live Assist for Dynamics 365 and click on Manage.
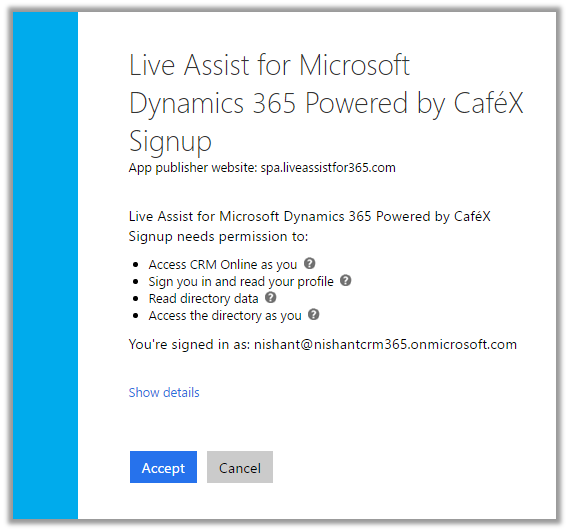
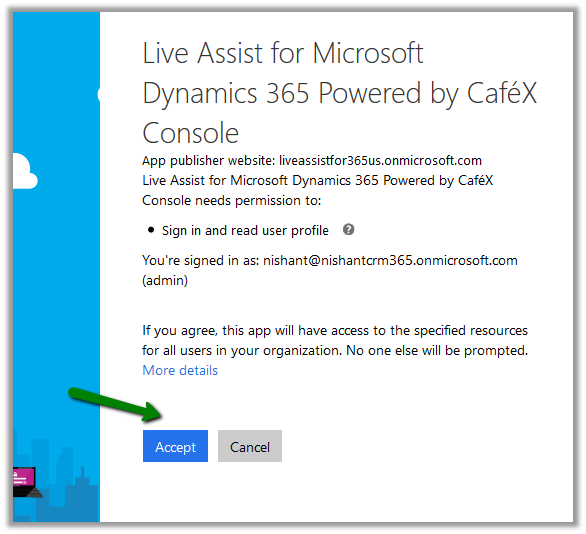
Click on Accept to give permission to the app.
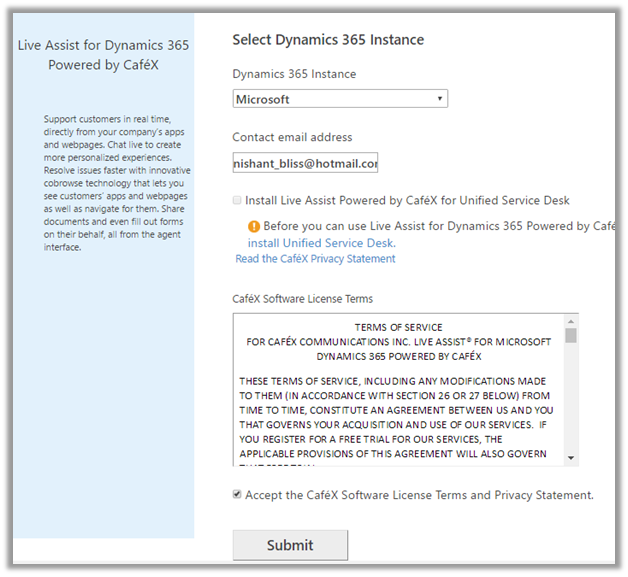
Select the Dynamics 365 Instance and provide your email id, accept the terms and conditions and click on Submit.
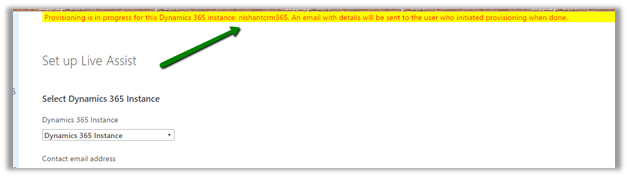
This configures the Live Assist on the specified Dynamics 365 Instance and also sends the email to the email id specified.
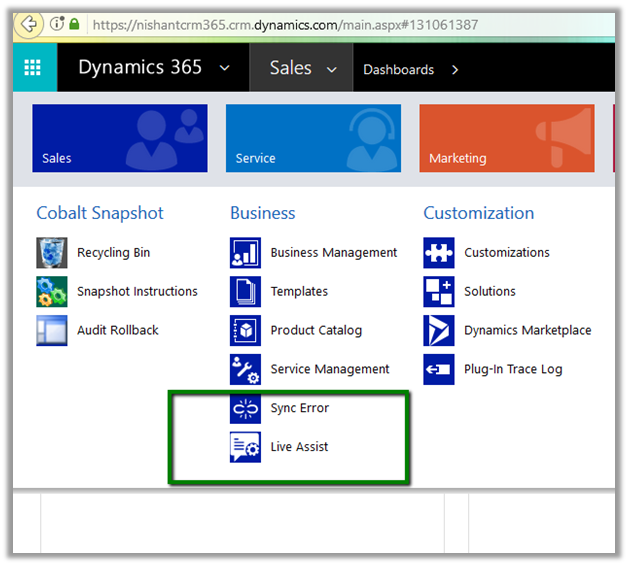
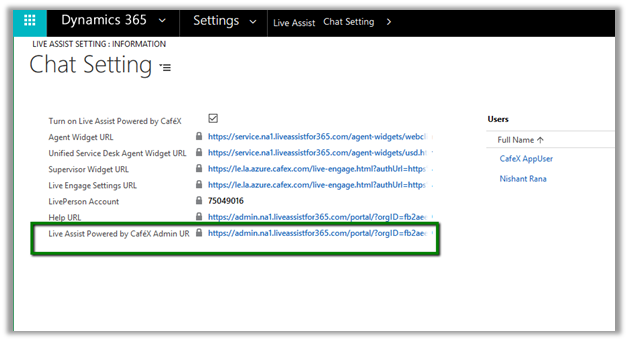
Once the configuration is done, we can see the new Live Assist section added in our Settings area.
There we can click on Admin URL of Live Assist for further configuration.
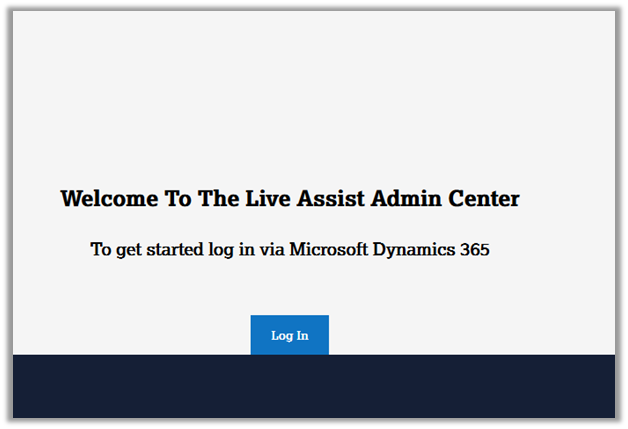
Clicking on it opens the Admin Center.
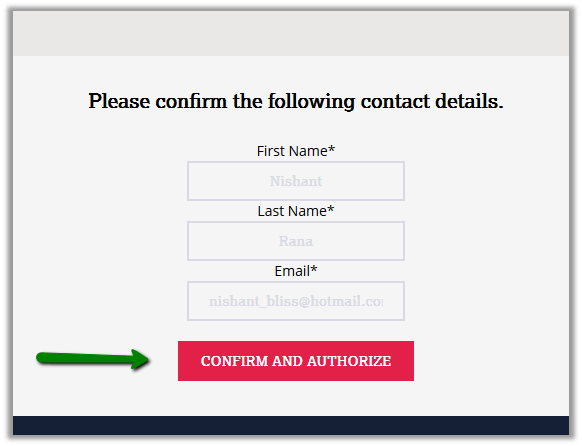
Click on Confirm and Authorize.
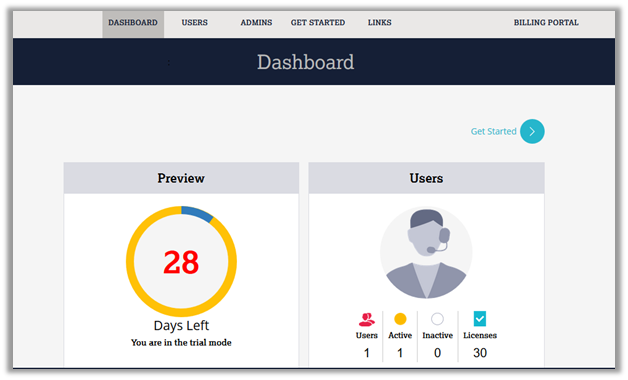
The Dashboard of the admin center.
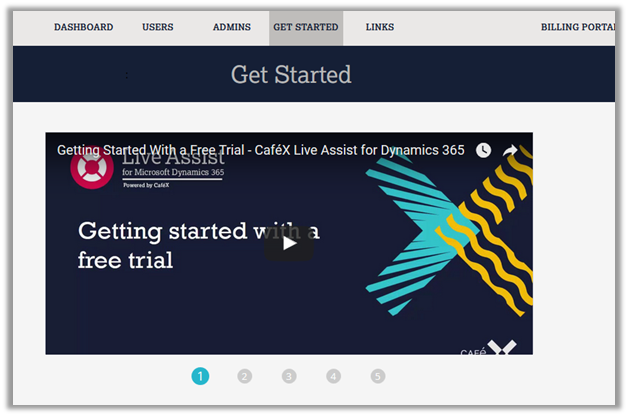
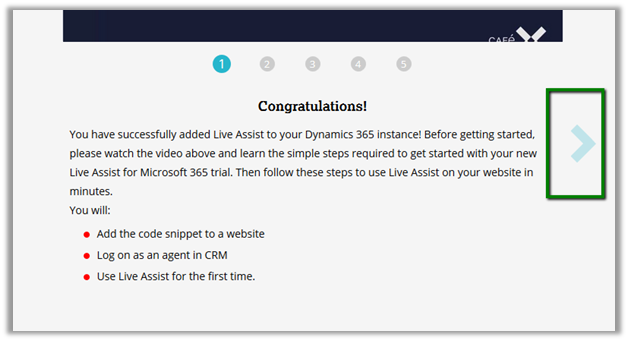
The Get Started page.
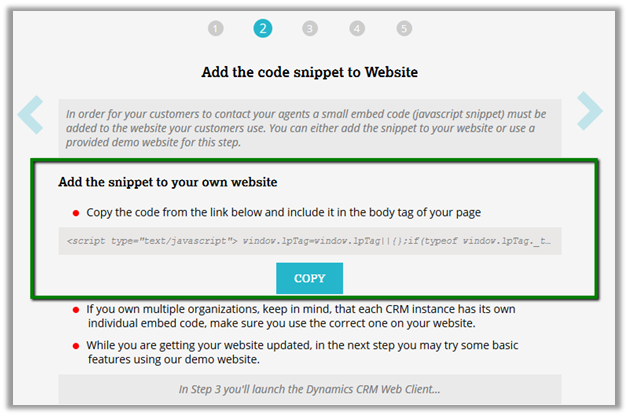
Code Snippet that we can use to enable Live Assist in web site.
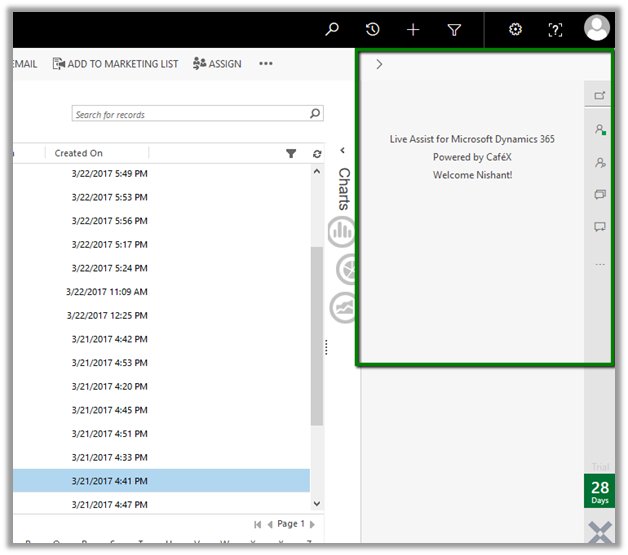
Live Assist adds a new panel on the right inside CRM.
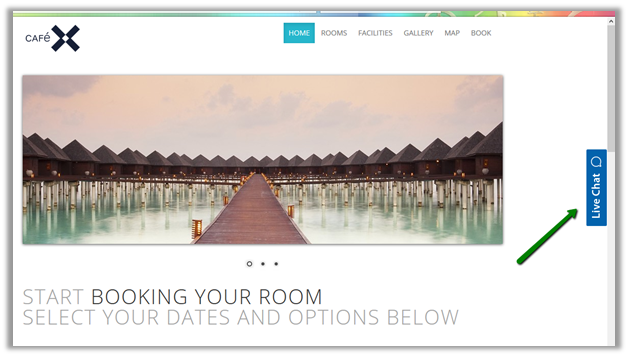
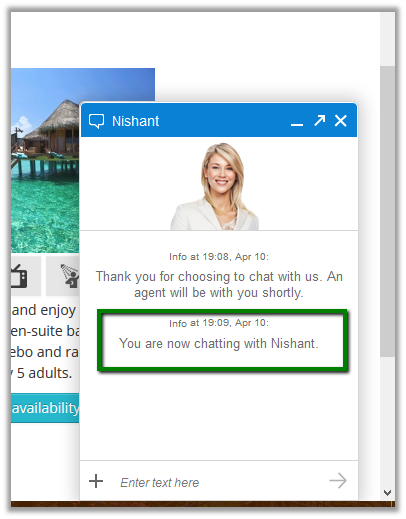
To test it we can make use of Demo Site provided along with Live Assist.
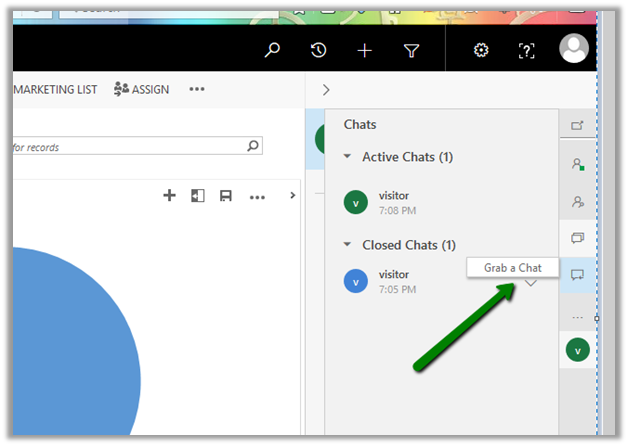
The agent within CRM can click on Conversation Icon and “Grab a chat” to start conversation.
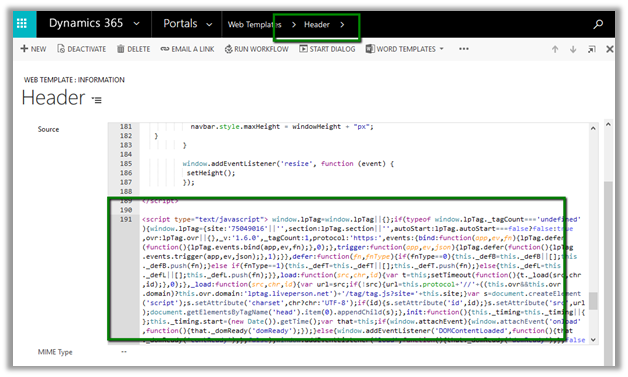
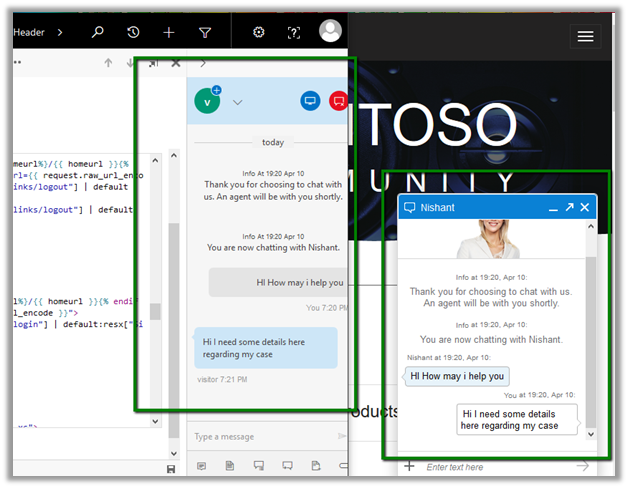
Now suppose we want to configure our CRM Portal to use it. For this we need to copy the code snippet provided earlier. Go to the Header web template of our Web Site and paste the JavaScript code to our Header’s source code.
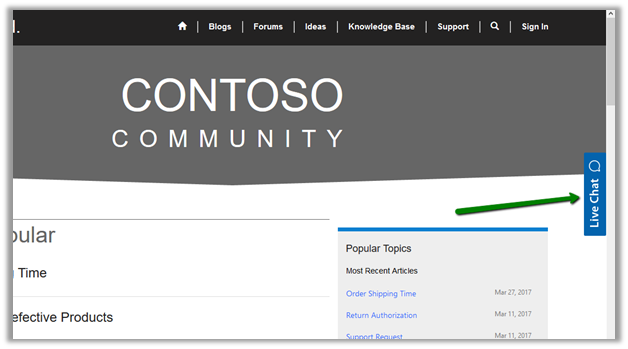
This enables Live Assist in the portal.
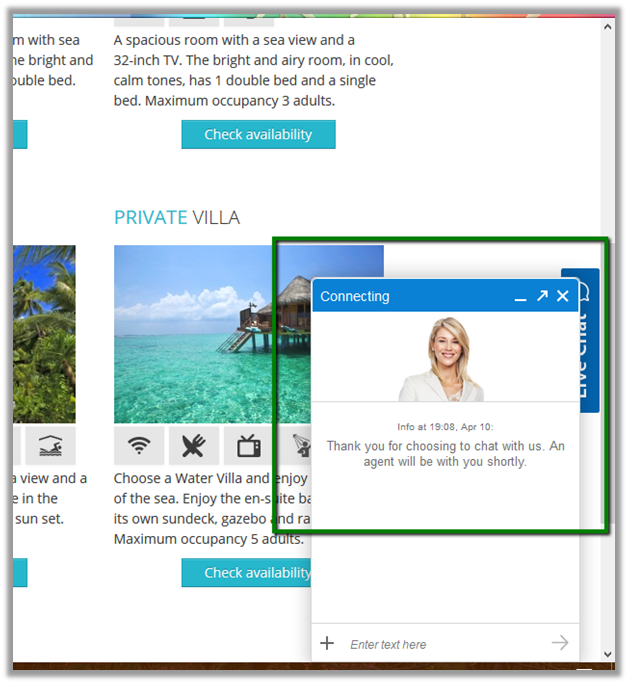
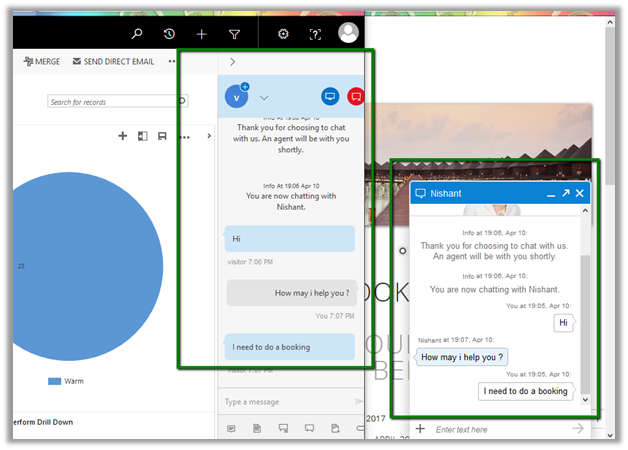
Communication between the CRM user and the Portal user.