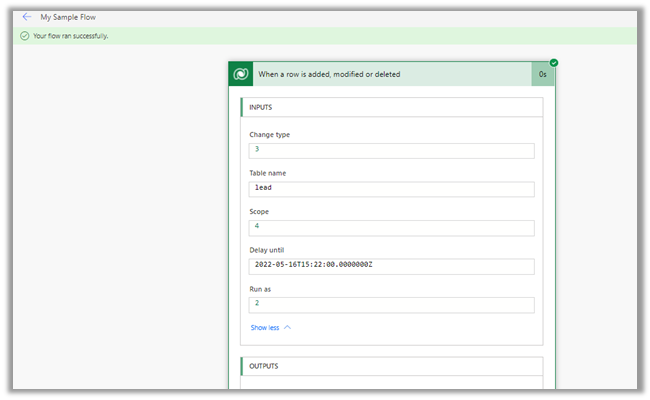
Recently while using Delay until property of the trigger, in one of the flows, we got the below error
“Unable to process template language expressions for trigger ‘When_a_row_is_added,_modified_or_deleted’ at line ‘1’ and column ‘16344’: ‘In the template language function ‘convertToUtc’, the value provided for the time zone id ‘Gulf Standard Time’ was not valid. ‘.”
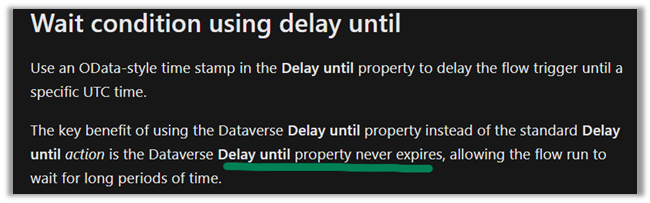
Usage of Delay until is nicely explained here by Debajit –
https://debajmecrm.com/how-to-delay-a-power-automate-flow-execution-till-a-specified-date-and-time/
https://debajmecrm.com/replicate-dynamics-365-workflow-timeout-wait-condition-in-microsoft-flows/

Delay until = convertToUtc(‘2022-05-16T17:22:00′,’Gulf Standard Time’)
It turns out that Gulf Standard Time is not a valid time zone id.
Changing it to Arabian Standard Time resolved the issue for us.
i.e.
convertToUtc(‘2022-05-16T19:22:00′,’Arabian Standard Time’)
Also check – https://nishantrana.me/2022/01/19/how-to-use-do-until-and-delay-in-power-automate/
Hope it helps..