Just want to share my experience of using KingswaySoft’s OptionSet Mapping Editor and how easy and efficient it makes to migrate data in Microsoft Dynamics 365 CE.
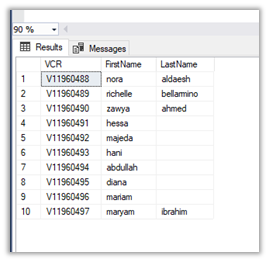
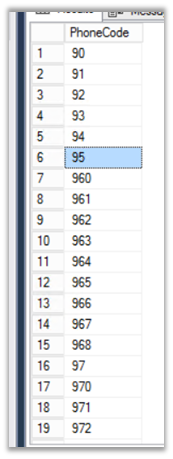
Here our SQL (OLE DB Source) was having following values for Phone Code field. Here we are doing upsert for the Contact entity.
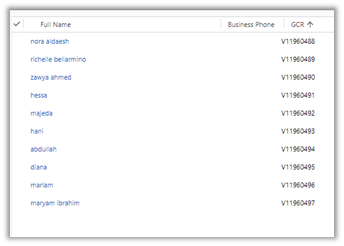
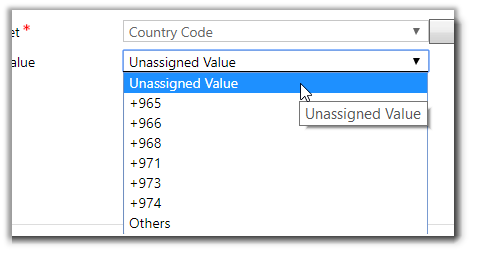
However inside CRM, we were only maintaining or dealing with few of the values as shown below for the corresponding field.
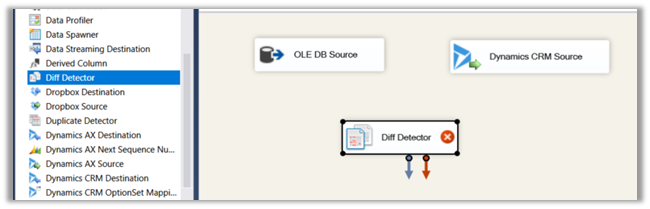
To deal with this situation, inside SSIS Package, drag the Dynamics CRM OptionSet Mapping component.
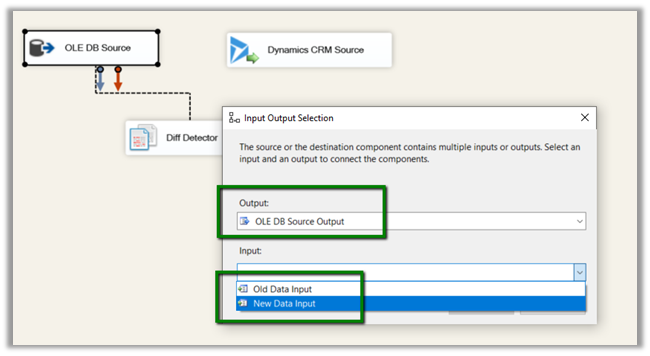
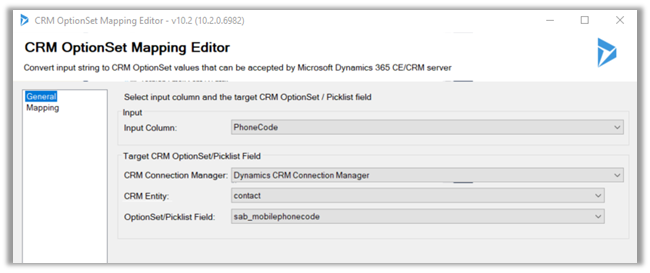
In General page, specify the input column of the table and for target properties, specify the CRM Connection Manager, Entity and the field to which we are mapping the input to.
Here we need to explicitly define input value and option set value mapping, for each of the option set values for the field inside CRM, because the source doesn’t have the “+” appended to it i.e. unmatched values only.
Here we have defined the mapping
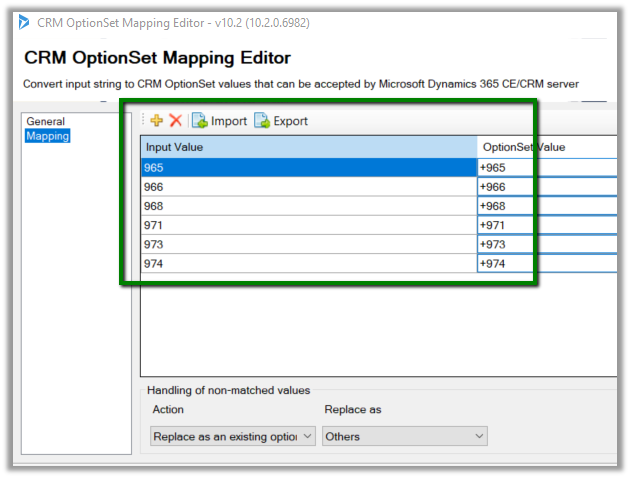
Now for the extra values that source have, we want it to map it to Others option set value inside CRM.
For this in Action Drop-Down select “Replace as an existing option” and in “Replace as” select the Others option set value.
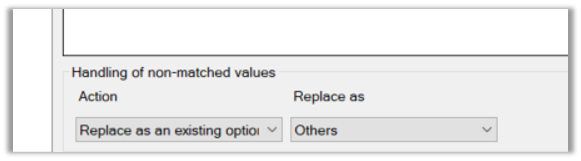
If we want to create the missing input value as an option set value we can use Create Option Action
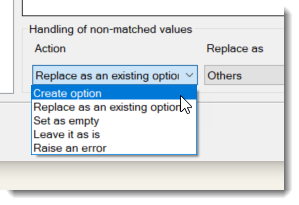
- Set as empty will simply ignore the unmatched input values and would pass blank for them.
- Leave it as is will not do any manipulation and will pass the input values as it is.
- Raise an error as the name suggests will throw an exception.
Get all the details here
Hope it helps..