
Continuing the previous post, let us now delve deeper into the different options inside each of the workstream types.
Let us first create a workstream of type Messaging – Chat (Persistent) with work distribution mode as Push, and check the various configuration to be done for it.

We are presented with 5 main sections –
- Live Chat (setup).
- Routing Rules – Work classification and Route to queues.
- Work Distribution.
- Bot.
- Advanced Settings

In the case of work distribution as Pick the only change is in the mode displayed, the rest of the settings remains the same.

The Advance settings section has the following sections –
- Sessions
- Agent Notifications
- Context Variables
- Smart Assist Bots
- Quick Replies

These sections remain the same for other Channels as well – Apple Message for Business, Chat, Custom, Facebook, Google’s Business Messages, LINE, Microsoft Teams, SMS, Twitter, WeChat, and WhatsApp.
Only in the case of Chat, if we uncheck
Make Chats Persistent, we do not get the option of Auto Close after Inactivity and Keep same agent for entire conversation as those options apply specifically to the persistent chat.

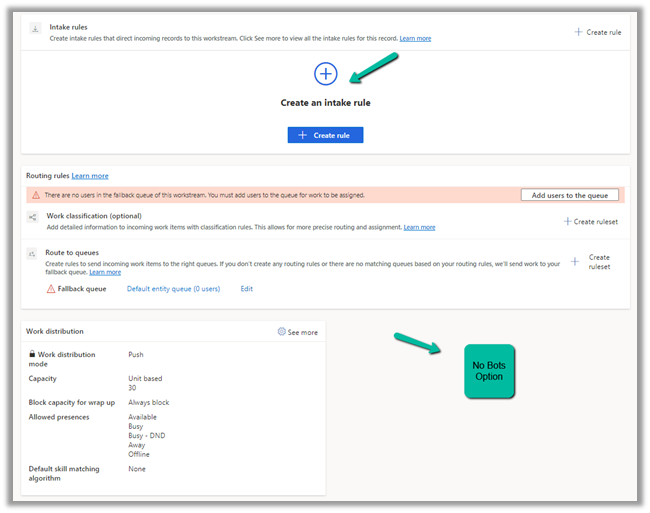
- Now let us create a workstream of type Record and see the options there.

- Here we can see the options to specify the Intake rules instead of setting up the channel.
- The routing rules section remains the same.
- Work distribution doesn’t have the option of Auto Close after Inactivity and Keep same agent for the entire conversation. This is because here we routing the record and do not have any conversation with the customer.
- The bot is also not available for record-type workstreams.
For Advanced Settings, we only have the option of Sessions and Agent notifications.
The other sections Context Variables, Smart assist bots, and Quick replies are not available that we saw for messaging type workstream, considering we are not having any conversation here.

- Now let us check for the Voice type of workstream.

- Here we get the same options as we have for workstream type messaging except Auto Close after Inactivity and Keep same agent for entire conversation, as expected.

And in advanced settings, the only difference when compared to the messaging channel is that there is no section for quick replies.

In a nutshell,
|
Settings / Options |
Messaging |
Record |
Voice |
Description |
|
Options |
Setup up channel |
Intake Rules |
Setup Voice |
Set up the corresponding channels or intake rules. |
|
Routing Rules |
||||
|
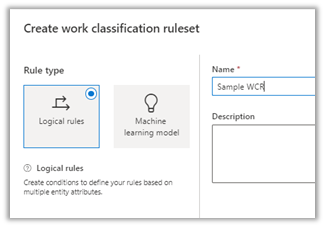
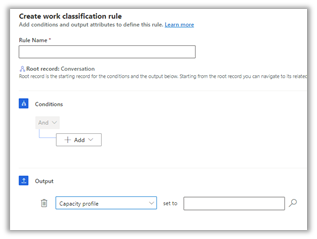
Work Classification (optional) |
Y |
Y |
Y |
Work classification allows us to define conditions and add additional information as output attributes for optimum assignment of the work item. It can be based on Logical rules or Machine Learning models. https://learn.microsoft.com/en-us/dynamics365/customer-service/configure-work-classification
|
|
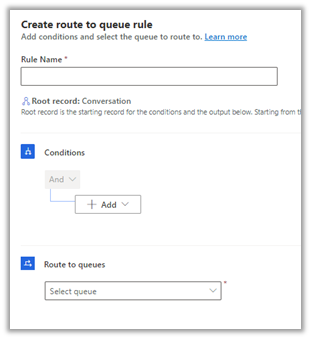
Route to queues |
Y |
Y |
Y |
In Routing Rules we can define conditions/rules which when matched, route the incoming work item to the queue. If no rules match fallback queue will be used. https://learn.microsoft.com/en-us/dynamics365/customer-service/configure-route-to-queue-rules
|
|
Work distribution |
||||
|
Auto-close after inactivity |
Y * |
N |
N |
We can define the period in minutes (days), after which the inactive conversation will be moved to the closed state.
|
|
Work distribution mode |
Y |
Y |
Y |
Push or Pick as defined while creating the workstream. Cannot be edited.
|
|
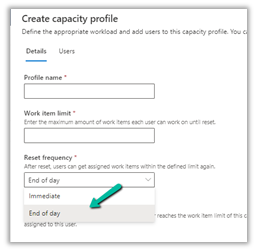
Capacity |
Y |
Y |
Y |
Can be either Unit or Profile based https://learn.microsoft.com/en-us/dynamics365/customer-service/capacity-profiles
|
|
Block capacity for wrap up |
Y |
Y |
Y |
By default – Always Block. We can specify Don’t block or from 1 minute to 60 minutes, the duration for which agent capacity is blocked while the conversation is in Wrap Up state.
If we select Don’t block, the agent’s capacity will be immediately released when Conversation moves to Wrap State. Doesn’t apply i.e. capacity won’t reset for End of day capacity profile.
|
|
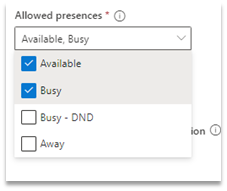
Allowed presences |
Y |
Y |
Y |
The presence values, which agent can be assigned. Out of the box we have Available, Busy, Busy – DND, Away. We can also define custom presence – https://learn.microsoft.com/en-us/dynamics365/customer-service/presence-custom-presence
|
|
Default skill matching algorithm |
Y |
Y |
Y |
None, Exact Match, Closet Match.
|
|
Keep same agent for entire conversation |
Y* |
N |
N |
If we want the conversation to be assigned to the originally assigned agent when re-initiated after some time
Only available for Push type work distribution. |
|
Bot (optional) |
Y |
N |
Y |
This option allows adding a bot to the workstream. All incoming work items will be routed to the bot first.
Only available for Push type work distribution. |
|
Advanced Settings |
||||
|
Sessions |
Y |
Y |
Y |
We can use out of the box template defined or create our own session template to be used. Within the session template, we can define
|
|
Agent Notifications |
Y |
Y |
Y |
We can use the out-of-the-box notification templates defined or can create our notification template.
|
|
Context Variables |
Y |
N |
Y |
We can define context variables of type Text or Number, which can be used in macros and agent scripts and can also be used in routing rules.
|
|
Smart assit bots |
Y |
N |
Y |
We can configure Bot to provide smart assist suggestions to the agents.
|
|
Quick Replies |
Y |
N |
N |
These are predefined messages, that agents can use to quickly respond to the customers. https://learn.microsoft.com/en-us/dynamics365/customer-service/create-quick-replies
|


*not available for non-persistent chat.
In the next posts, we’d delve deeper into each of the options.
Hope it helps..
Discover more from Nishant Rana's Weblog
Subscribe to get the latest posts sent to your email.


One thought on “Workstreams Overview – part 2 – Dynamics 365 Customer Service / Omnichannel”