How to assign power automate per flow plan to your flow


Mohsin Khalid's avatarMohsin Khalid

Since Microsoft came out with their new licensing around the Power platform breaking the power apps licenses and power automate licenses apart there has been a lot of questions in the community forums and generally on how are power automates getting licensed. Short answer to that question is there are now two licensing options available if someone would like to enjoy the power of power automate and power automate is not included in the license options for power apps.

  1. Power automate per user plan
  2. Power automate per Flow plan

The per user plan is quite self explanatory and the license is assigned to the user like the previous power apps plan 1 and plan 2 licenses, this has a lower limit than the expensive per flow plan but does allow that particular user to create unlimited number of flows for themselves. The power automate per Flow plan has a different…

View original post 175 more words

D365 Quick Tip: Simple & Detailed Mode in Advanced Find


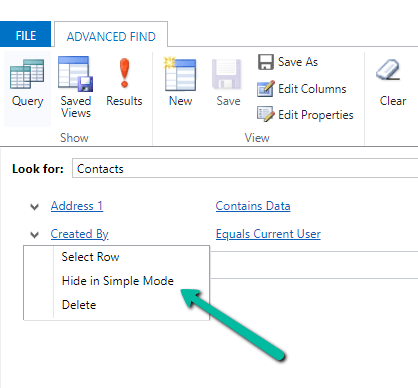
Change the advanced find mode as per your preference. Also we can hide a particular condition (row) through “Hide in Simple mode” option.

hidesm

priyeshwagh777's avatarD365 Demystified

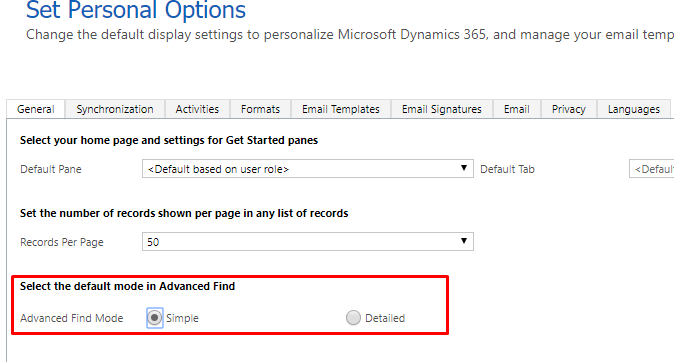
If you ever wanted to refine your Personal Settings and ever came across this setting that asks your to set the default mode in Advanced Find
setting

But didn’t observe the Advanced Find well? Here’s what it does

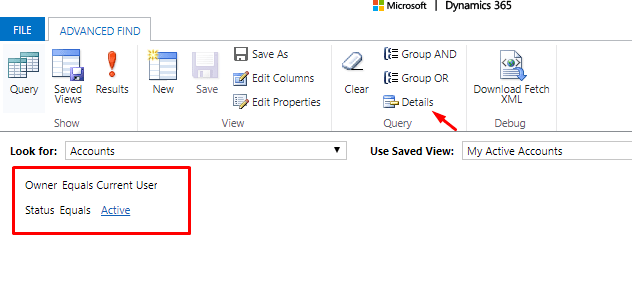
Simple Mode

As per Advanced Find behavior, the view which you are on is pre-selected in the Advanced Find.

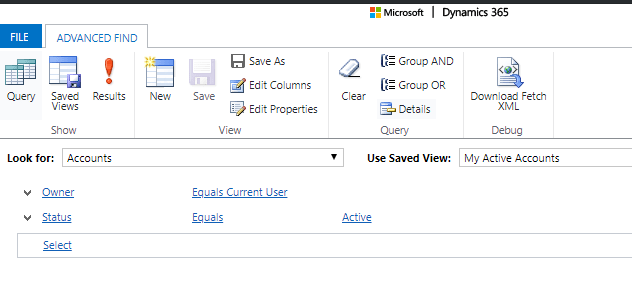
And observe that the query is locked and you actually need to click on Details to expand it or make it editable
simpleMode

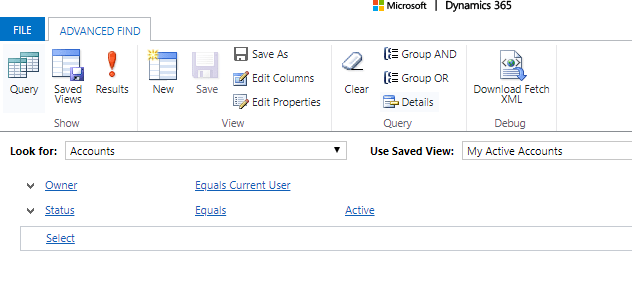
And then it expands like this
expanded

Detailed Mode

In Detailed mode, if you click on Advanced Find button, the query will already be in detailed view ready for you to be edited directly without you needed to click on Details as in Simple mode
advancedMode

Hope this quick tip saves you that extra bit of second. 🙂

View original post

2022 Release Wave 1 – First impressions


carinamclaesson's avatarCarina M. Claesson

Today Release Notes for 2022 Release Wave 1 were made available. In this post I will summarize my first impressions and focus will be on Power Apps and Power Automate, but there are also new features from other areas that I will highlight. Here are links to the Power Platform 2022 Release Wave 1 Plan and Dynamics 365 2022 Release Wave 1 Plan.


View original post 1,343 more words

How to – Set up Dynamics 365 Customer Insights Trial


https://nishantrana.me/2022/02/09/how-to-import-data-from-local-data-files-to-dynamics-365-customer-insights/To set up the trial of Customer Insights, open the Dynamics 365 Free Trial Page and scroll down to Dynamics 365 Customer Data Platform section

https://dynamics.microsoft.com/en-gb/dynamics-365-free-trial/

Click on Try for free

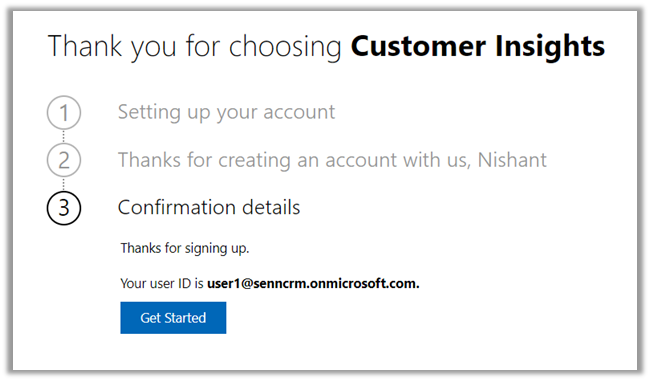
Sign in with your work account or the Dynamics 365 trial account created and click on Get Started

As a first step, it asks for specifying the region for the communication preferences.

For the trial, let us choose the Audience Insights option.

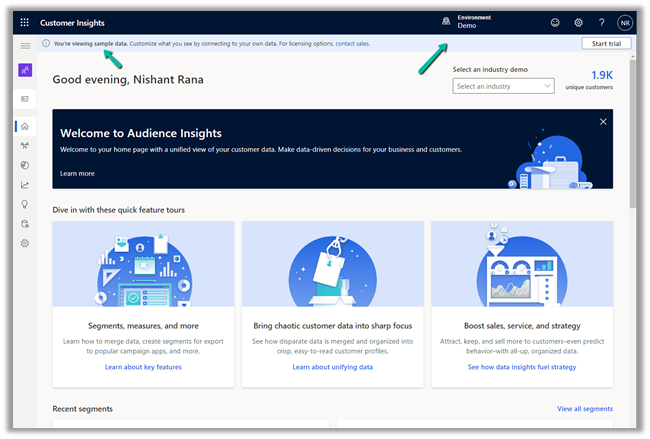
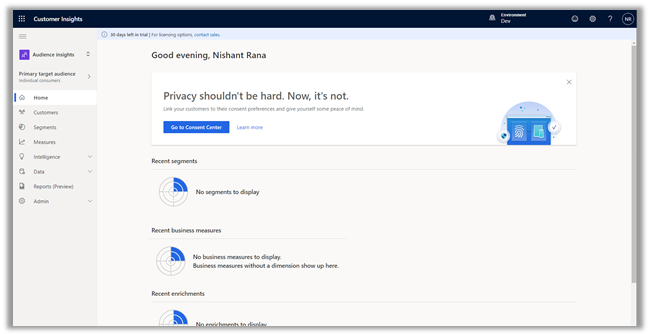
It opens the Demo environment having the sample data. We can explore and understand the features with the sample data or we can start a trial.

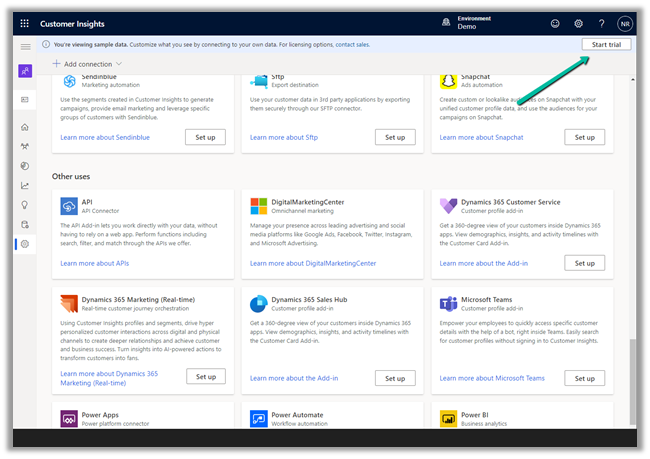
Let us select the option Start trial in the tool bar to connect it to an existing CRM / Dataverse Environment.


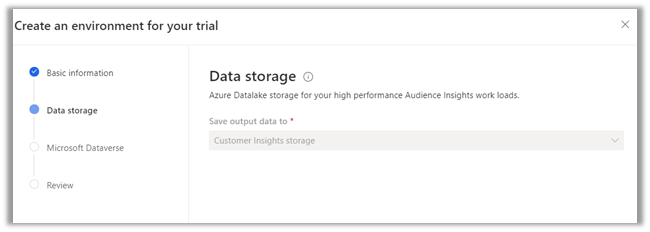
Enter the basic information requested. Make sure you have selected the correct region else you might get unable to create an environment error later.

The data storage option comes as disabled.

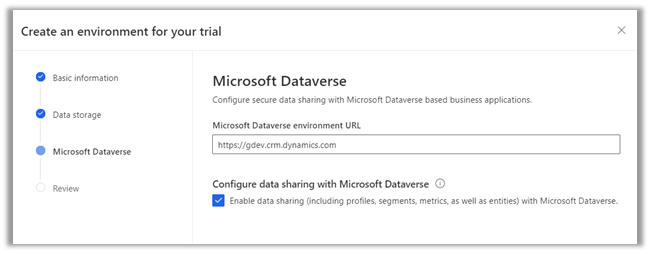
Specify the Dataverse / CRM environment’s URL. (here I am logged in with System Administrator user who is also the Global Admin)

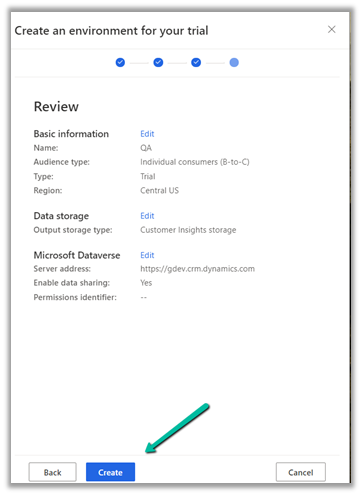
Finally, review the information and click on Create.

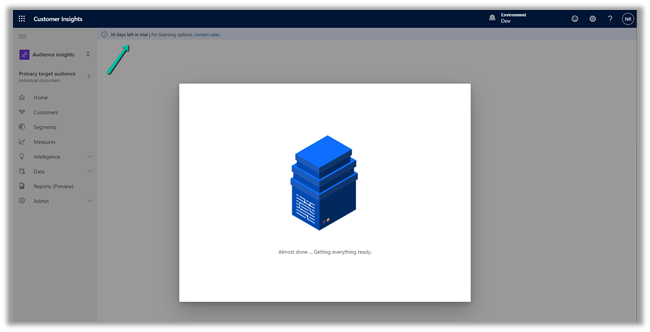
This will configure a 30 day trial against the CRM / Dataverse environment.

Now we are ready to explore it further.

How to – Import Data from Dataverse / CRM to Dynamics 365 Customer Insights

How to – Import Data from local data files to Dynamics 365 Customer Insights

How to – Unify (Map, Match and Merge) Entities in Dynamics 365 Customer Insights

Hope it helps..

Advertisements

How to – Use RetrieveAttributeChangeHistoryRequest to get audit data for an attribute (Dataverse/ Dynamics 365/ CRM)


We can use RetrieveAttributeChangeHistoryRequest to get the change history of a particular field / attribute of a record.

We need to set the Target and the AttributeLogicalName property of the request.

AuditDetails records of the RetrieveAttributeChangeHistoryResponse contains the detail of the audit records.
The Audit History records in CRM- 

AttributeAuditDetail contains the details of the changes made on the field’s value. It contains property like – objectid, userid, operation etc. as well as new value and the old value as shown below.
Sample Code (C#) 

 string ConnectionString = "AuthType = OAuth; " +
                  "AppId=51f81489-12ee-4a9e-aaae-a2591f45987d; " +
                  "Username=User1@xxxx.onmicrosoft.com; " +
                  "Password=*******; " +
                  "RedirectUri=app://58145B91-0C36-4500-8554-080854F2AC97;" +
                  "Url = https://xxx.crm.dynamics.com//;";


            CrmServiceClient svc = new CrmServiceClient(ConnectionString);

            if (svc.IsReady)
            {

                var attributeChangeHistoryReq = new RetrieveAttributeChangeHistoryRequest();

                attributeChangeHistoryReq.Target =
                    new EntityReference("incident", new Guid("0a9f62a8-90df-e311-9565-a45d36fc5fe8"));
                attributeChangeHistoryReq.AttributeLogicalName = "prioritycode";

                var attrChangeResponse = (RetrieveAttributeChangeHistoryResponse)svc.Execute(attributeChangeHistoryReq);
                var auditDetailCollection = attrChangeResponse.AuditDetailCollection;


                foreach (var auditDetails in auditDetailCollection.AuditDetails)
                {
                    // Type =  AttributeAuditDetail, AuditDetail, 
                    var type = auditDetails.GetType();

                    if (type == typeof(AttributeAuditDetail))
                    {
                        var attributeDetail = (AttributeAuditDetail)auditDetails;

                        var userName = attributeDetail.AuditRecord.GetAttributeValue<EntityReference>("userid").Name;
                        var operation = attributeDetail.AuditRecord.FormattedValues["operation"];
                        var action = attributeDetail.AuditRecord.FormattedValues["action"];
                        var createdOn = attributeDetail.AuditRecord.GetAttributeValue<DateTime>("createdon");
                        var newValue = attributeDetail.NewValue.FormattedValues["prioritycode"];
                        var oldValue = attributeDetail.OldValue?.FormattedValues["prioritycode"];

                    }
                }
            }

Check other posts on Audit

Hope it helps..

Advertisements

Exchange Online – Sending Email from Secondary Address


Tech Wizard (Sukhija Vikas)'s avatarTech Wizard

I am writing this small post to share the cool feature that has been introduced last year in Exchange online. This is sometimes required and some platforms on the internet was having this facility from some time now.

Now this is available in office 365 as well so enterprises can also utilize it.

So how to Turn it one, its simple:

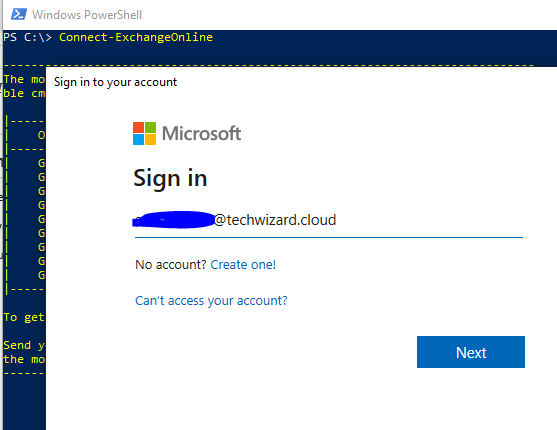
Connect to Exchange online from PowerShell

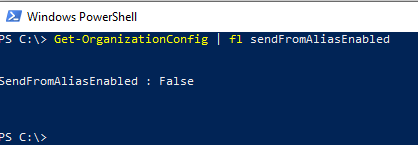
Check if it is enabled using below command:

Get-OrganizationConfig | fl sendFromAliasEnabled

Let us enable it now:

Set-OrganizationConfig -SendFromAliasEnabled:$true

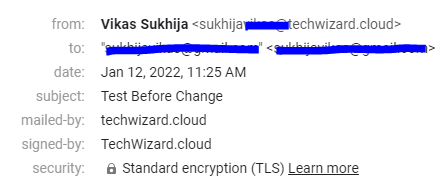
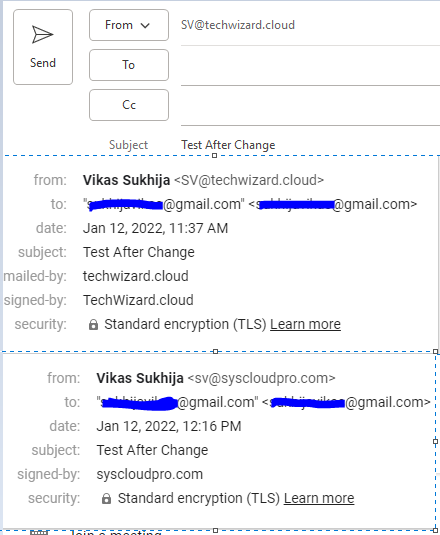
Now let us check by sending email from the Alias

Now after we made the change and waited for some time.

You can send it from Alias and Alias from different domains as well.

Note: Please make sure if using different domains aliases, then those domains are spf, dkim, dmarc compliant.

Go ahead, update your Tenant if its not already updated –> if you…

View original post 17 more words