Load data from SQL On-Premise to CDS (Common Data Service) using Power Platform dataflows


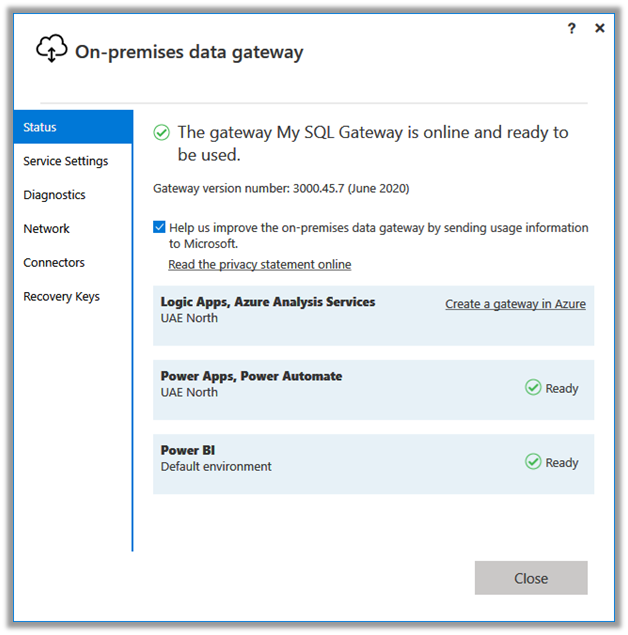
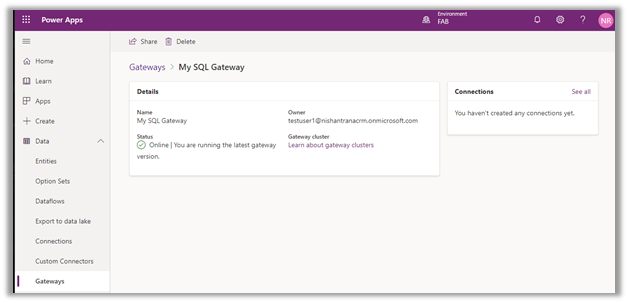
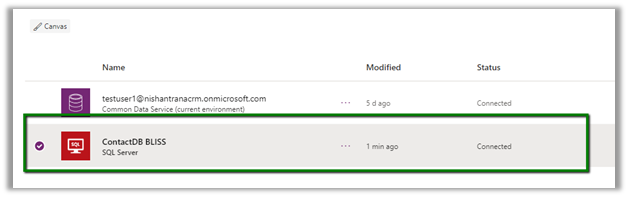
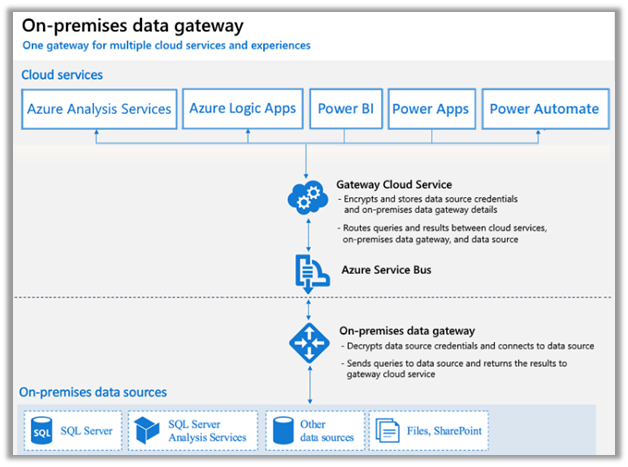
Let us continue our previous post where we created a connection to the below On-Premise SQL Server Database using an On-premises data gateway.

https://nishantrana.me/2020/07/06/configuring-on-premises-data-gateway-to-connect-tosql-server-on-premise-data-source-power-platform/

Here we will use the Power Platform
dataflows to load contact entity in CDS using that same on-prem table.

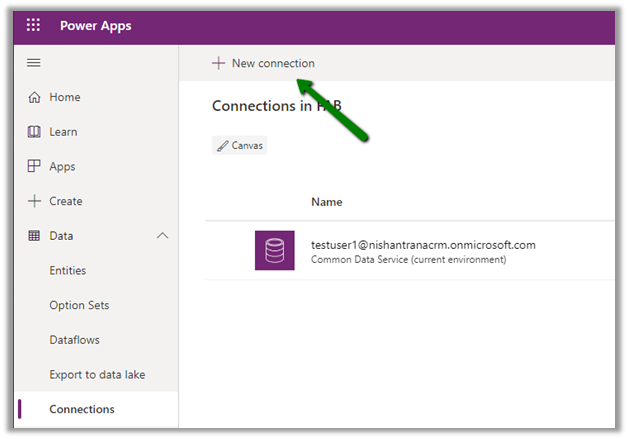
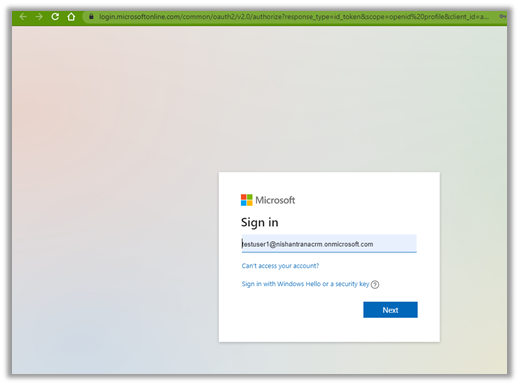
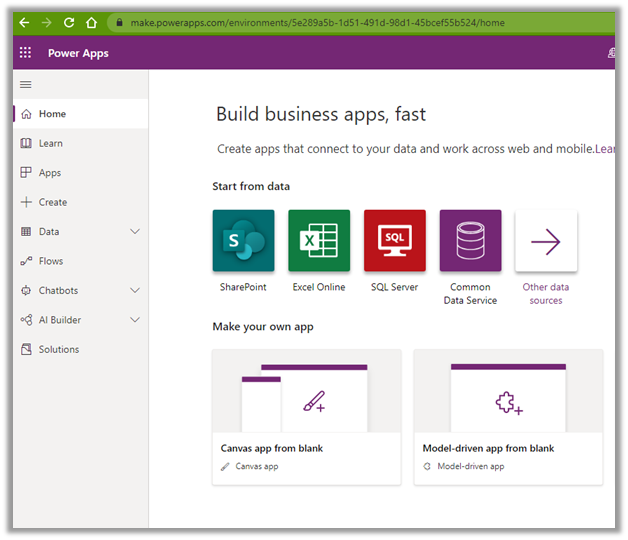
Sign in to Power Apps

https://make.powerapps.com/home

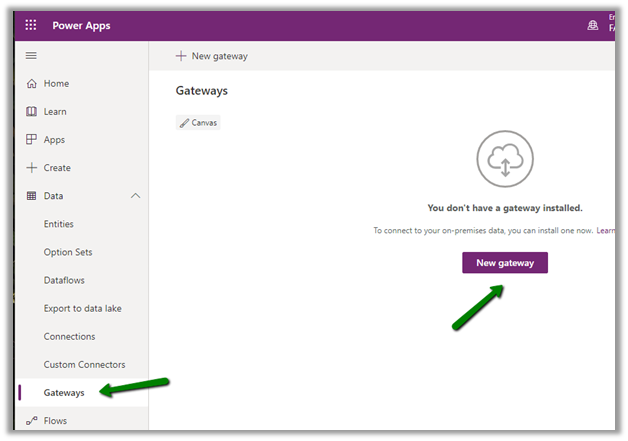
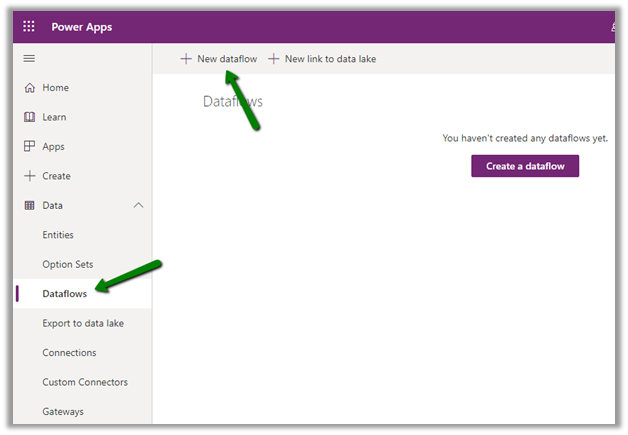
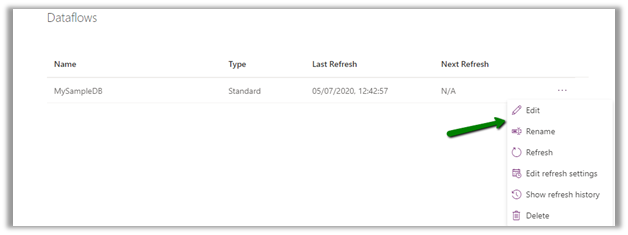
Navigate to Data – Dataflows and create a new dataflow

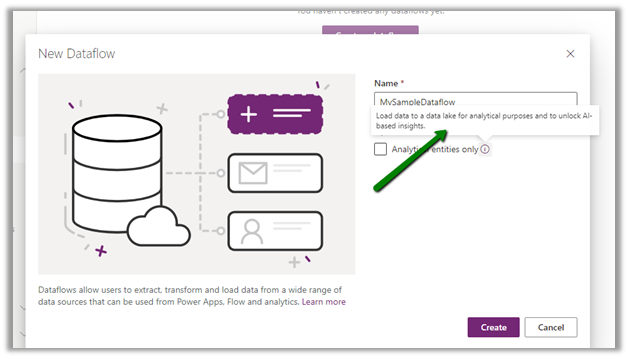
Dataflow can store the entities either in Common Data Service or Azure Data Lake for analytical purposes.

Leave the Analytics entities only checkbox unchecked as we will be saving the entities in the Common Data Service.

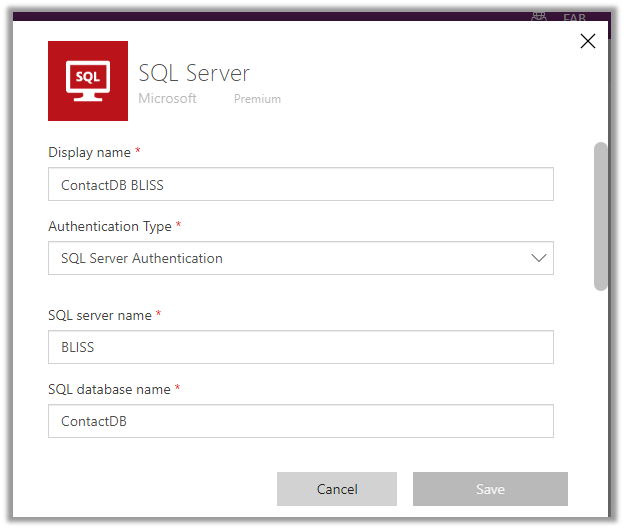
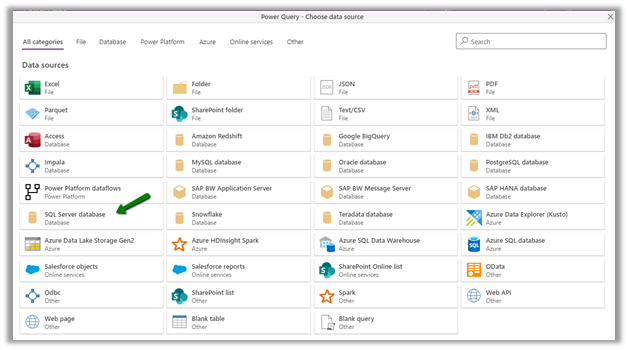
Next, let us specify the data source. Here we have selected SQL Server Database as the source.

Specify connection details

On specifying the Server and Database details, it will auto-populate the rest of the connection details if already defined.

Select the table and click on Transform data

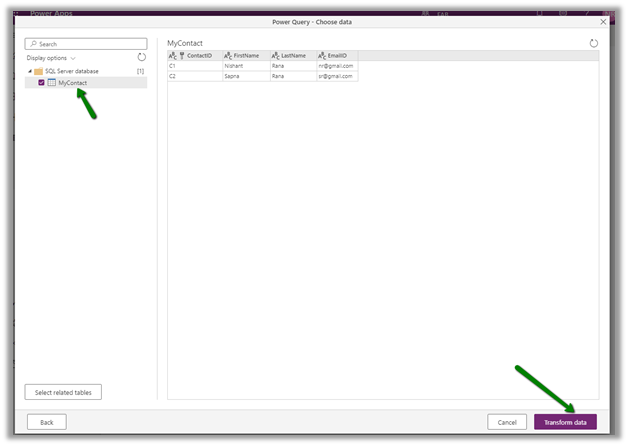
Transform Data give us the option of further refining the data to match the destination.

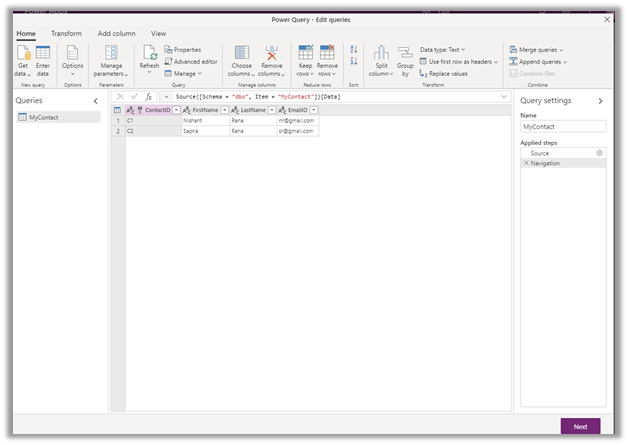
Click on Next and specify the mapping.

We can either load data in a new entity

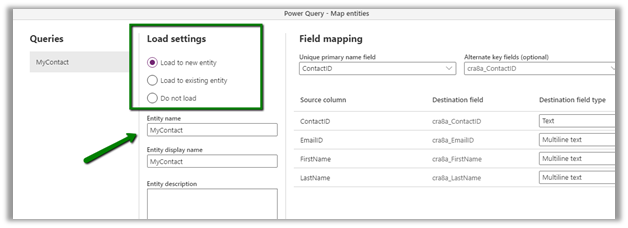
Or load to an existing entity.

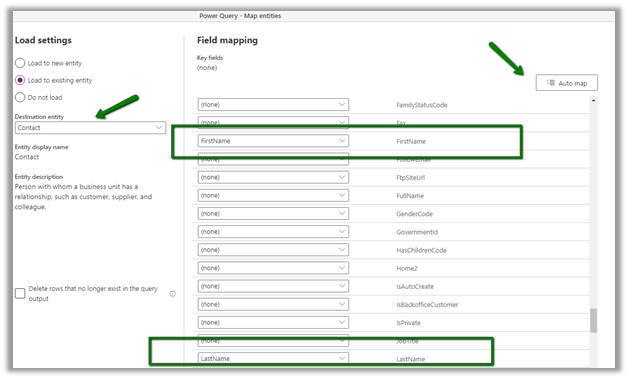
Here we have selected contact entity and clicked on Automap option which has mapped FirstName and LastName fields for us. Manually map the email field. Here we have not mapped the ContactID field for now.

Here for Key fields in Field Mapping, it will list down alternate key, if defined for the entity.

Specify the refresh settings. We have kept is as refresh manually.

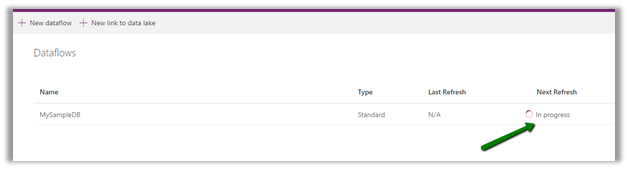
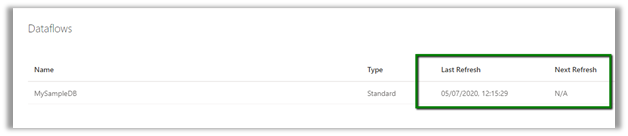
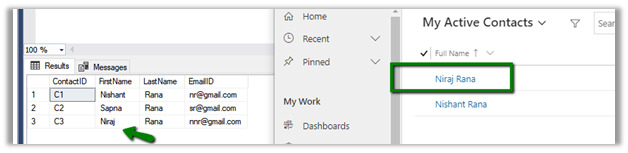
With refresh completed, let us check the contact entity.

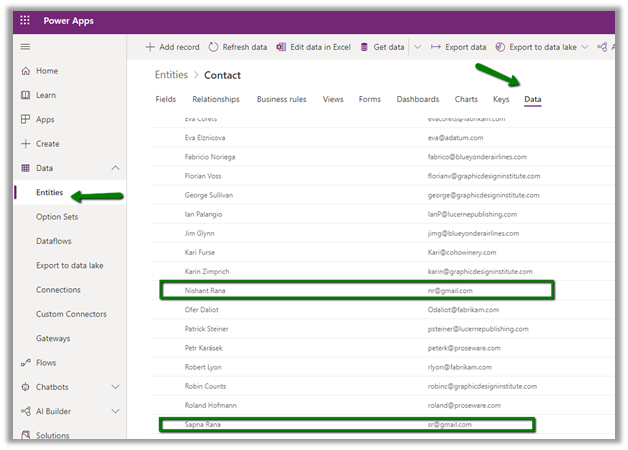
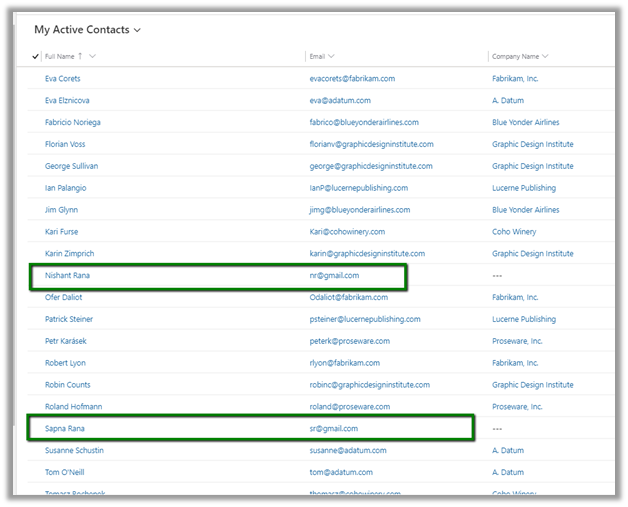
Go to Data – Entities and Data tab, we can see the records added.

Now let us add one more record in the source database and refresh the dataflow manually.

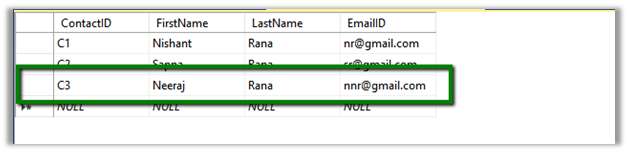
As we had not specified key while defining the data flow, we have all the records created again including the new one.

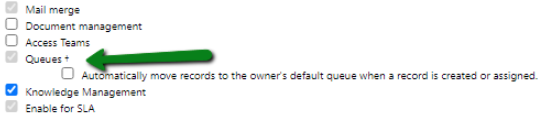
Now let us define an alternate key for the contact entity.

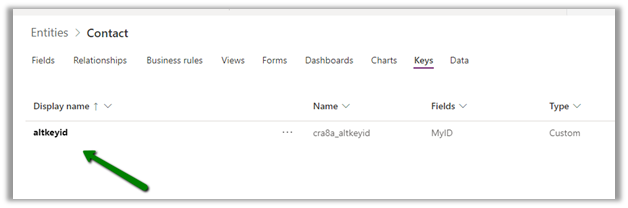
And edit the data flow to map the ContactID field of the source database to the newly created alternate key.

Define the mapping for the alternate key field.

Also, let us delete the old records that were synced. After refresh is done, we can see the records created

What about the update?

Let us update the record in source and run the refresh

As expected, the record is updated and no duplicate records are created in CDS.

What about delete?

Now let us delete the record in the source and run the refresh

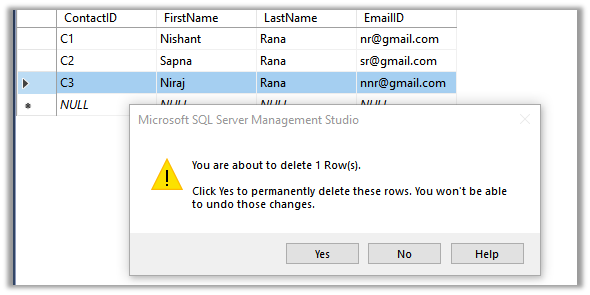
The records are not deleted in the Common Data Service.

What about updates in CDS?

As this is a one-directional flow to load the data from source to destination, any change in CDS will be overridden and will not be synced back to the source SQL Server database on the next refresh run.

Let us update records in CRM, and run the refresh.

As expected, the record in CDS is updated back with source DB.

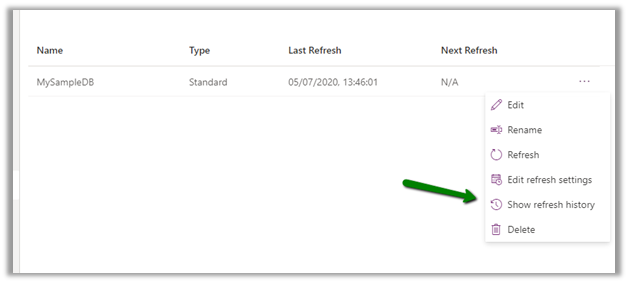
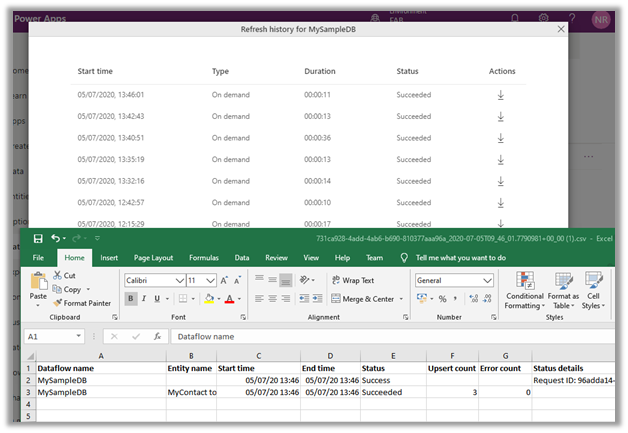
What about the history and log of the refresh?

Show refresh history option gives us all the details of the refresh run and the failure and success of the records.

More on the data flow capabilities

https://docs.microsoft.com/en-us/data-integration/dataflows/dataflows-integration-overview#dataflow-capabilities-in-power-platform-services

Also, check out the interesting article below

https://carinaclaesson.com/2020/05/11/alm-for-power-platform-dataflows-the-story-begins/

Hope it helps..

Advertisements

How to – Configuring On-Premises data gateway to connect to SQL Server on-premise data source – Power Platform


Let us take a simple example to understand the steps to be performed for configuring an On-premises data gateway.

We have below database in our on-premise SQL Server which we connect to using On-Premise data gateway.

Below are the steps we need to perform to configure it –

Login to Power Apps and navigate to Data – Gateways

https://make.powerapps.com/

Download the On-Premises Data Gateway

Follow the installation wizard to install the on-premises data gateway

https://docs.microsoft.com/en-us/data-integration/gateway/service-gateway-install#minimum-requirements

Sign in with the Office 365 Organization account

Select Register a new gateway on this computer

Specify the name and the recovery key and click on configure

This completes the setup of the gateway.

Within Power Apps, we can see the gateway record created.

Now let us create a connection to our On-Premise SQL Server Database that uses the gateway configured

Navigate to Data – Connections and click on the new connection.

Select the SQL Server connection type, and specify the connection details of the on-prem database.

Select the gateway configured and click on Save, which will test the connection.

On a successful connection, we can see the connection created with status Connected.

Now as we have the connection established with our On-Premise SQL Server database through the gateway, we can use it for in various cloud services like Power BI, Power Apps, Power Automate, Logic Apps, Dataflow, etc.

Get more details here

https://docs.microsoft.com/en-us/power-bi/connect-data/service-gateway-onprem

Another option to connect to SQL On-Prem database is through Azure Hybrid Connections (this would for Azure App Service)

https://nishantrana.me/2018/02/19/using-azure-hybrid-connections-to-connect-to-sql-on-prem-database-from-azure-webjob/

https://www.slideshare.net/biztalk360/the-hitchhikers-guide-to-hybrid-connectivity-81149063

Hope it helps..

Advertisements

Solved – AADSTS50058: A silent sign-in request was sent but none of the currently signed in user(s) match the requested login hint PowerApps


We might get below error while trying to login to Power Apps

AADSTS50058: A silent sign-in request was sent but none of the currently signed-in user(s) match the requested login hint. Trace ID: b4c0c138-c2d9-46c8-999f-3d10414c2d00 Correlation ID: 60ab6eb7-bef1-44e1-8756-bdc33907e6ef  Timestamp: 2020-07-03 19:11:01Z

Error AADSTS50058  is

UserInformationNotProvided – This means that a user is not signed in. This is a common error that’s expected when a user is unauthenticated and has not yet signed in.
If this error is encouraged in an SSO context where the user has previously signed in, this means that the SSO session was either not found or invalid.
This error may be returned to the application if prompt=none is specified.

https://docs.microsoft.com/en-us/azure/active-directory/develop/reference-aadsts-error-codes

Few solutions to this error are

After the cache is cleared or if we open it in incognito mode, the user is asked to enter the login in again.

And the user can log in to Power Apps successfully.

Check below links for more detail –

https://github.com/AzureAD/azure-activedirectory-library-for-js/issues/323

https://docs.microsoft.com/en-us/azure/active-directory/develop/msal-js-known-issues-ie-edge-browsers#other-workarounds

Hope it helps..

Advertisements

How to – Setup Entity records routing – Omnichannel for Customer Service


In the previous posts, we learn about provisioning, setting up a live chat, and WhatsApp channel.

Posts on Omnichannel for Customer Service (Dynamics 365)

In this post, we’d see how to set up an Entity records channel.

Through the Entity records channel, we can route cases as well as other entities to the omnichannel agents.


To enable an entity for Routing, enable Queues for that entity. 

Q

Leave the “Automatically move records to the owner’s default queue …” checkbox unchecked for automatic distribution of records to work.

We need to make sure Unified Routing is switched on and the record type or entity is enabled for record routing.

RR

Inside the Omnichannel Administration app, navigate to Channels à Entity Records to create a new entity record channel.

A default workstream will be created automatically, we can also select an existing workstream.

Click on the Routing Rules tab to define the routing rule.

Add a new rule item i.e. for case type as a problem, route the record to Complaints Queue.

Activate the routing rule created.

Let us create a new case of type problem and apply routing to it.

We can see the records added to open work items for agents to pick as defined in the CDS entity workstream.

We can also set the Work distribution mode to Push that would send the notifications to the agent

To automatically route the record we can use Power Automate to define a flow that calls the Apply Routing Rule action.

Refer below blogs to learn in-depth about the Omnichannel

https://neilparkhurst.com/2020/05/29/omnichannel-for-customer-service-collection/

https://thecrm.ninja/omnichannel-for-dynamics-365/

along with Microsoft Docs

https://docs.microsoft.com/en-us/dynamics365/omnichannel/omnichannel-customer-service-guide

Hope it helps..

Advertisements

How to – Setup WhatsApp Channel (Preview) in Omnichannel for Customer Service


In the previous post, we provisioned the Omnichannel for Customer Service and had configured the Chat channel.

Posts on Omnichannel for Customer Service (Dynamics 365)

In this post, we’d see how to set up the WhatsApp channel (preview)

Within the Omnichannel Administration app, navigate to Channels à WhatsApp and create a new WhatsApp account record.

Provide the required consent

As a first step, let us set up the Twilio sandbox account to be used for WhatsApp channel configuration.

Create Twilio WhatsApp account

https://www.twilio.com/whatsapp

Navigate to console and copy the value of Account SID and AUTH TOKEN

https://www.twilio.com/console

Specify Account SID and Auth token of the Twilio account created in the new WhatsApp channel record.

Saving the record will generate the Twilio inbound URL, copy that URL.

Navigate to Twilio Console à Programmable SMS à WhatsApp and activate the sandbox.

Follow the instructions to configure the sandbox.

On successful confirmation, select Sandbox in the navigation menu and paste the Twilio Inbound URL generated eariler in the “When a message comes in” text box

Back in our WhatsApp channel record, add the sandbox WhatsApp number configured

Specify the Twilio Sandbox WhatsApp number and select the out of the box WhatsApp workstream.

The default WhatsApp workstream

Next click on Validate to check the configuration

With validation successful now we are good to test it.

Send the message to the Twilio sandbox number

The agent will receive the notification from the WhatsApp channel configured.

On accepting the notification, Agent can now communicate with the visitor.

Thus, we saw how seamless it is to configure and get started with WhatsApp channel in Omnichannel for Customer Service.

Refer below blogs to learn in-depth about the Omnichannel

https://neilparkhurst.com/2020/05/29/omnichannel-for-customer-service-collection/

https://thecrm.ninja/omnichannel-for-dynamics-365/

along with Microsoft Docs

https://docs.microsoft.com/en-us/dynamics365/omnichannel/omnichannel-customer-service-guide

Hope it helps..

Advertisements

Admin Center URL(s) in Microsoft Dynamics 365 ( Power Platform)


Listing down Administration Center URL(s) for quick reference à

https://admin.microsoft.com/Adminportal/Home?source=applauncher#/alladmincenters

Admin Center URL
Microsoft 365 Admin Center
https://admin.microsoft.com/


Power Platform Admin Center

https://admin.powerplatform.microsoft.com/

PowerApps Admin Center https://admin.powerapps.com/


Dynamics 365 Admin Center
<a href=”https://port..dynamics.com/G/instances/instancePicker.aspx”>https://port.<region&gt;.dynamics.com/G/instances/instancePicker.aspx


for e.g.

EMEA
https://port.crm4.dynamics.com/G/instances/instancePicker.aspx

UAE
https://port.crm15.dynamics.com/G/instances/instancePicker.aspx

North America
https://port.crm.dynamics.com/G/instances/instancePicker.aspx

India
https://port.crm8.dynamics.com/G/instances/instancePicker.aspx

Replace <region> with

Dynamics 365 Advanced Settings https://[orgname].[region].dynamics.com/main.aspx?settingsonly=true


Dynamics 365 Home
https://home.dynamics.com/


Power Apps Maker Portal
https://make.powerapps.com


Power Automate Admin Center
https://admin.flow.microsoft.com/


Power BI Admin Portal
https://app.powerbi.com/admin-portal


Azure Active Directory https://aad.portal.azure.com/


Hope it helps..

Advertisements