To update the prefix, go to Administration – Settings

Then to Advanced

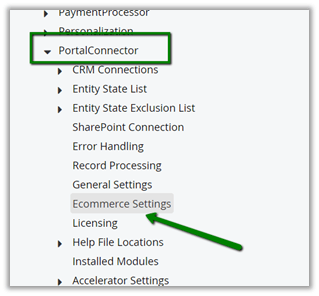
Then to Ecommerce settings
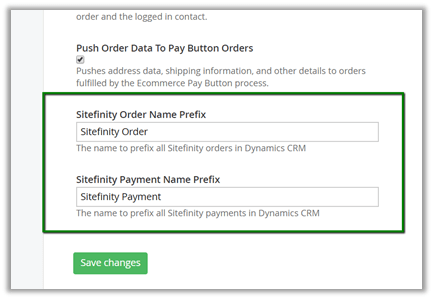
Scroll down to the bottom
Hope it helps..
To update the prefix, go to Administration – Settings
Then to Advanced
Then to Ecommerce settings
Scroll down to the bottom
Hope it helps..

Within The Portal Connector we can make use of Saved Queries to define Fetch XML Query.
Once defined we get a REST based URL which can be used from our client side script.
Login to the Portal and go to Saved Queries
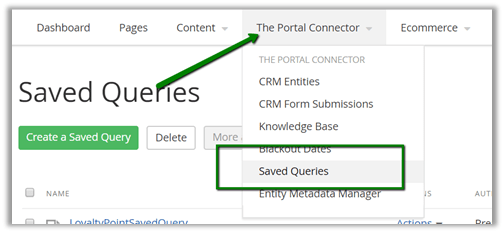
Click on Create a Saved Query

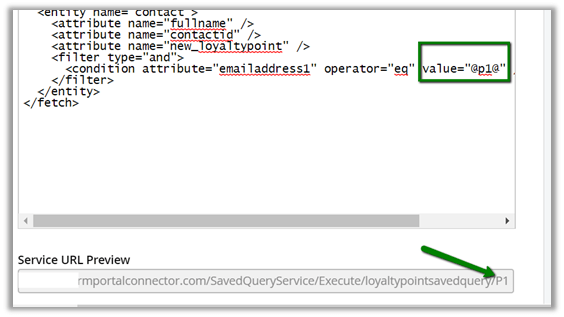
Click on Build and create a Fetch XML Query

The fetch xml builder
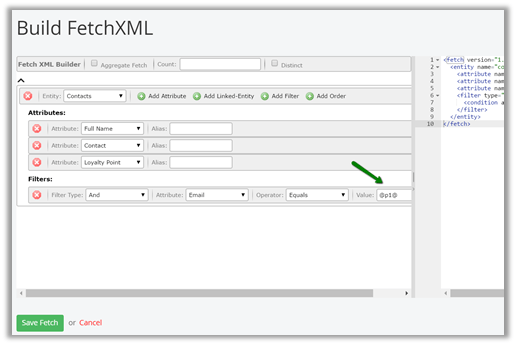
We can see the parameter added to the query string.
To consume it we can make use of JavaScript widget

Click on Edit and define the JavaScript inside it to call the function

The JavaScript code.

setTimeout(function(){

// get the logged in user's email i.e. contact in CRM

var userEmail=tpc.identity.userEmail;

var resp = $.ajax({
url: "http://abc.crmportalconnector.com/SavedQueryService/Execute/loyaltypointsavedquery/" + userEmail,
async: false,
dataType: "JSON",
}).responseJSON;
if(resp != null && resp.data != null)
{
var lp = resp.data[0].Attributes.new_loyaltypoint;
document.getElementById("lp").innerHTML = lp;
}
}, 1500);
Hope it helps..

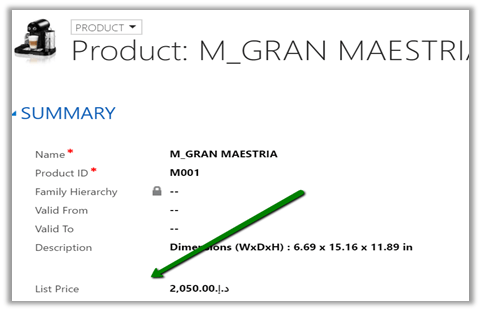
Recently we configured products from CRM to e-commerce setting of The Portal Connector and found that the price for the product was missing.

The way to fix this issue is to Open the product form in CRM and add the list price field on the product form and specify the value there.
Once value is specified, go to administration – portal connector configuration and click on Resynchronize to update the product record in the portal.


Once synchronization is done, we can see the values updated in the portal.

Hope it helps..

The Portal Connector makes it easy to quickly setup a portal that interacts with CRM.
Here let us look at a simple example of setting up Lead form in Insert Mode, which creates lead record in CRM.
Open the Dashboard
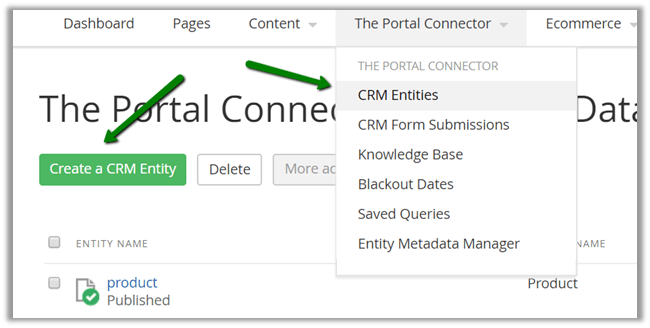
Go to CRM Entities and click on Create a CRM Entity.
Here we are creating Lead entity.

Once our lead is setup, we’d create the form.
Go to Contents – Forms.

Click on Create a form.
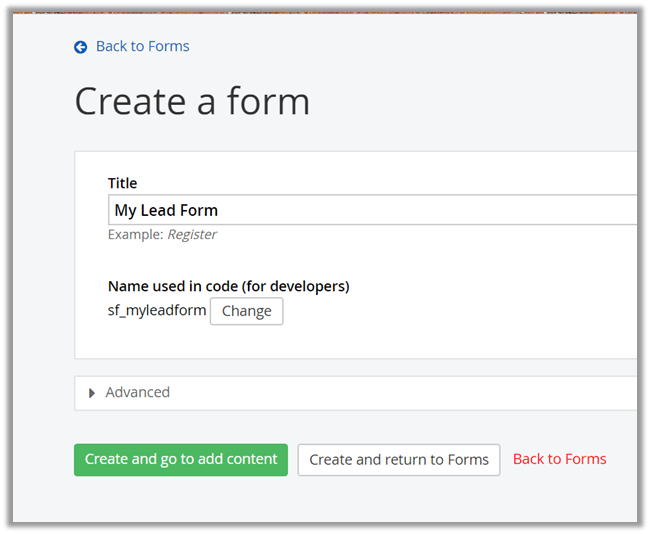
Inside form, first go to Layout and select TPC Form Layout.

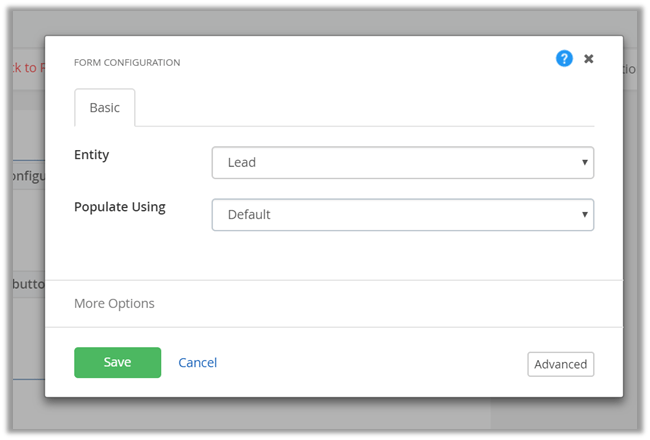
Then go to Content tab, and add Form Configuration

Click on Edit inside Form Configuration and specify the Lead entity we just created.
Drag and add two text fields, one we will configure against first name and other with last name.


Do the same for Last Name text box and publish the form.

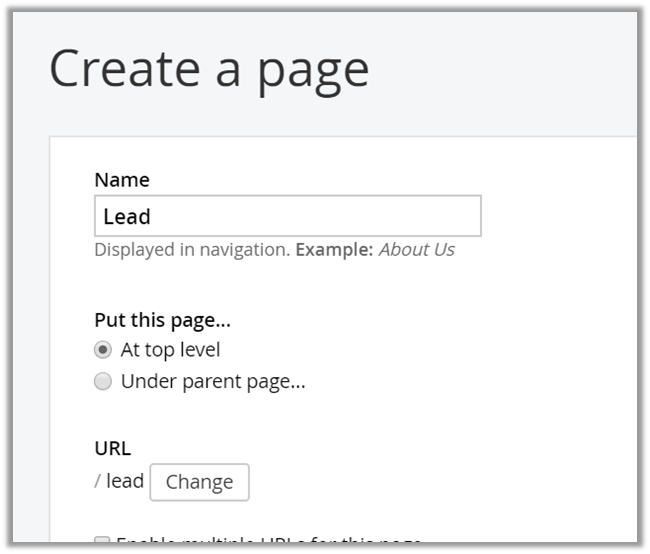
Next we need to create a Page wherein we’d display this form. Go to Pages and click on Create a page.

We have created a page named Lead.
Drag TPC Form Manager in the page content.
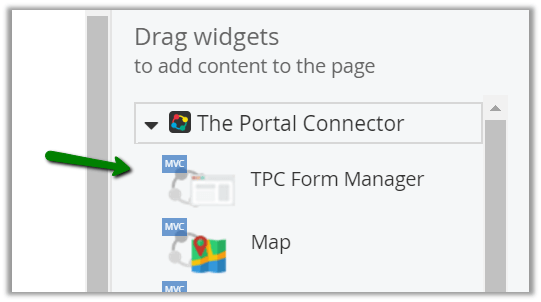
Configure it and specify our newly created My Lead form.
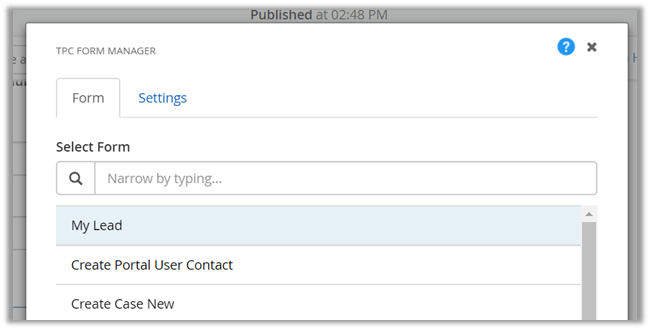
Select Insert Only check box.

Publish the page and test it. Specify the values and click on Submit.
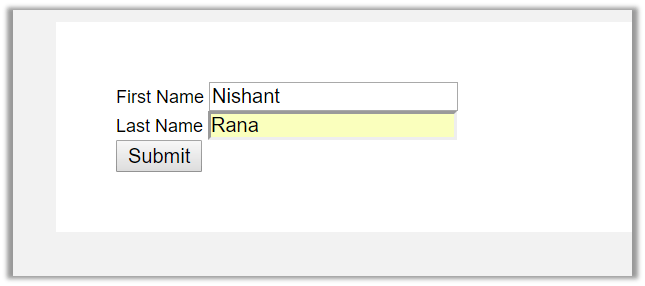
We’d get the following message.

The lead record created in CRM.

Hope it helps..

Recently, while trying to convert a case to work order we got the below error.

The immediate thought was to check all the workflow associated to work order and case and see if they all are published, which in fact they were.
Then as suggested here
http://ms-crm-2011-beta.blogspot.ae/2016/11/workflow-must-be-in-published-state.html
we deactivated and activated one of our SLA written against the Work Order entity and it fixed the issue.
Hope it helps..

Sharing a sample code which we can use to upload files to Azure Blog Storage from within a CRM Online Plugin. Here we’d be making use of the REST API to simplify things (instead of using Windows Azure Storage library) in our Plugin.
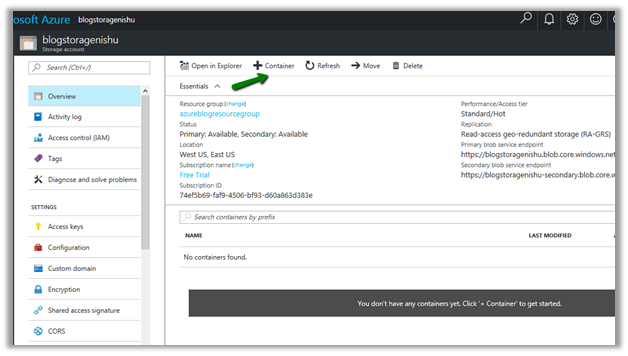
First, we will be creating a storage account of type blob storage and a container inside it.
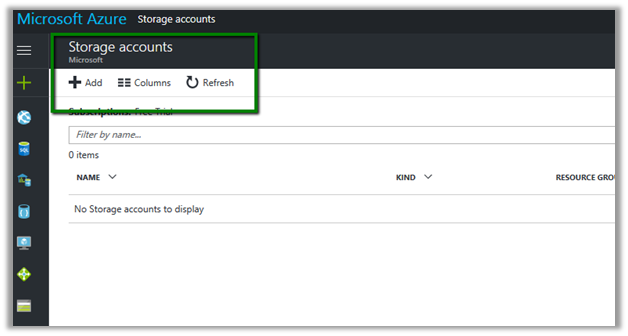
Log in to Azure Portal
Click on Add to add a new storage account.
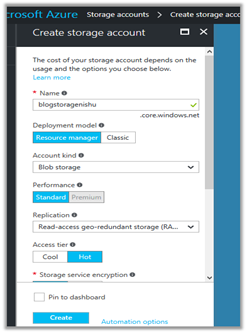
Create a new container in it to store the blob files

In Azure Portal – Storage Account, go to Access Keys and copy the key
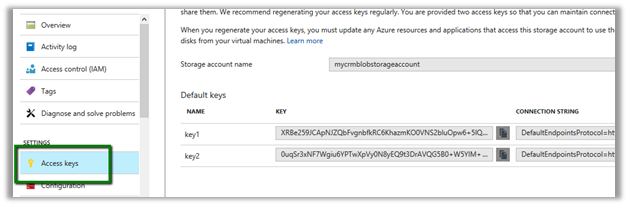
And also note down the storage account name and container name which will be used to construct the URL.

We can also go to container, select its properties and copy the url.

Here we have written the plugin on Create of Annotation, which then retrieves the attachment and uploads its content to the container.
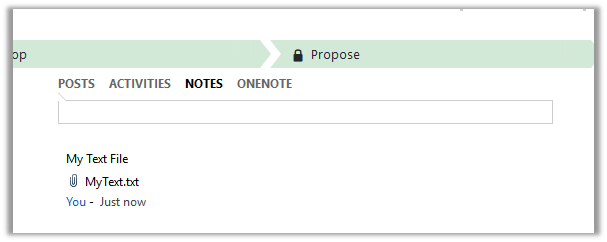
Let us first see it in action.
We have created a new note and attached a text file to it.
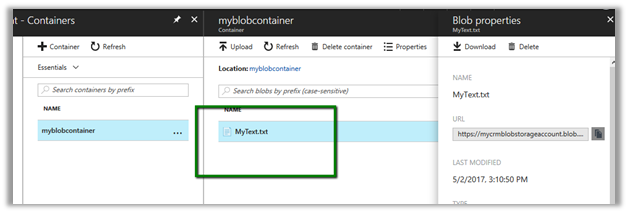
Going back to our portal, we can see the file in our container.
The sample code for the plugin.
<br />
using Microsoft.Xrm.Sdk;<br />
using System;<br />
using System.IO;<br />
using System.Net;<br />
using System.Security.Cryptography;<br />
using System.Text;<br />
namespace MyTestPlugin<br />
{</p>
<p>public class UploadFile : IPlugin<br />
{<br />
public void Execute(IServiceProvider serviceProvider)<br />
{<br />
try<br />
{<br />
// Obtain the execution context from the service provider.<br />
IPluginExecutionContext context = (IPluginExecutionContext)serviceProvider.GetService(typeof(IPluginExecutionContext));</p>
<p>// The InputParameters collection contains all the data passed in the message request.<br />
if (context.InputParameters.Contains("Target") && context.InputParameters["Target"] is Entity)<br />
{<br />
// Obtain the target entity from the input parameters.<br />
Entity noteEntity = (Entity)context.InputParameters["Target"];<br />
byte[] doumentBody = Convert.FromBase64String(noteEntity.Attributes["documentbody"].ToString());<br />
string content = Encoding.UTF8.GetString(doumentBody);<br />
string fileName = noteEntity.Attributes["filename"].ToString();</p>
<p>// Upload the attached text file to Azure Blog Container<br />
UploadFileToAzureBlobStorage(content, fileName);</p>
<p>}<br />
}<br />
catch (Exception ex)<br />
{<br />
throw new InvalidPluginExecutionException(ex.Message);<br />
}<br />
}</p>
<p>void UploadFileToAzureBlobStorage(string content, string fileName)<br />
{</p>
<p>string storageKey = "storagekey";<br />
string storageAccount = "storageaccountname";<br />
string containerName = "strogaecontaninername";<br />
string blobName = fileName;</p>
<p>string method = "PUT";<br />
string sampleContent = content;<br />
int contentLength = Encoding.UTF8.GetByteCount(sampleContent);</p>
<p>string requestUri = $"https://{storageAccount}.blob.core.windows.net/{containerName}/{blobName}";</p>
<p>HttpWebRequest request = (HttpWebRequest)WebRequest.Create(requestUri);</p>
<p>string now = DateTime.UtcNow.ToString("R");</p>
<p>request.Method = method;<br />
request.ContentType = "text/plain; charset=UTF-8";<br />
request.ContentLength = contentLength;</p>
<p>request.Headers.Add("x-ms-version", "2015-12-11");<br />
request.Headers.Add("x-ms-date", now);<br />
request.Headers.Add("x-ms-blob-type", "BlockBlob");<br />
request.Headers.Add("Authorization", AuthorizationHeader(method, now, request, storageAccount, storageKey, containerName, blobName));</p>
<p>using (Stream requestStream = request.GetRequestStream())<br />
{<br />
requestStream.Write(Encoding.UTF8.GetBytes(sampleContent), 0, contentLength);<br />
}</p>
<p>using (HttpWebResponse resp = (HttpWebResponse)request.GetResponse())<br />
{<br />
if(resp.StatusCode == HttpStatusCode.OK)<br />
{<br />
// successfully uploaded<br />
}<br />
}</p>
<p>}</p>
<p>public string AuthorizationHeader(string method, string now, HttpWebRequest request, string storageAccount, string storageKey, string containerName, string blobName)<br />
{<br />
string headerResource = $"x-ms-blob-type:BlockBlob\nx-ms-date:{now}\nx-ms-version:2015-12-11";<br />
string urlResource = $"/{storageAccount}/{containerName}/{blobName}";<br />
string stringToSign = $"{method}\n\n\n{request.ContentLength}\n\n{request.ContentType}\n\n\n\n\n\n\n{headerResource}\n{urlResource}";</p>
<p>HMACSHA256 hmac = new HMACSHA256(Convert.FromBase64String(storageKey));<br />
string signature = Convert.ToBase64String(hmac.ComputeHash(Encoding.UTF8.GetBytes(stringToSign)));</p>
<p>String AuthorizationHeader = String.Format("{0} {1}:{2}", "SharedKey", storageAccount, signature);<br />
return AuthorizationHeader;<br />
}<br />
}</p>
<p>}</p>
<p>
Hope it helps.

