We configured the Project Operations app in one of our Dataverse Environments, and while creating a Company record we got the below error.
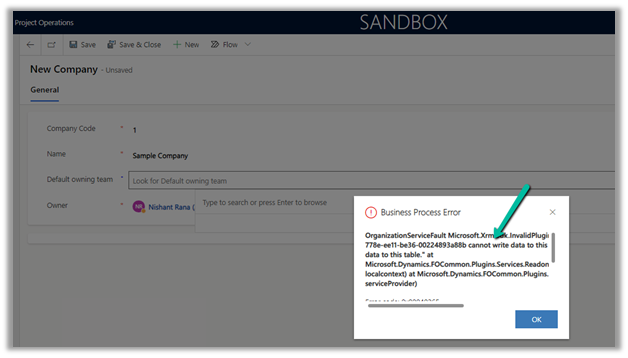
Exception Message: OrganizationServiceFault Microsoft.Xrm.Sdk.InvalidPluginExecutionException: “The user be60d0fd-778e-ee11-be36-00224893a88b cannot write data to this table, only the integration users may write data to this table.” At Mcrosoft.Dynamics.FOCommon.Plugins.Services.ReadonlyEntityService.PreModify(LocalPluginContext localcontext) at Microsoft.Dynamics.FOCommon.Plugins.PluginBase.Execute(IServiceProvider serviceProvider)
Plugin: ExceptionFromPluginExecute: Microsoft.Dynamics.FOCommon.Plugins.ReadonlyEntityPreModify
The error is because the system doesn’t allow creating a Company in the Dataverse / Dynamics 365 Project Operations App. Ideally, it has to be created at the F&O end and integrated with the Dataverse Environment.
The steps to setup / initialize the company data
This was because we had unintentionally installed the dual-write application orchestration package that installs multiple solutions in their Microsoft Dataverse environment, which added the company table.
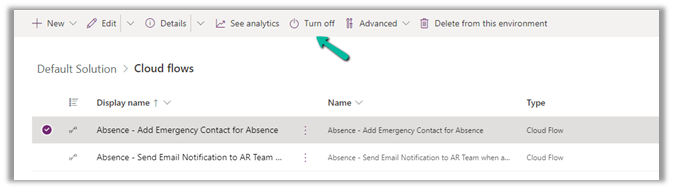
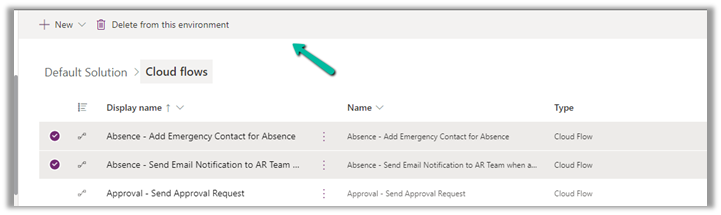
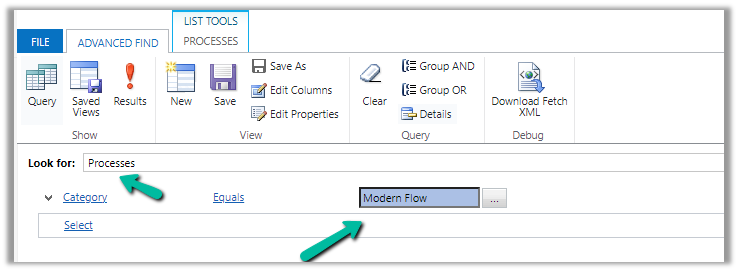
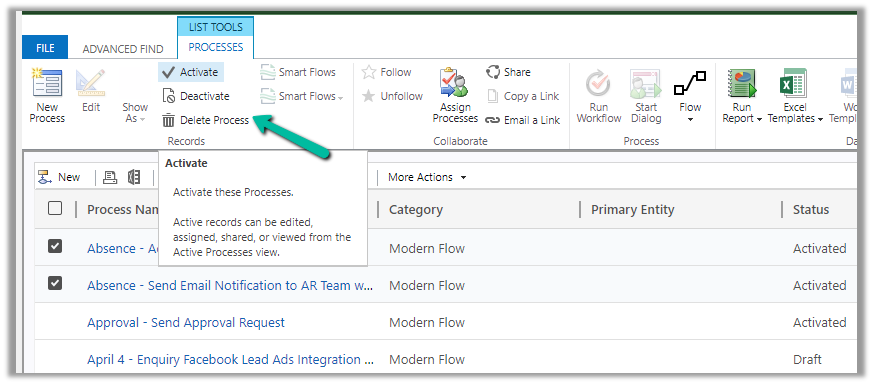
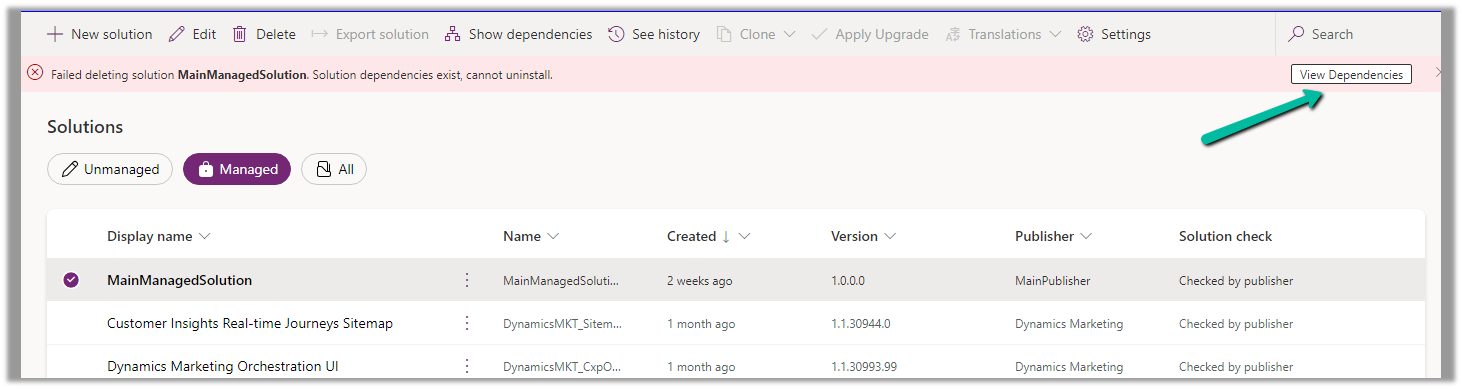
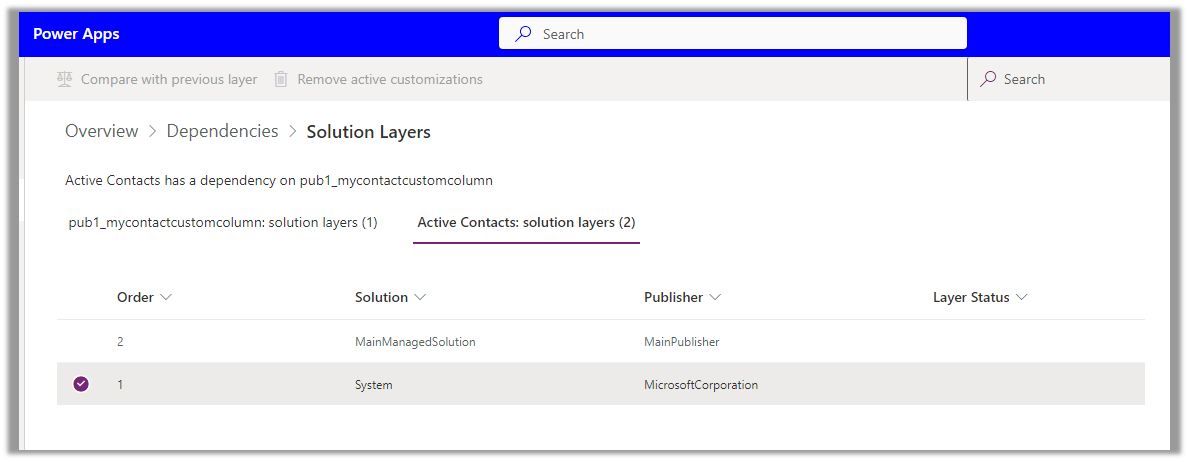
So one option is to remove the Dual Write solutions installed in that environment.
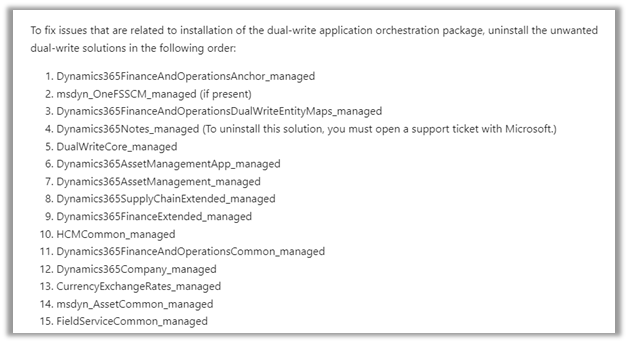
As mentioned, for Dynamics 365 Notes we got the below error, for which we need to raise a Support Ticket.

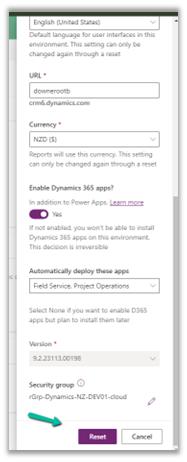
Luckily in our case, we had just created the environment a few days back, so had the option to Reset it. So we eventually took the path of resetting the environment with the Project Operations app selected.
Hope it helps..