The copilot-powered data visualization in views feature, currently in preview, allows us to generate quick and insightful charts from Dataverse table views using natural language. We can select a table view and ask Copilot to generate visualizations, making data interpretation easier.
- Natural Language Queries – Ask Copilot in simple terms to generate relevant charts.
- Multiple Chart Types – Bar charts, pie charts, line graphs, and more.
- Instant Insights – No need to build reports; visualize directly from your data view.
- Interactive Refinements – Modify the chart type or tweak the data selection.
To enable it, for the environment, navigate to Settings >> Features and enable Natural Language Grid and View Search.

We can see the Visualize button added to the views.

It generates the Chart based on the data in the view.
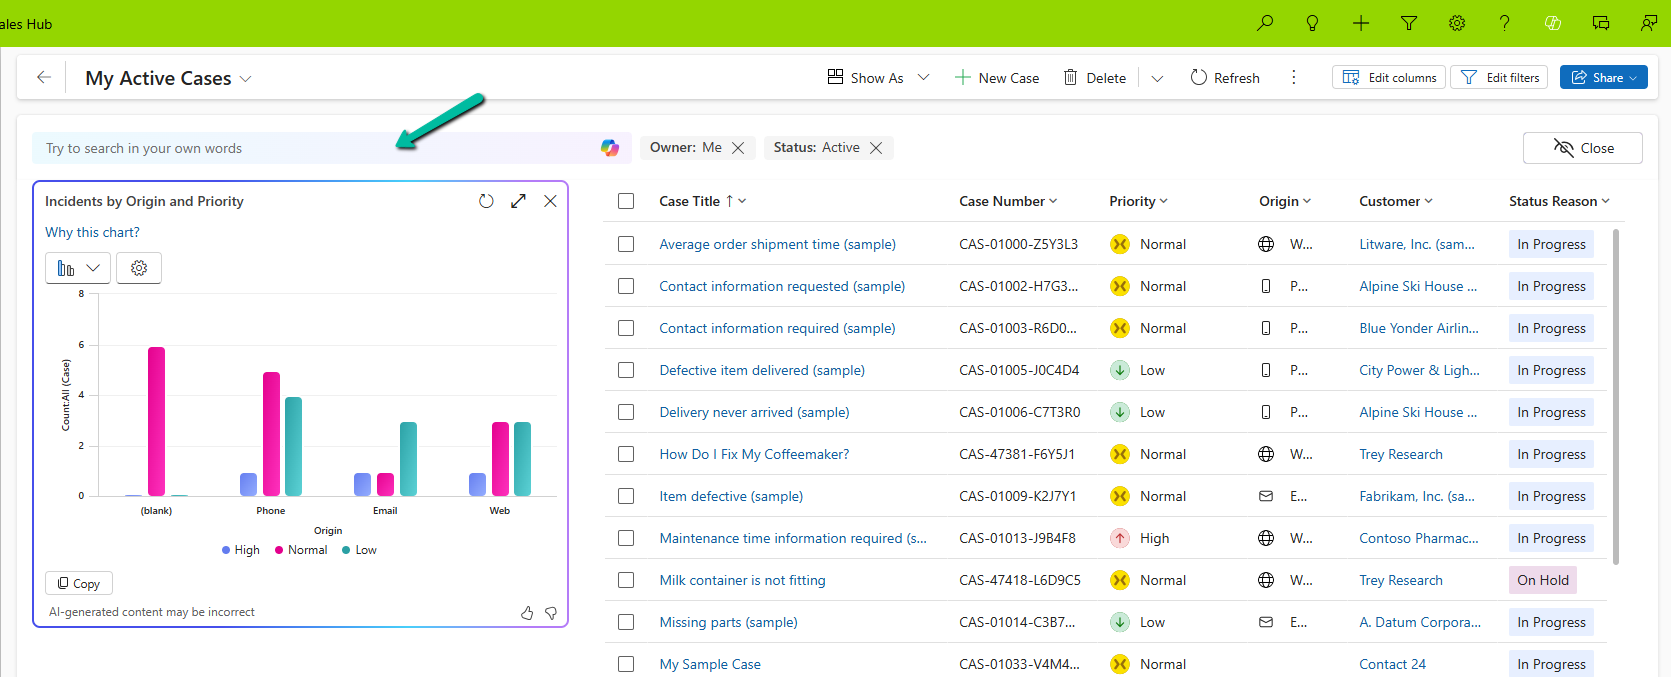
Selecting a particular area filters the data in the view accordingly.

We also have the option to change the chart type, copy the chart, expand the view, etc.

We can also use natural language to specify the data or can select AI-generated suggestions for the views.
More on Natural Language Grid and View Search – https://nishantrana.me/2025/02/04/check-out-the-natural-language-grid-and-view-search/
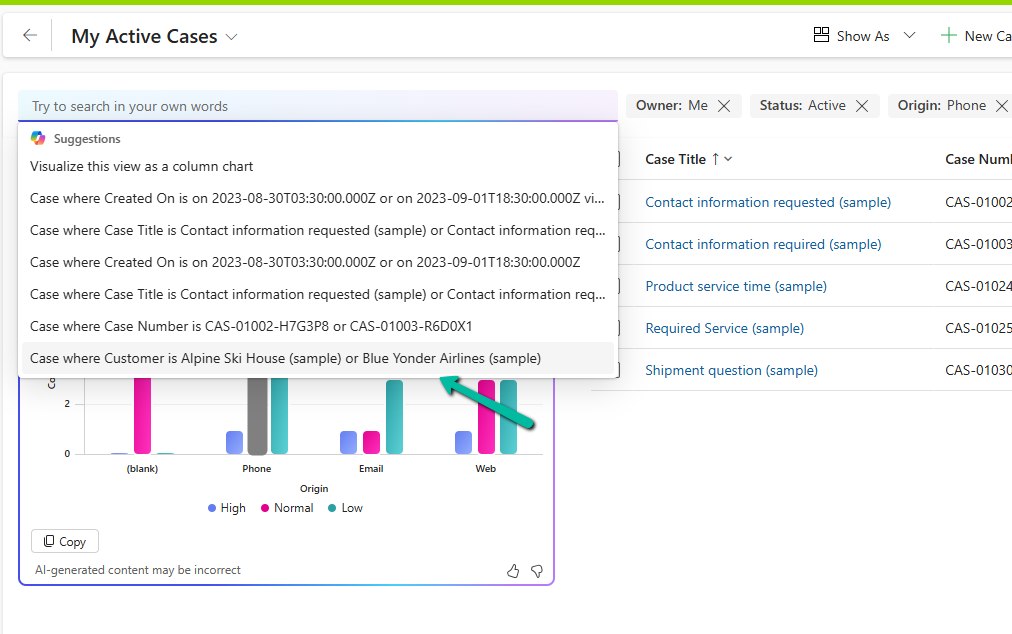
Here we selected/specified the query “Cases where customer is Alpine Ski House” and the Chart and View updated accordingly.

This Copilot-driven data visualization feature is a game-changer for users who need quick insights from their data without setting up complex reports. With just a few clicks and simple queries, Power Apps can now deliver meaningful charts on the fly.
Get more information
Hope it helps..