
We might get below error while trying to consume Organization Service through the client application
- Unable to Login to Dynamics CRM

- An unsecured or incorrectly secured fault was received from the other party. See the inner FaultException for the fault code and detail.

Chances are the Security Defaults are enabled on the account you are using.


If not required, login to
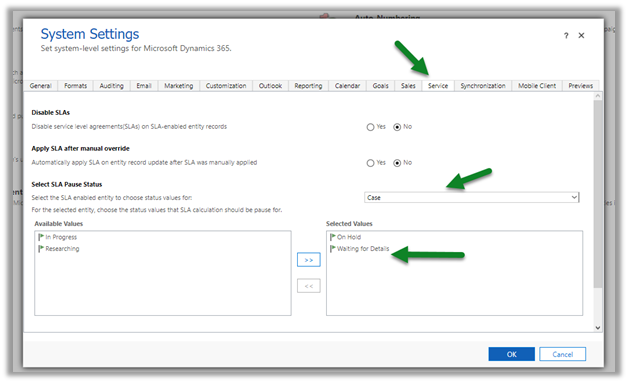
Select Azure Active Directory > Properties > Manage Security Roles
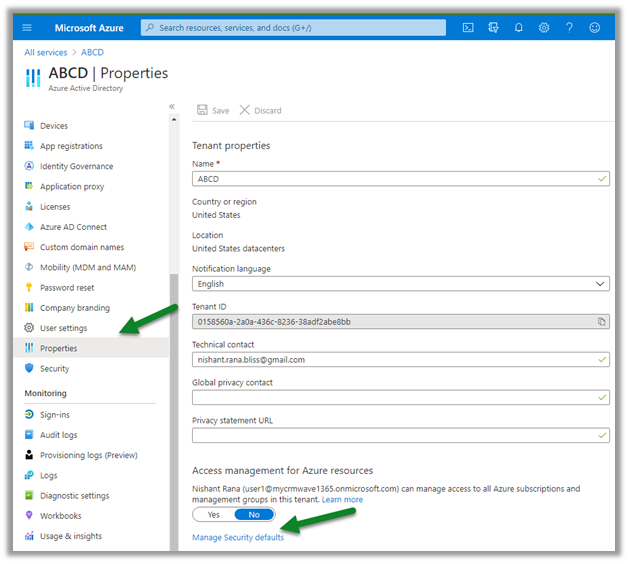
And disable it

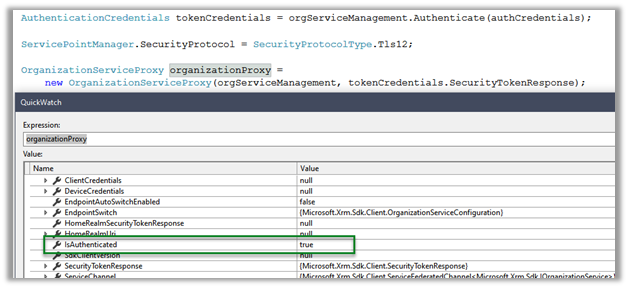
This time the connection will be successful.
Try below as well –
SecurityProtocolType.TLS12 –
Server Clock out of sync –
MFA –
Hope it helps..
Advertisements


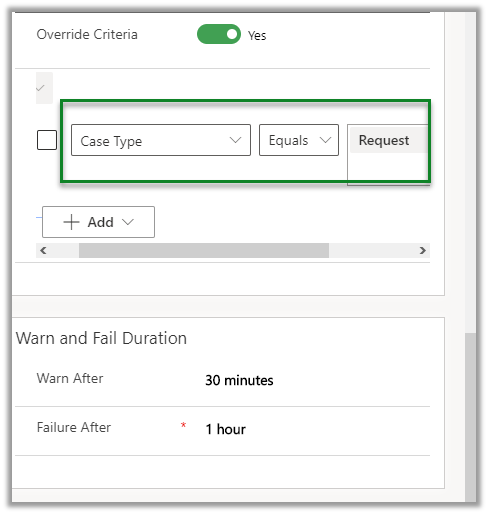
 Update the case type to Request and save.


