How to – Deploy and run SSIS package in Azure Data Factory


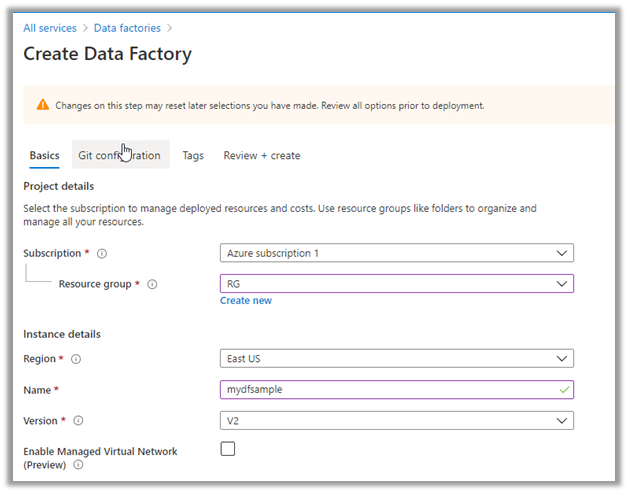
Before the SSIS package can be deployed to Azure Data Factory we need to provision Azure-SQL Server Integration Service (SSIS) runtime (IR) in Azure Data Factory.

In the previous posts, we had created an Azure data factory instance had used Azure SQL Database as the source.

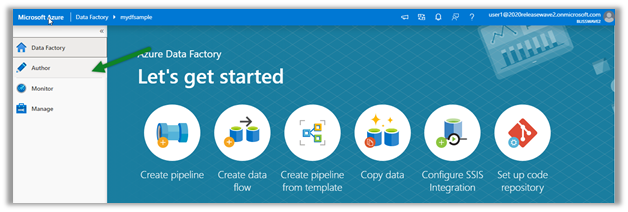
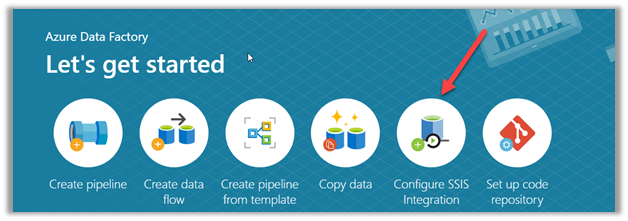
Within Azure Data Factory in the Let’s get started page, select Configure SSIS Integration.

Specify the appropriate values to integration runtime.

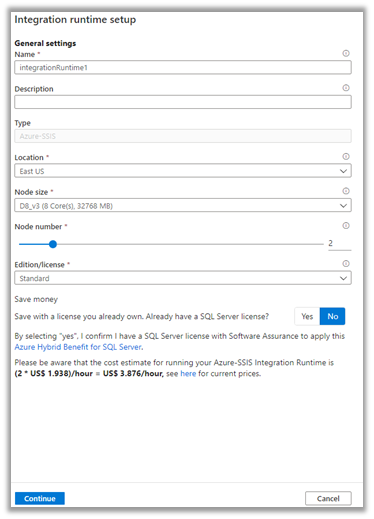
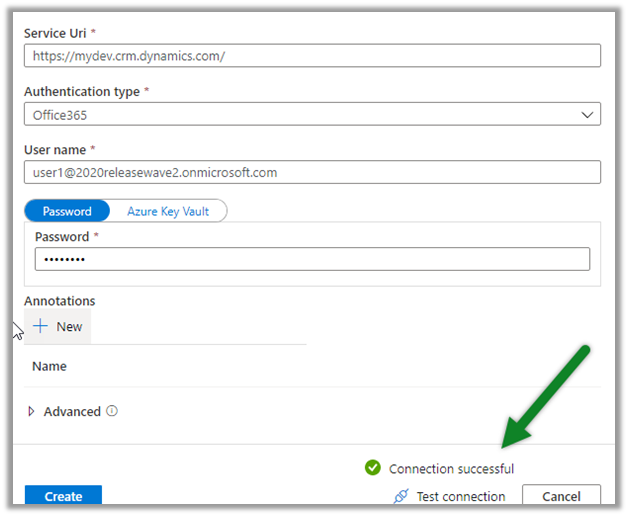
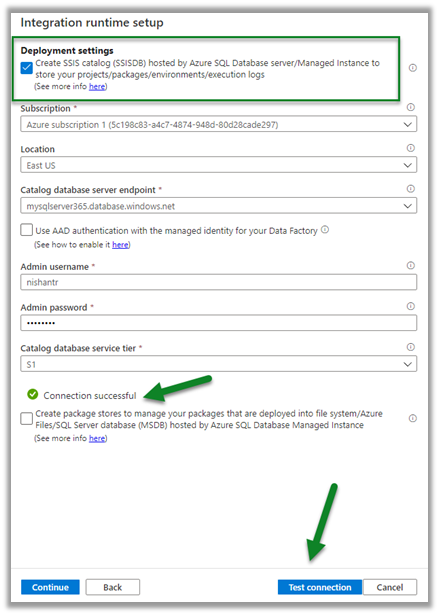
Select Create SSIS Catalog option to deploy packages in SSISDB, provide Azure SQL Database server endpoint, and the admin credentials to connect.

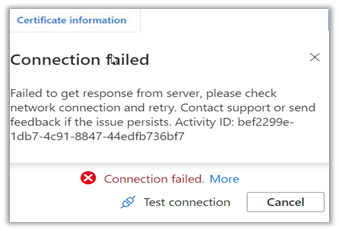
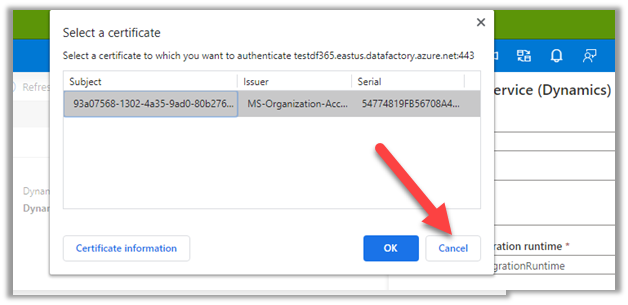
Test the connection.

Specify advanced settings as appropriate.

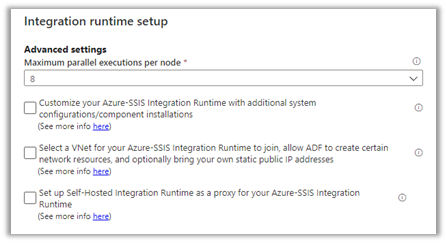
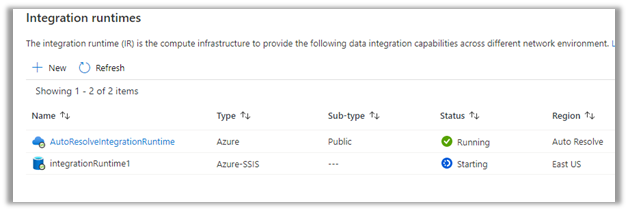
This starts the creation of Azure-SSIS Integration Runtime.

Meanwhile below is our SSIS package that we would be deploying to Azure Data Factory.

It extracts a text file named contacts.txt from the blob source and loads it into destination blog storage.

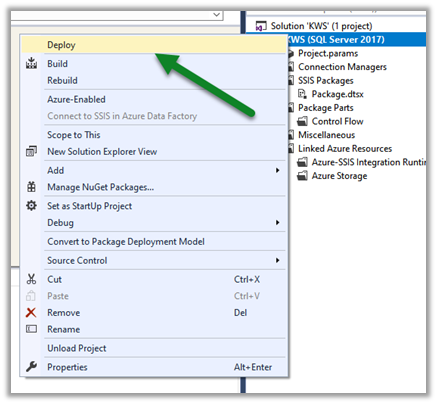
Right-click the project  and select Deploy.

(Deploying individual package is not supported right now)

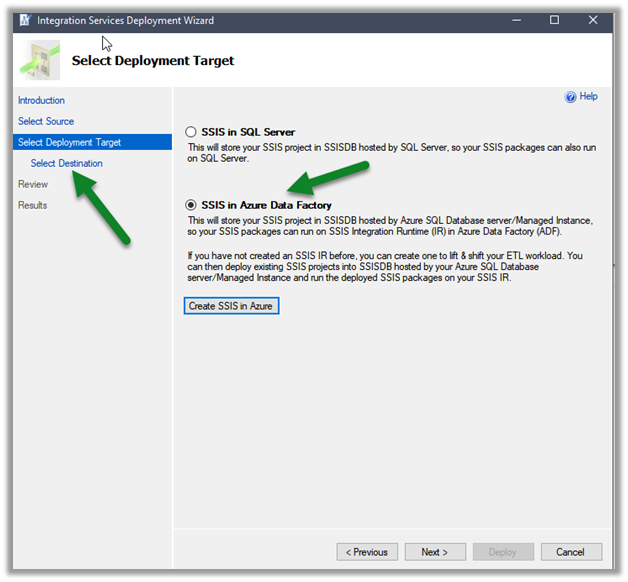
Select SSIS in Azure Data Factory.

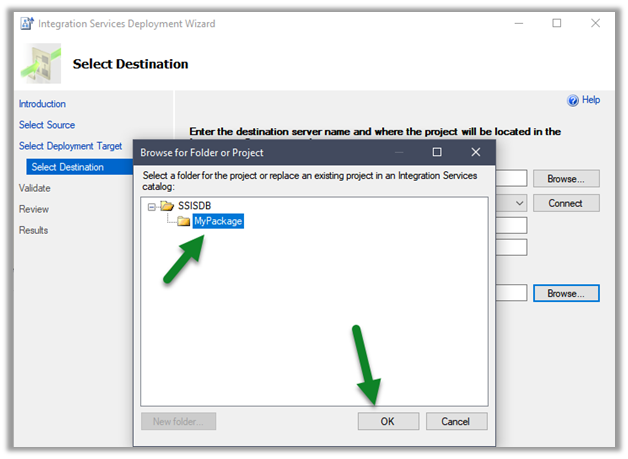
Specify Server name and credentials and connect.

Click on Browse.

Create a new folder or select an existing folder and click on Ok

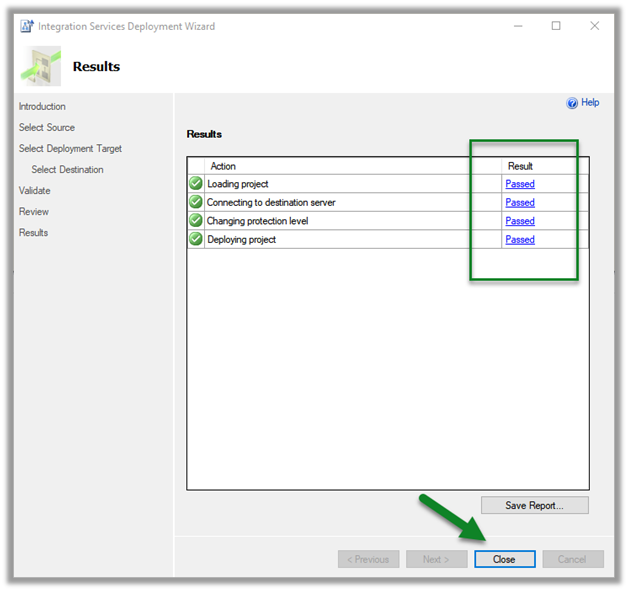
Once the validation is successful, click on Deploy and start the deployment.

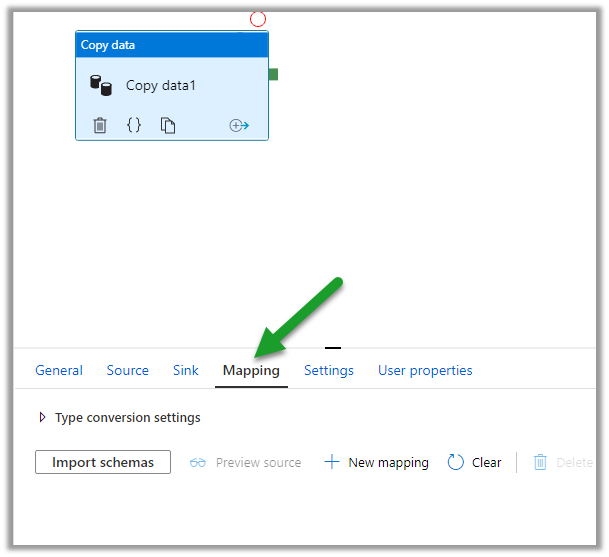
After successful deployment, create a new pipeline in the Azure Data Factory, and drag the Execute SSIS Package activity

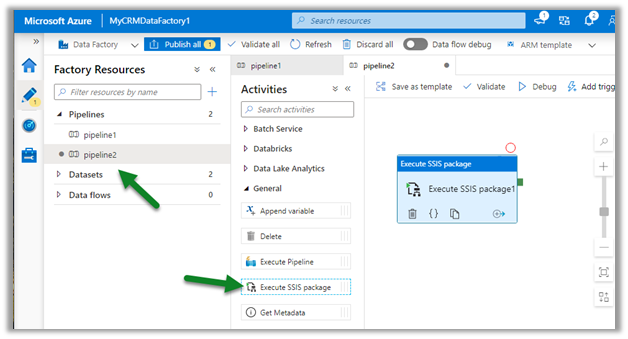
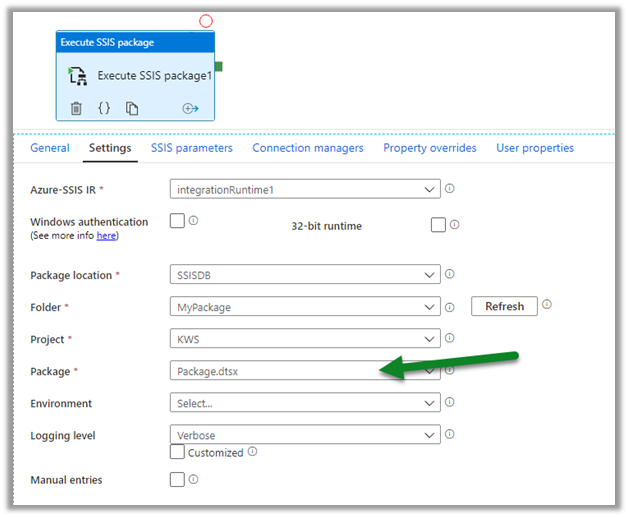
Connect to the package deployed.

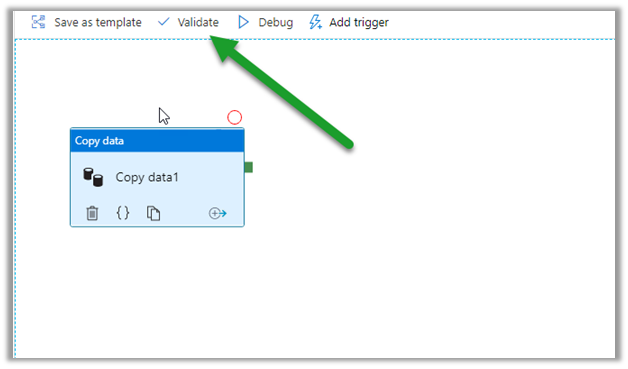
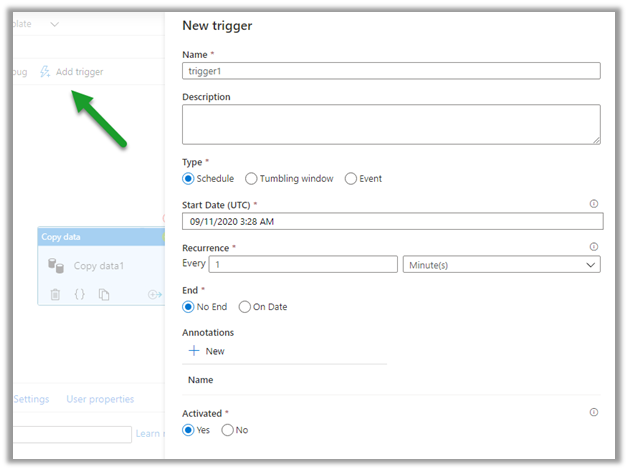
Click on debug to trigger and test the pipeline.

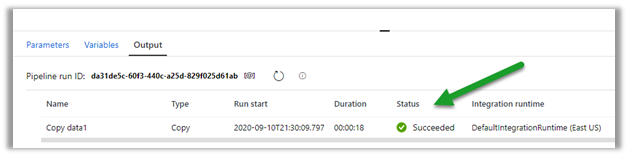
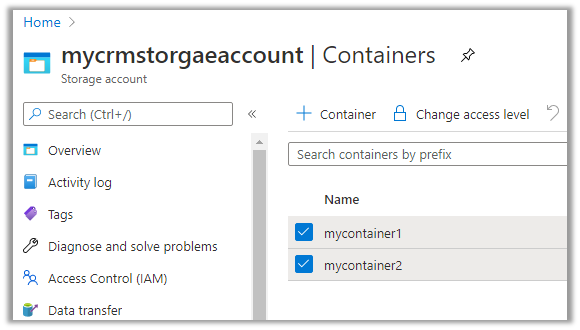
On the successful run, we can see the contact.txt file extracted from mycontainer1 and loaded to mycontainer2.

Hope it helps..

Advertisements

D365 CE: Get Logged in User’s Security Roles using JavaScript


Ajit Patra's avatarAjit Patra

Many times we come across requirements such as show/hide ribbon buttons based on logged in user’s security role.

Earlier, we used to get security roles of logged in user at client side using Xrm.Utility.getGlobalContext().userSettings.securityRoles which used to return array of GUID value of each security role.

Now that it’s deprecated, we can use Xrm.Utility.getGlobalContext().userSettings.roles which returns collection of objects with GUID and name of each security role that is assigned to the user directly or through the teams.

Below is the script which checks if the user has certain security roles based on names and hides the ribbon button if the user doesn’t have any of those security roles:

SAB.ShowHideReopenButton = function () {
    var roles = Xrm.Utility.getGlobalContext().userSettings.roles;

    if (roles === null) return false;

    var hasRole = false;
    roles.forEach(function (item) {
        if (item.name.toLowerCase() === "cs manager" || item.name.toLowerCase() === "cs administrator") {
            hasRole = true;
        }
    });

    return hasRole;
}

View original post 4 more words

How to – Use Azure Data Factory V2 to load data into Dynamics 365


Let us take a simple example where we will set up an Azure Data Factory instance and use Copy data activity to move data from the Azure SQL database to Dynamics 365.

Login to Azure Portal.

https://portal.azure.com

Search for Data factories

Create a new data factory instance

Once the deployment is successful, click on Go to resource

Inside the data factory click on Author & Monitor

Click on Author in the left navigation

Create a new Pipeline

And drag the Copy data activity to it

Go to the Source tab, and create a new dataset.

Below is our Azure SQL database with contacts table which will be our source here.


Select Azure SQL Database as the source dataset.


Create a new linked service to specify the connection properties.


Specify the details to connect to the Azure SQL Database.


We have selected the contacts table here.


Similarly, let us define a new dataset for Sink which will connect to our Dynamics 365 Instance.


Select the Dynamics data set and specify the linked service.

Specify the details of the Dynamics 365 instance to connect to.

We have selected contact entity as the destination.

Within the Mapping tab, we can specify the fields to be mapped.

Below is how we have specified the mapping.

Click on Validate and after successful validation, click on Debug to run the pipeline.

Within the Output window, we can see the status.

After the successful run, we can see the contact records created inside Dynamics 365.

We can specify a trigger for the pipeline as shown below.

Publish All will publish the changes to the data factory.

Hope it helps..

Advertisements

Failed to get response from server error while trying to connect to Dynamics 365 using linked services – Azure Data Factory


Recently, while trying to connect to Dynamics 365 data set through Linked Service

we got the below error

Seems like a product issue, so the workaround is

Opening Azure Data Factory in a new incognito or in-private mode.

Or

Cancel and do not select the certificate, while testing the connection.

Ignoring the certificate fixed the issue for us.

Hope it helps..

Use Power BI to analyze the CDS data in Azure Data Lake Storage Gen2


In the previous post, we saw how to export CDS data to Azure Data Lake Storage Gen2.

Here we’d see how to write Power BI reports using that data.

Open the Power BI Desktop, and click on Get data

Select Azure > Azure Data Lake Gen 2 and click on connect.

To get the container URL,

Log in to the Azure portal and navigate to the container and click on Properties and copy the URL.

Replace the blob part in the copied URL with dfs

Below is the format of the URL.

https://accountname.dfs.core.windows.net/containername/

replace the account name and the container name.

In case you get the below error

Refer –

https://nishantrana.me/2020/09/08/error-we-dont-support-the-option-hierarchicalnavigation-parameter-name-hierarchicalnavigation-when-trying-to-load-table-in-power-bi-desktop-using-azure-data-lake-storage-gen-2-cdm-fo/

Select the CDM Folder View (beta)

Expand the CDM folder and select the entity.

In case if you get the below error

Refer

https://nishantrana.me/2020/09/08/error-we-dont-support-the-option-hierarchicalnavigation-parameter-name-hierarchicalnavigation-when-trying-to-load-table-in-power-bi-desktop-using-azure-data-lake-storage-gen-2-cdm-fo/

Once connected we can then create our Power BI report as shown below.

Check the below posts for creating a Power BI report with Dynamics 365 data as the source

https://nishantrana.me/2018/11/24/power-bi-and-microsoft-dynamics-365/

Posts on Azure Data Lake

Hope it helps..

Advertisements

Error – We don’t support the option ‘HierarchicalNavigation’. Parameter name: HierarchicalNavigation when trying to load table in Power BI Desktop using Azure Data Lake Storage Gen 2 CDM Folder view (beta)


While trying to connect to a table within Azure Data Lake Storage Gen2 through CDS Folder View

we got the below error

Users have reported this issue with the August 2020 Update of Power BI Desktop.

As suggested in the forums, downgrading to June 2020 Update fixed the issue for us.

Check out Export CDS data to Azure Data Lake Storage Gen2

Posts on Azure Data Lake

Hope it helps..

Advertisements