Check the other articles of this series
In the previous posts, we saw how to configure Mobile Offline Profile and how it works for the end-users in the device.
The number of records that can be downloaded for Mobile Offline for a particular entity (and its related entity) can be specified using the Data Download Filter of Mobile Offline Profile Item record.
The total data available offline to the user will depend on Entity (enabled for offline) + Organization Data Filter applied to it + Mobile Offline Profile + Security roles of that user
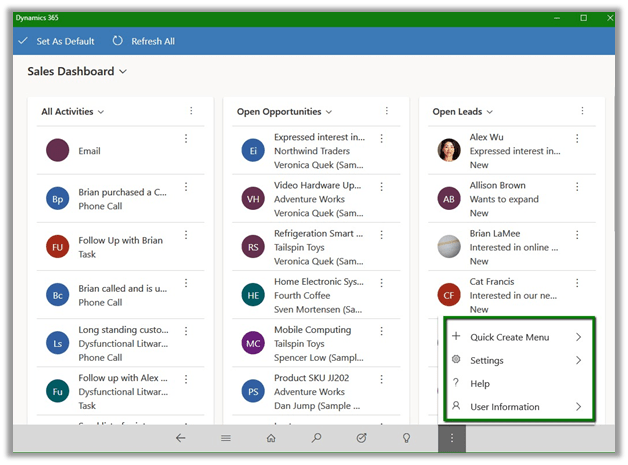
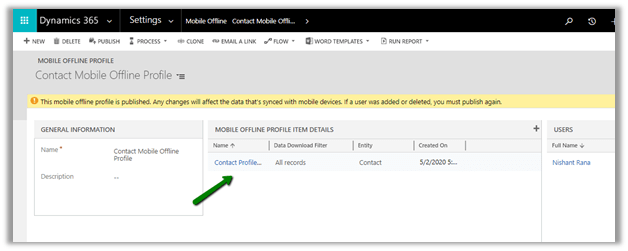
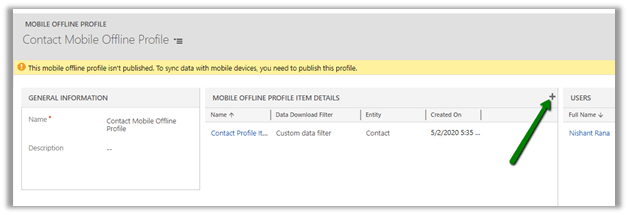
Navigate to Settings à Mobile Offline à Mobile Offline Profiles

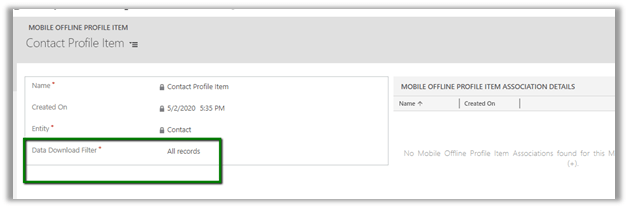
Let us open the Contact Mobile Offline Profile Item that we had specified earlier.
The different options for Data download filter are
- All records
Here All records will apply no filtering and all the contact records will be downloaded offline for the configured user.
The one important point to remember is that à
The total entity records (contact in this case) downloaded will be governed by the Organization Data download filter for that entity, what we specify in the mobile offline profile (i.e. data download filter) will be applying further filtering to it.
For contact, the criteria specified is Status equal
to Active.
Organization Data Filter criteria would be modified on less than 10 days for most of the entities by default

So, for All Records, we will have all the active contact records downloaded offline.
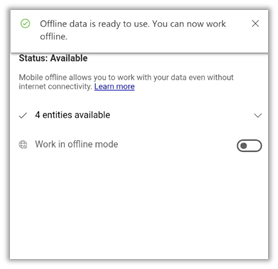
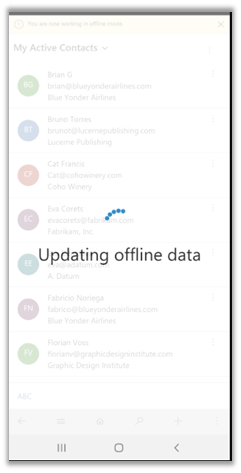
On publishing the above mobile offline profile, for users in offline mode, all the active contacts will be available.
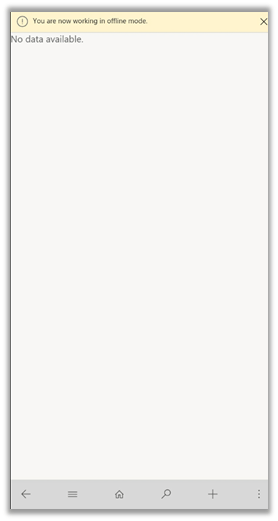
And no inactive contacts will be available as shown below.

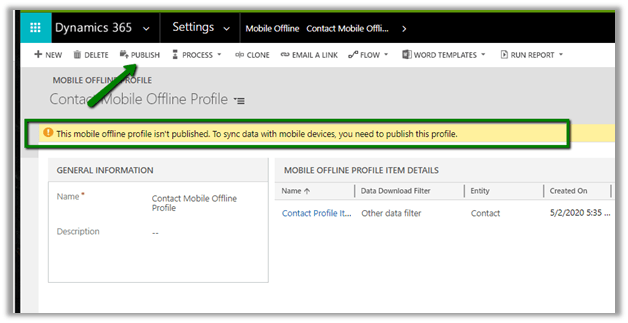
- Other data filter
Through Other data filter, we can specify what records to be downloaded based on ownership.

Here we have just selected Download my records, which should result in only the active (coming from organization download data filter) contacts owned by the user to be downloaded.
Let us publish it.
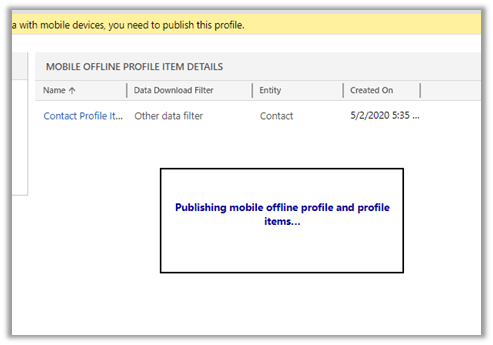
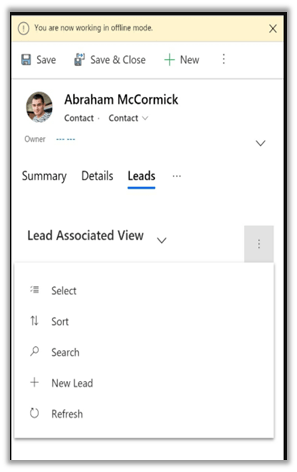
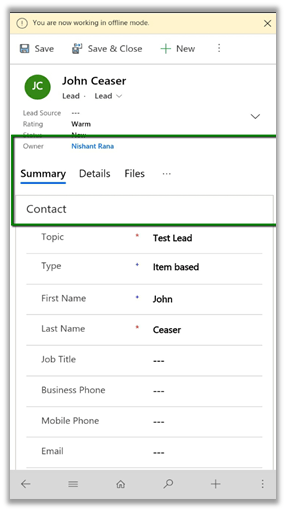
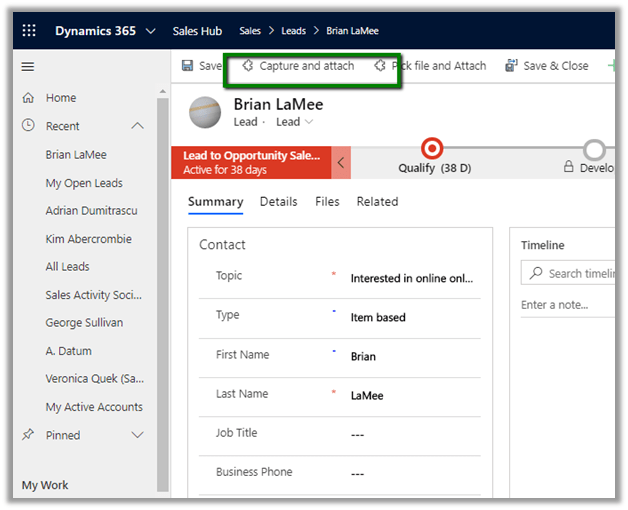
After successful Publish, let us check the same in the Phone App.

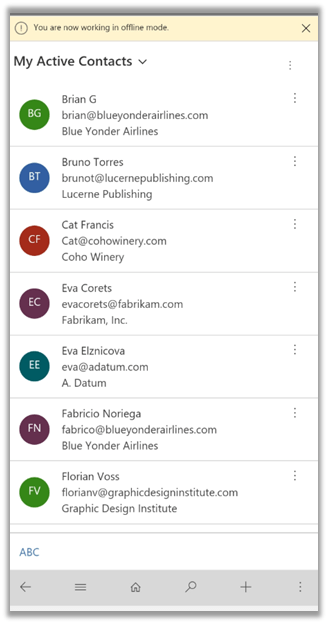
The app shows only the active contact records owned by the user.

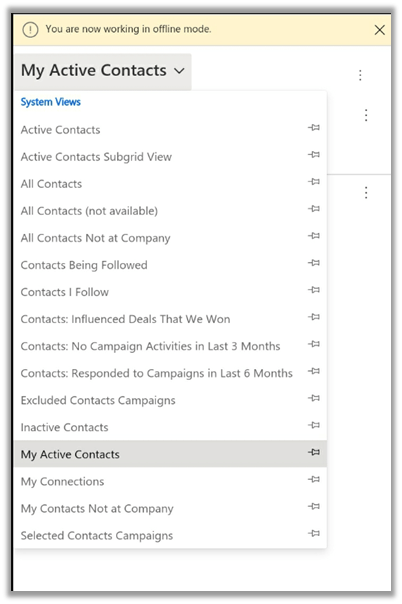
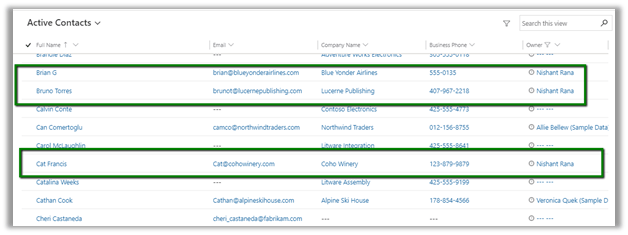
Active Contacts view for the same user in Web Application.
- Custom data filter
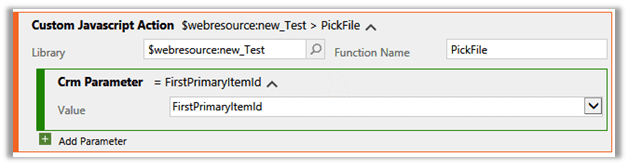
The custom data filter will allow us to define the filter using the Define Profile Item Entity Filter dialog box.
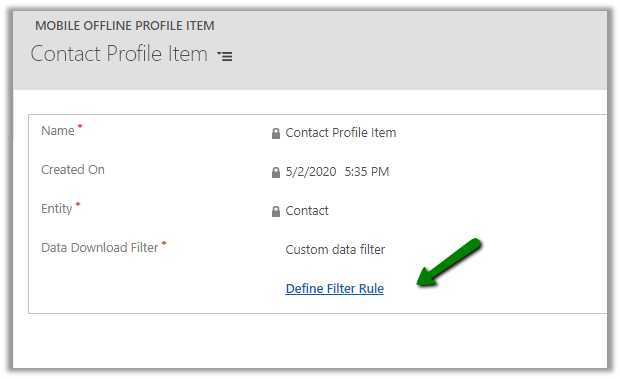
Clicking on Define Filter Rule opens the dialog box for us, wherein we can select the fields of the entity for defining the filter criteria and can group it. We cannot choose related entity fields there.
Here for testing, we have kept the criteria as role equals as the Decision-maker.

Now let us publish the change, and check the data for the user in the mobile app offline.
We just have just one record having a role as the Decision-maker.
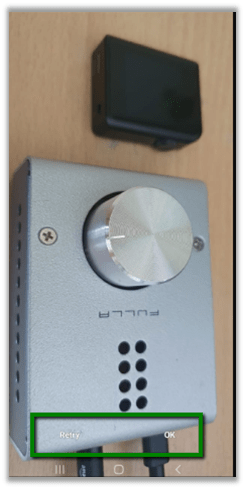
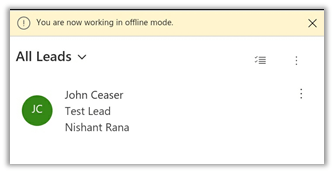
Back in the mobile app, the user can see only that one record inside the app.

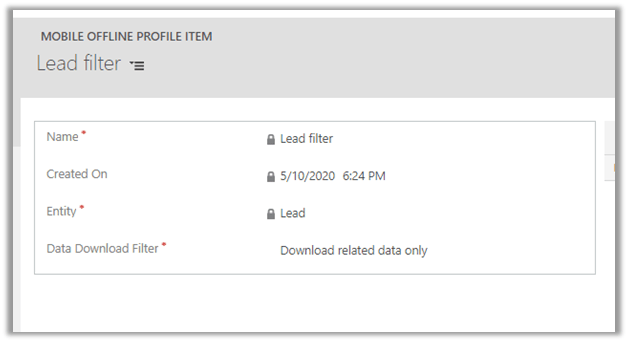
- Download related data only
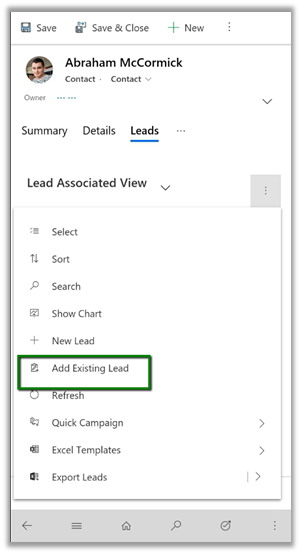
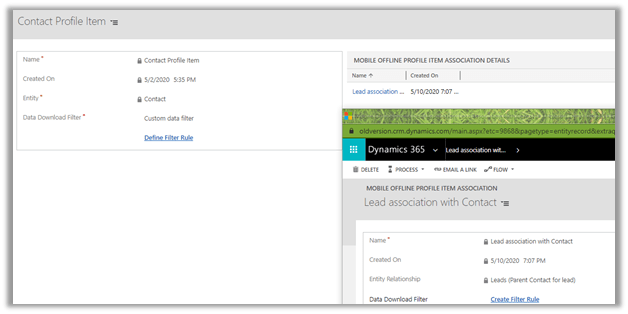
This option allows us to download related entity data. E.g. with the above contact records, we want to download the related lead records only, for this we will create a new profile item for the lead entity.
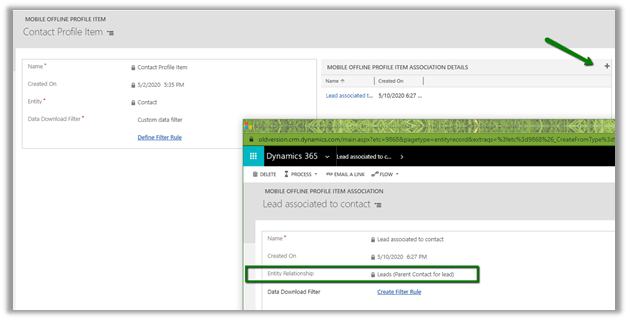
Now back in the Contact profile, add an associated offline profile item and specify the Entity-relationship between contact and lead.
Let us publish this new profile.
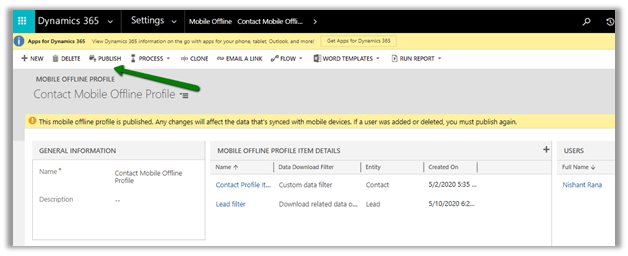
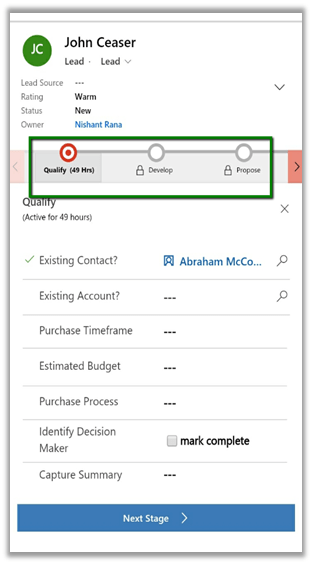
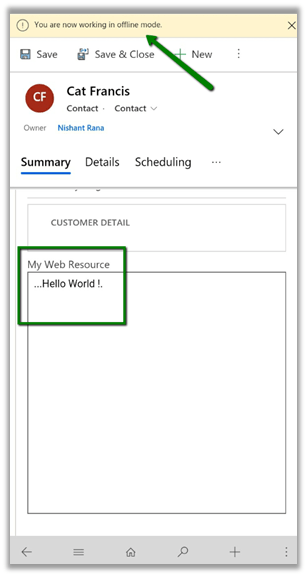
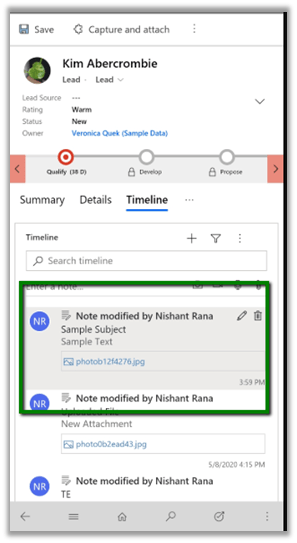
The user can now select the contact record and can see the related lead record

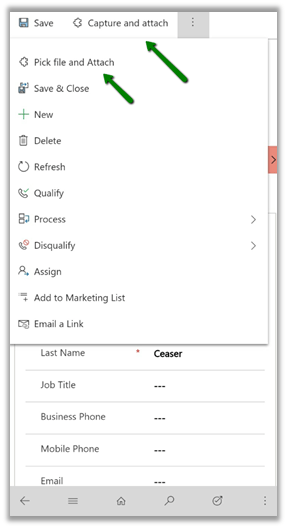
What happens if we delete the Lead Mobile Offline Profile and only keep the Contact offline profile having the lead association to it?
We’d get the below error
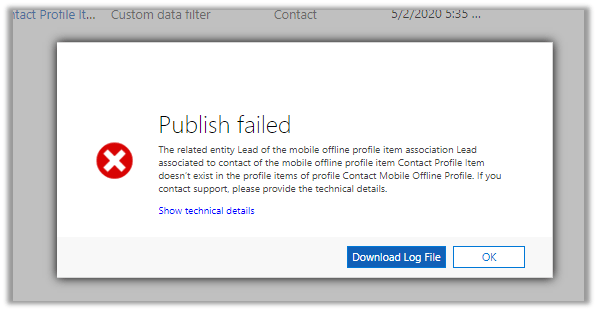
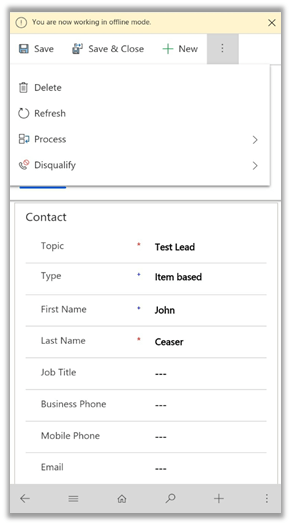
What happens if we keep the contact and lead profile and delete the lead association in the contact offline profile?

This will allows us to publish the profile.
So, for contact we have
- Org filter as active contacts.
- Data download filter as – Custom Data filter as Role equals Decision maker.
And for lead we have
- Org filter as active leads.
- Data download filter as – Download related data only.
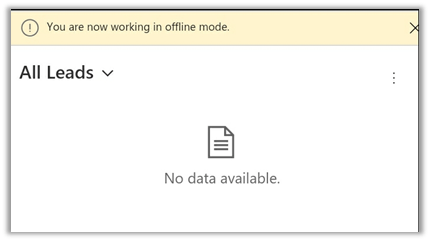
The result – only one contact record with a role as the decision maker will be available for the user.

No associated lead
And no leads
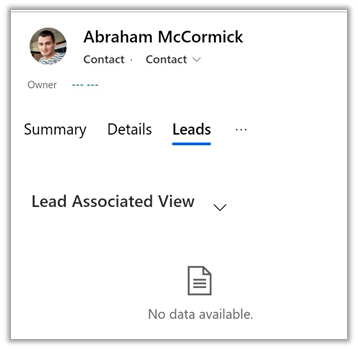
Let us add back the mobile offline profile item association record of the lead in the contact offline profile.
The result à only one active contact record having the role as a decision-maker, and only one associated lead record will be available for the user.


Thus we saw, how we can use Data Download Filter to define filtering, which would specify the total records that would be available to users offline, in the mobile app.
Hope it helps..