Just sharing a sample code to retrieve the Audit Detail using RetrieveRecordChangeHistoryRequest.
RetrieveRecordChangeHistoryRequest changeRequest = new RetrieveRecordChangeHistoryRequest();
changeRequest.Target = new EntityReference("entitySchemaName", "entityId"));
RetrieveRecordChangeHistoryResponse changeResponse =
(RetrieveRecordChangeHistoryResponse)_service.Execute(changeRequest);
AuditDetailCollection auditDetailCollection = changeResponse.AuditDetailCollection;
foreach (AttributeAuditDetail attrAuditDetail in auditDetailCollection.AuditDetails)
{
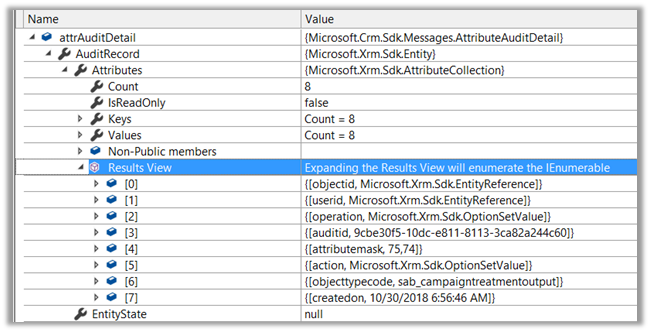
var auditRecord = attrAuditDetail.AuditRecord;
Console.WriteLine("Entity: " + ((EntityReference)auditRecord.Attributes["objectid"]).LogicalName);
Console.WriteLine("Operation: " + auditRecord.FormattedValues["operation"]);
Console.WriteLine("Action: " + auditRecord.FormattedValues["action"]);
var newValueEntity = attrAuditDetail.NewValue;
foreach(var attrNewValue in newValueEntity.Attributes)
{
Console.WriteLine("New Key: " + attrNewValue.Key + "New Value: " + attrNewValue.Value);
}
var oldValueEntity = attrAuditDetail.OldValue;
foreach (var attrOldValue in oldValueEntity.Attributes)
{
Console.WriteLine("Old Key: " + attrOldValue.Key + "Old Value: " + attrOldValue.Value);
}
}
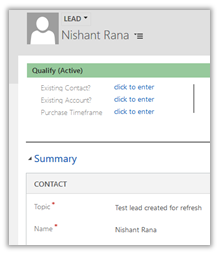
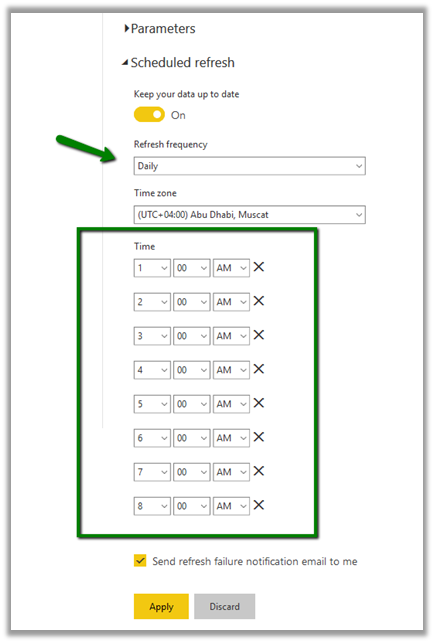
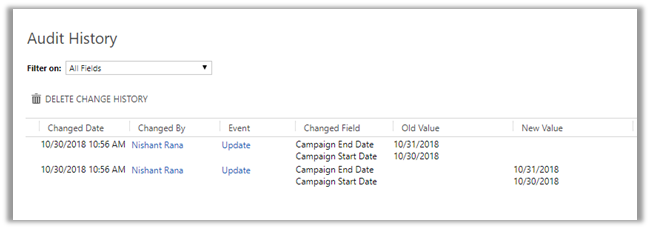
The record whose Audit History we are retrieving :
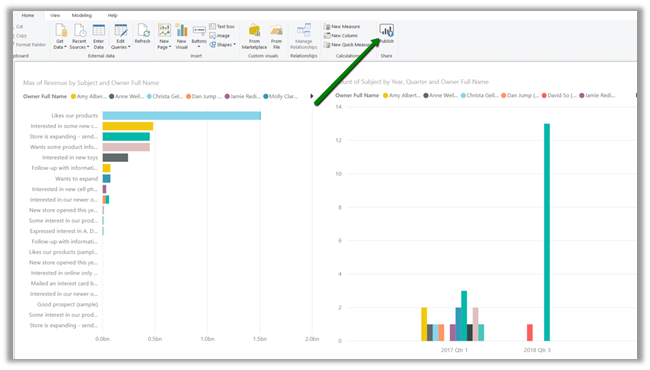
Output :
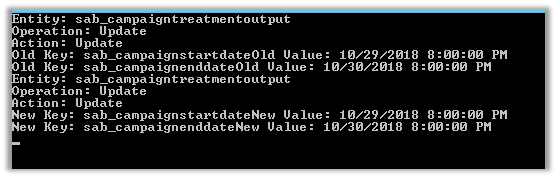
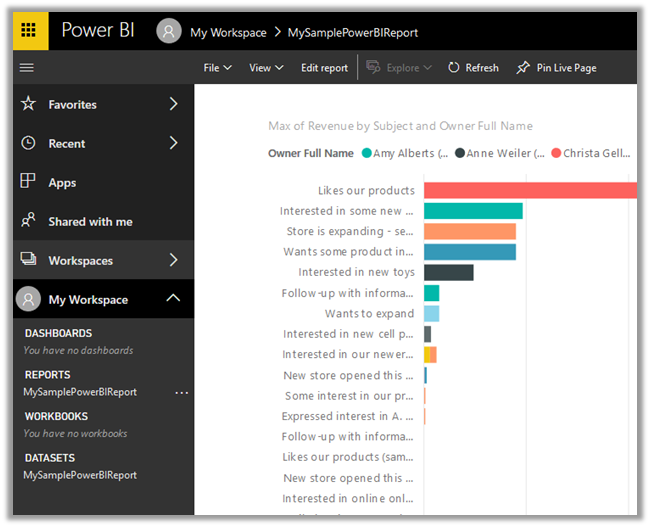
AuditDetail.AuditRecord :
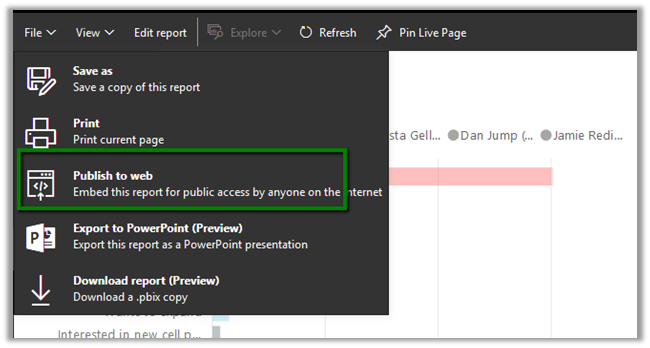
AuditDetail.OldValue n NewValue:

Hope it helps..
Advertisements