Recently, I came across a very interesting tool called PowerMakerAI, developed by a fellow community member. I felt it’s worth sharing here because it directly helps us in one of the most common and time-consuming tasks — creating tables and fields in Dynamics 365.
Creating custom entities and fields in Microsoft Dynamics 365 is essential — but let’s be honest, it’s often tedious and time-consuming. Navigating through multiple forms, selecting field types, defining metadata, and ensuring consistency takes significant effort, especially for complex data models.
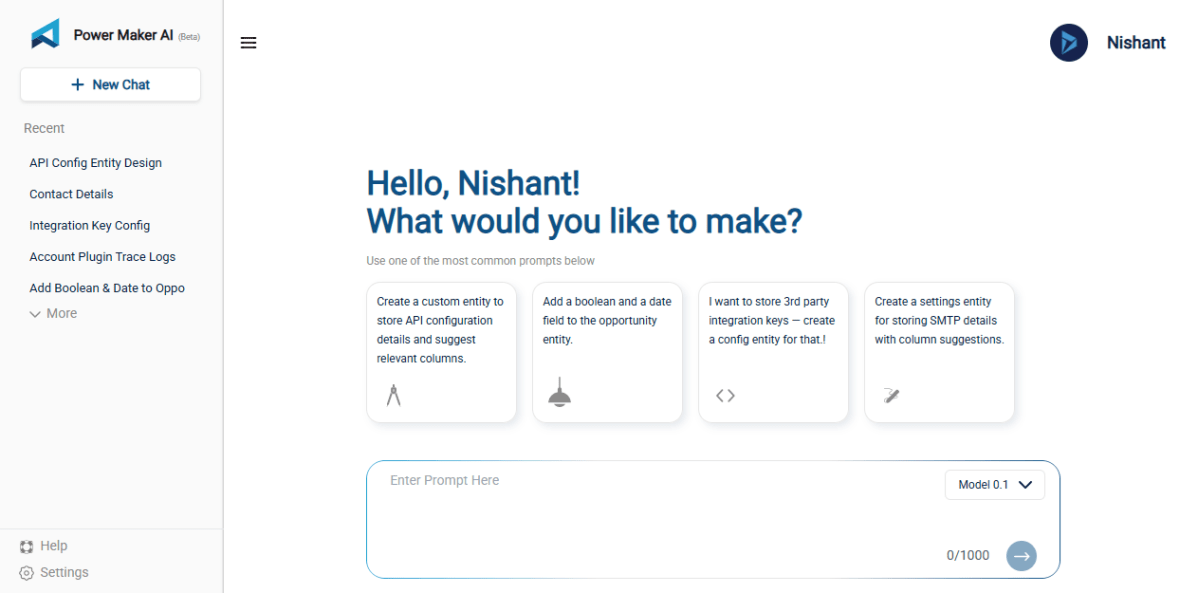
That’s where PowerMakerAI’s AI Entity Builder with Visualizer comes in.
🎯 What is the AI Entity Builder?
The AI Entity Builder is a natural language-powered tool that lets you create complete entity definitions by simply describing what you need — just like talking to a junior developer.
Instead of clicking through menus or filling out field properties manually, you can say:
“Create an entity called ‘Customer Feedback’ with fields for Name, Email, Rating (1-5), Comments, and Submitted On.”
PowerMakerAI understands your intent and instantly generates a complete schema, including:
- Logical names
- Display names
- Field data types
- Required levels
- Primary field selection
- Relationship suggestions (coming soon)


👁️ Visualizer: See What You’re Building — Instantly
One of the most powerful additions is the interactive schema visualizer.
Once your entity is generated, the visualizer shows you:
- All attributes in a structured format
- Field types (text, number, option set, date, etc.)
- Required vs optional fields
- Entity-level metadata
- [Coming Soon] Relationships with other entities
You can drag, zoom, and explore your schema visually — no need to switch back and forth between the Dynamics UI and your schema documentation.

🧠 How It Works (Under the Hood)
PowerMakerAI uses a combination of:
- Natural Language Understanding (NLU): To detect intent, field names, data types, and relationships.
- CRM Schema Intelligence: Built-in logic that maps certain keywords to CRM field types (e.g., “status” = OptionSet, “submitted on” = DateTime).
- Dynamic Validations: Prevents common issues like duplicate logical names or unsupported characters.
It then presents the results in human-readable formats.
⚡ Benefits
- 🕒 Save Hours: No more manual field creation
- 💬 Speak Requirements: Great for functional consultants too
- 📦 Deployment-Ready: Export and import with minimal edits
- 🧩 Visual Confidence: Know what you’re building before you build it
- 👥 Perfect for Teams: Let non-technical users define schema, and devs just approve and deploy
🧪 Example Use Case
A marketing team wants a “Campaign Response” entity. Instead of submitting a spec document and waiting for dev time, they use PowerMakerAI:
“Create a Campaign Response entity with Contact, Campaign Name, Response Type (dropdown), Notes, and Created On.”
💡 In under 30 seconds, the entire entity is ready, visualized, and exportable.
🚧 Coming Soon
We’re just getting started. Upcoming features include:
- 🔁 Relationship suggestions (1:N, N:N)
- ✅ Auto-validation for solution compatibility
- 📤 One-click push to your CRM environment
- 🔄 Integration with PowerMakerAI’s chatbot for conversational updates
💬 Try It Yourself
You can explore PowerMakerAI yourself here: https://powermakerai.com. The creators are currently offering it free during beta.