Sharing a sample code through which we can Enable / Disable (turn on / turn off) multiple cloud flows using code.
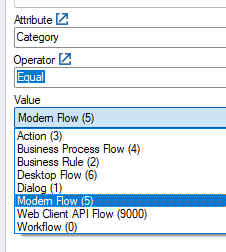
E.g. here we want to turn on the below Cloud Flows owned by a specific user.

Table name – Workflow and Category – Modern Flow.
Below is the sample code, code is straightforward, we are updating the status of the record.
const string connectionString = "AuthType = ClientSecret; " +
                                         "Url = https://[org].crm.dynamics.com/;" +
                                         "ClientId=[GUID];" +
                                         "ClientSecret=[Secret]";

        var myServiceClient = new CrmServiceClient(connectionString);
        if (myServiceClient.IsReady)
        {
            var query = new QueryExpression("workflow");
            query.ColumnSet.AddColumns("workflowid", "name", "ownerid", "statecode", "category", "primaryentity", "solutionid");
            // Category = 5 (Modern Flow)
            query.Criteria.AddCondition("category", ConditionOperator.Equal, 5);
            // owned by a specific user
            query.Criteria.AddCondition("ownerid", ConditionOperator.Equal, "23d670c5-d02d-ee11-bdf4-0022482db7da");
            var cloudFlows = myServiceClient.RetrieveMultiple(query);
            foreach(var flow in cloudFlows.Entities)
            {
                var myFlow = new Entity("workflow", flow.Id);
                // statecode = 1 (Turn On) and  statecode = 0 (Turn Off)
                myFlow.Attributes["statecode"] = new OptionSetValue(1);
                myServiceClient.Update(myFlow);
            }
        }
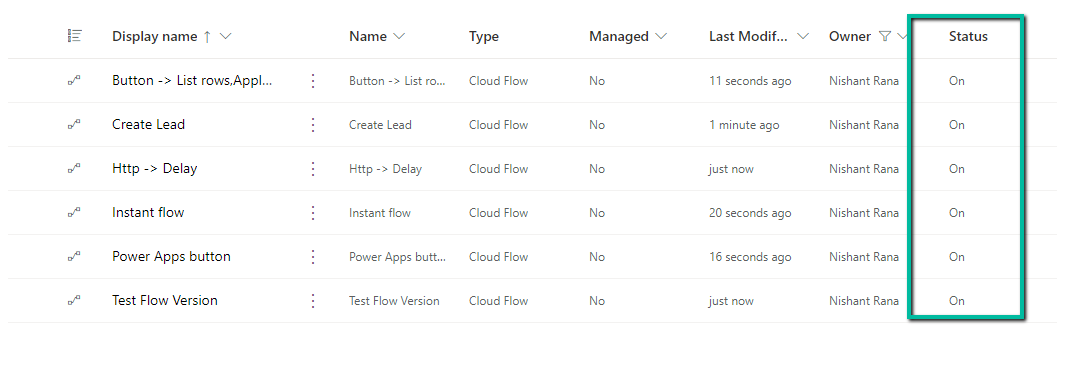
The result :
Or we can use the SQL4CDS XrmToolBox tool for it –
SELECT
    workflowid,
    name,
    ownerid,
    statecode,
    category,
    primaryentity,
    solutionid
FROM workflow
WHERE category = 5
  AND ownerid = '2e134bf4-bfe7-ed11-8848-00224893d32a'
  AND statecode = 0


UPDATE workflow
SET statecode = 1
WHERE category = 5               -- Modern Flow
   AND ownerid = '2e134bf4-bfe7-ed11-8848-00224893d32a'
  AND statecode = 0              -- Only turn ON currently OFF flows
Check Work with cloud flows using code.
Hope it helps..
Advertisements