Setting Lookup field in the Dynamics 365 for Sales Connector in Informatica Cloud


Informatica Cloud has recently released new connector for integration with Dynamics 365 named Dynamics 365 for Sales Connector, which uses Web API of Dynamics 365.

Below is how we specify the details of the connection –

Because of lack of documentation for the new connector, while trying to insert a record inside CRM and trying to setup a lookup field we struggled a lot.

Eventually, we realized the format that is required for setting the lookup field.

EntitySetName:(GUID)

i.e.

sab_fash_categories(72e0b837-e060-4a5c-b831-0e8266dd9a56)

Here sab_fash_categories is the EntitySetName of the custom entity sab_fash_item and it is being used as a lookup in another entity.

For the older version of the connector that used OrganizationService, the documentation is available which specifies the following format for the lookups

{SchemaName:GUID} i.e. the way we specify while setting EntityReference field

https://kb.informatica.com/proddocs/Product%20Documentation/6/IC_Spring2017_MicrosoftDynamicsCRMConnectorGuide_en.pdf

ER

Hope it helps..

USD 3.3: Help Improve Unified Service Desk


Ajit Patra's avatarAjit Patra

Help improve USD means Unified Service Desk sends information to Microsoft anonymously different data such as:

  • Operating system version and bit type

  • Web browser application and version
  • Unified Service Desk version

  • Number of monitors used and screen resolution of the primary monitor

  • Device processor class and RAM details

With the new version of USD released recently(USD 3.3) this option is ENABLED by default.

If USD administrator wants to DISABLE this option, then below are the steps to do it:

  1. Go to Settings–> Unified Service Desk
  2. Go to Options
  3. Click on New and create the new UII option as shown below:

False

In the earlier version of USD released for Dynamics 365 online, this option is DISABLED by default, which can be ENABLED by following above steps with value field as “TRUE” as shown below:

True

Another way to control this option of sending information to Microsoft is by Activating/Deactivating the UII option(HelpImproveUSD

View original post 37 more words

Limitation of Solution Patch in Dynamics 365


Recently while working with a Solution Patch we came to realize one of its limitation (or feature) which we weren’t aware of.

If we are trying to update a component through the patch, and that particular component has been customized in the target environment ( through default solution in case of managed), the update won’t work on that component.

Let us take a simple example to understand this.

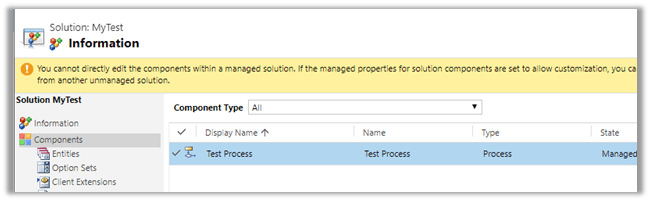
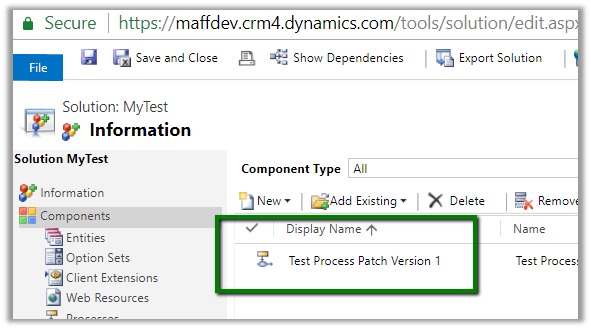
Below we have created a solution with one workflow in it named Test Process.

Now let us export the solution as managed and import it in Test.

Now back in our DEV let us rename the Process and create a patch for it and import it in Test.

https://nishantrana.me/2016/09/22/creating-patches-solution-management-in-crm-2016/

We can see the update in the name after applying\importing the patch.

Now let us go back in our DEV and make some update in the name of the process and import it again in the Test.

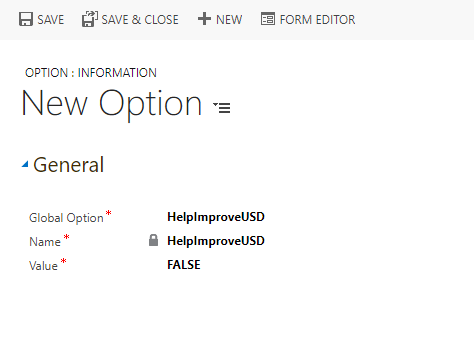
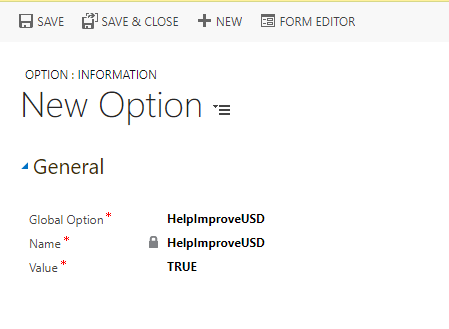
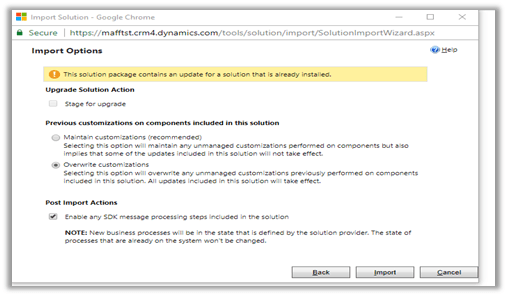
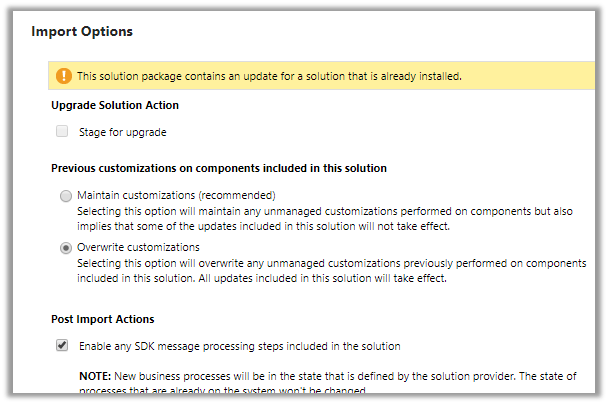
We have selected the option of overwriting customizations here.

We can see the update in the TEST after importing the patch.

Now comes the interesting part, in the TEST environment, go to Settings – Customizations and rename the Process. Here we have appended “Updated” in its name.

Now let us import the same Patch Solution back in our TEST with Overwrite selected.

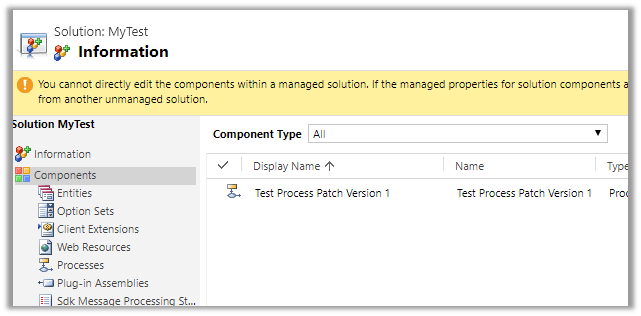
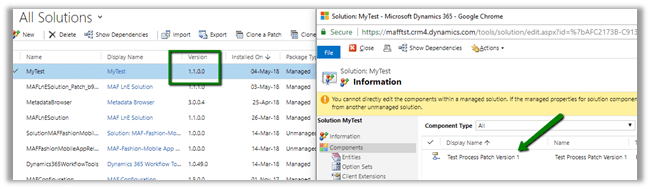
Unexpectedly, we do not see any change, the process is unchanged in the TEST even after importing the patch with Overwrite option. We expected it to be renamed to Test Process Patch Version 1 as it was in the patch solution, instead, it has the suffix Updated to it i.e. the changes that we made directly in the TEST through default solution.

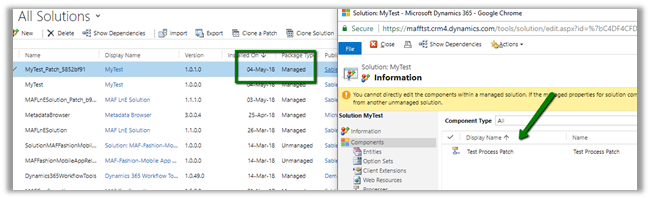
The way we can now update it from DEV is to clone our solution there.

Import it to TEST and apply Solution Upgrade.

Below we can see the new version imported into the TEST and as expected the Process renamed to what it was in DEV.

Hope it helps..

The record could not be deleted because of an association exception in Dynamics 365


Recenlty while trying to delete product records, we got the below error.

The quick way to figure out which associated entity’s record could have restricted the deletion of the record, open the 1:N relationship for the entity.

Search for any Parental, Referential Restrict Delete or any System relationship that has Restrict set for Delete action.

In our case it was the System relationship of Product with Opportunity Product

With Restrict Behavior set for Delete action.

Deleting all the opportunity product record allowed us to delete the Product records.

Hope it helps..

Common Data Service for Apps -> Manage Entities, Fields, Relationships and Data Import – Part 1


Sachin Bansal's avatarBansal Blogs - Dynamics 365, PowerApps, Microsoft Flows, Power BI

CDS (Common Data Service) for Apps implements Common Data Model which provides set of standard entities (Account, Contact, Lead, Opportunity etc.) and capability to create your own custom entities. Applications built on top of CDS can leverage this common data model to securely store their data and enhance their business processes. To know more about CDM, refer link

We will cover following topics as part of this blog:

  • Explore standard entities
  • Create custom entities, fields
  • Define relationships among entities
  • Import data from excel

Explore standard entities:

CDM provides set of almost all standard business entities that represent most commonly used entities across business and applications such as Account, Appointment, Contact, Business Unit, Email, Product etc.

  • Login to powerapps.com. Select Data from left navigation and clinic on Entities. You will be shown with list of standard entities available

CDS1

  • By default, you will see few entities. Change filter on top from…

View original post 545 more words

Headless Authentication with Dynamics CRM online and External Web App which requires Client Secret


Debajit's avatarDebajit's Dynamic CRM Blog

As promised, I am back to my second post on this topic. In my previous post, I showed you on how to generate Authorization token of D365 online from Native Console App using the Client_ID.

https://debajmecrm.com/2018/04/29/headless-authentication-with-dynamics-crm-online-web-api-without-user-login-screen-without-using-adal-part-i/

We did that using simple HttpWebRequest and Response and did not use the ADAL (Active directory authentication library) as well.

Well, let’s dive deep here. Nothing big in my previous topic as the same thing can be done using ADAL and in a clean way as well. Then why use that construct?

We are talking of headless authentication here which means authentication without user intervention. Using ADAL, it was fine to generate the token from a Native console APP using the Client ID. However situations become complex when we try to do the same from an external Web Application which required the Client_Secret as well for generating the token.

So I created a ASP.NET…

View original post 300 more words