For complex data migration requirements, usually we’d be using 3rd party tools like KingswaySoft or Scribe, or Informatica as they already have components (connection, transformation, source, destination etc.) built for Dynamics 365 instead of building our own.
Check other posts on data migration https://nishantrana.me/2020/10/16/ssis-kingswaysoft-and-dynamics-365/
https://nishantrana.me/2020/05/19/data-migration-in-dynamics-365-key-considerations/
For some simple / basic requirements instead of using 3rd party tools, we can write our own packages – script components that consumes Dynamics 365 service.
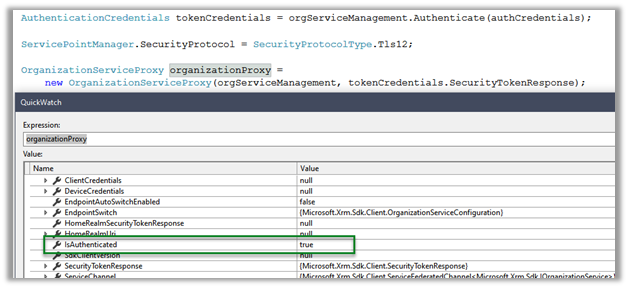
In this post, we’d see how can we consume Organization Service inside the Script Component.
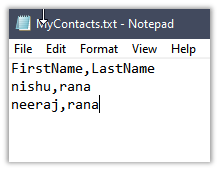
We are taking a very simple example, where our source is a text file having contact records with just 2 columns’ first name and last name.
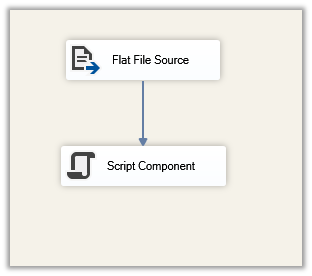
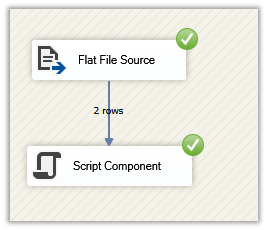
Let us create a new package, add a data flow task and drag Flat File Source and Script Component to it.
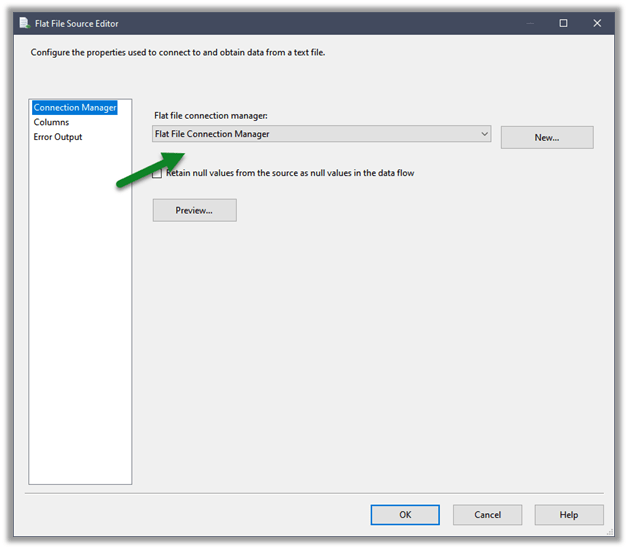
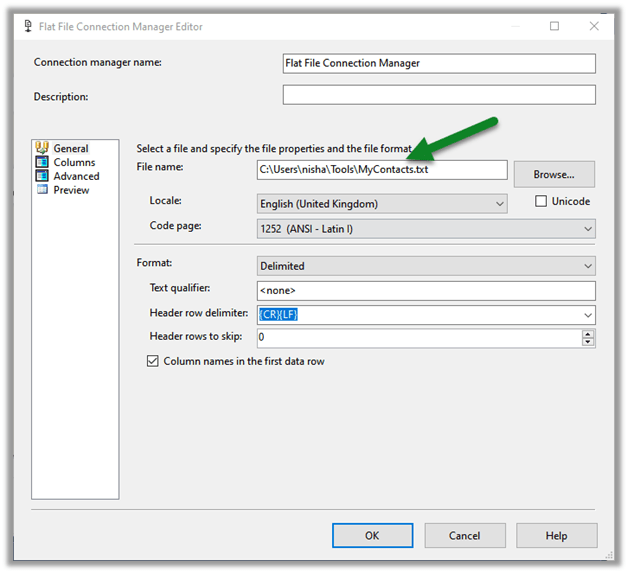
Specify the connection for the Flat File that points to the Contact.txt file.
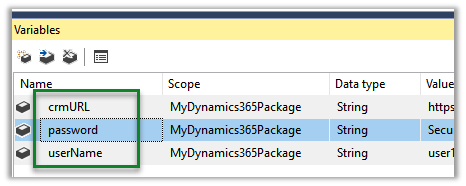
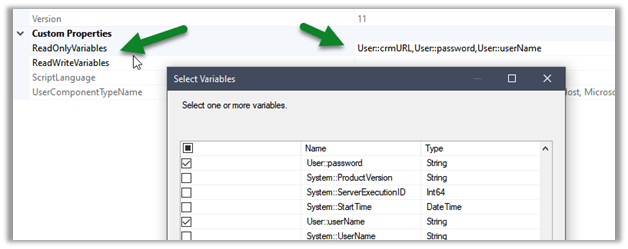
Specify 3 Variables that we would be using inside the Script Component.
Double click the Script Component, and select the variables defined
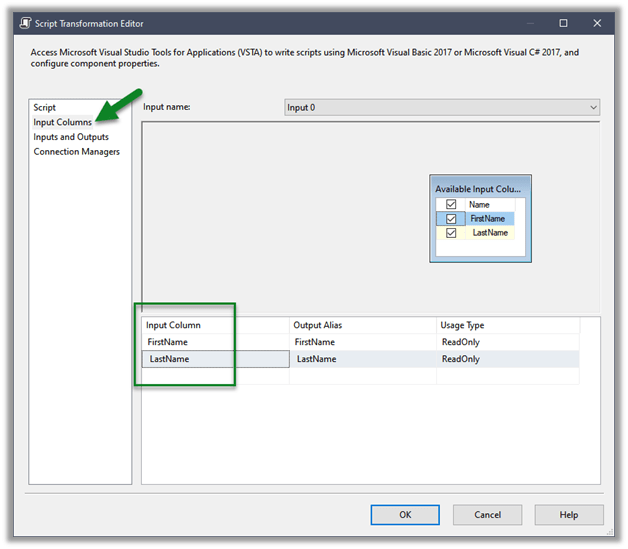
Select the input columns that we are getting from the source text files
Click on Edit Script which opens the Visual Studio

Add references to
- Microsoft.Xrm.Sdk
- System.ServiceModel

Also, add the Microsoft.Xrm.Sdk.dll to the GAC.

Specify the connection using the variable as shown below in the PreExecute method

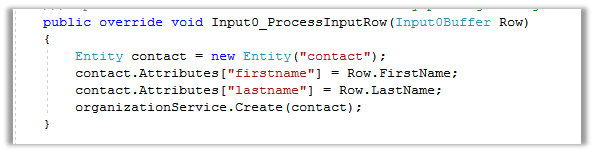
Process each row in the ProcessInputRow method and create the contact record.
Build and close the VSTA (Visuals Studio Tools for Application) project and run the package.
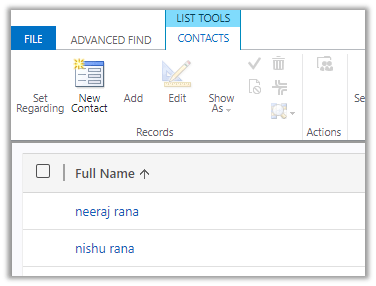
After successful execution, we can see the records created inside Dynamics 365
Hope it helps..