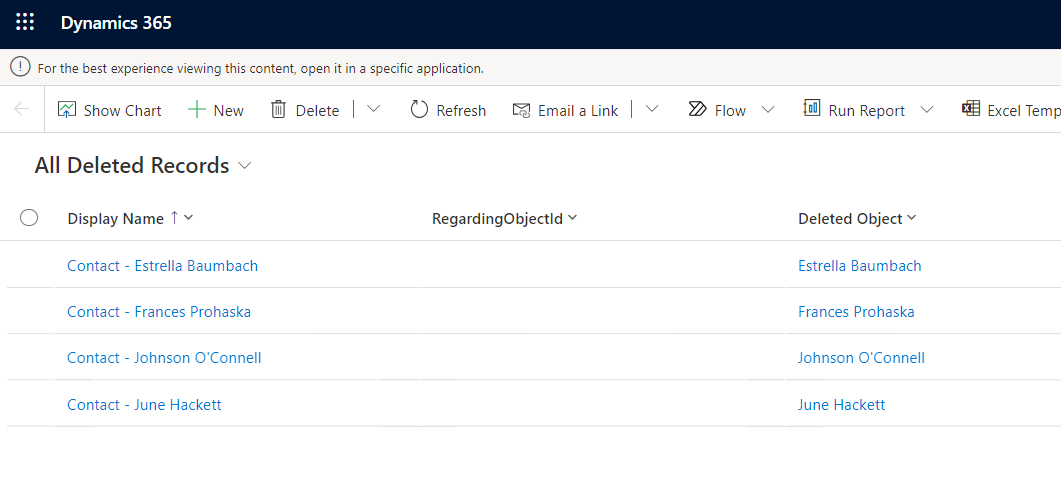
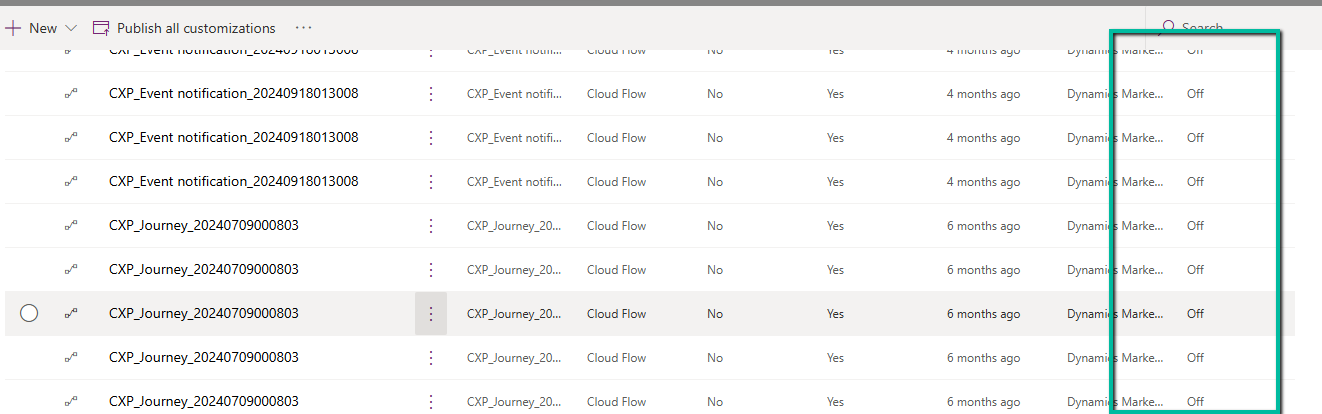
Recently we copied our UAT environment to one of the testing environments. After copying, we saw that all the cloud flows were in Off / Disabled state.
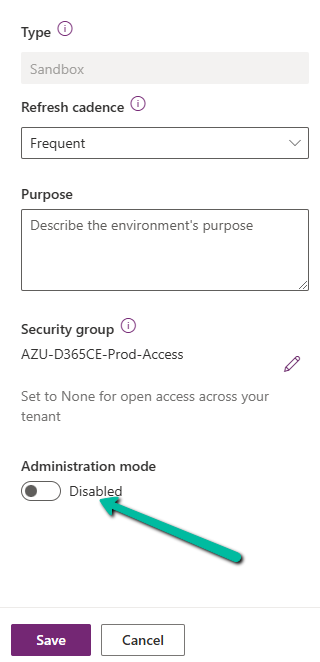
This was because during copy the environment is set in administration mode and background operations are also disabled.
Flows are automatically turned off to prevent –
- Accidental execution of automation in a copied/test environment
- Potential integration issues due to different connectors or authentication.
- Unintended data modifications (e.g., flows interacting with external systems like SharePoint, SQL, or APIs).
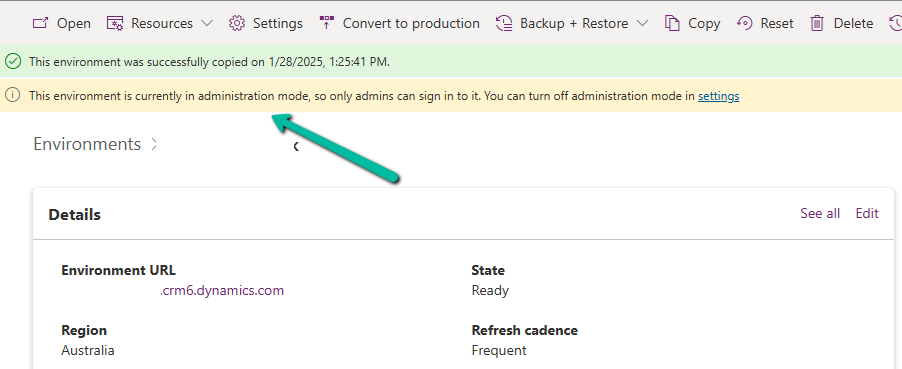
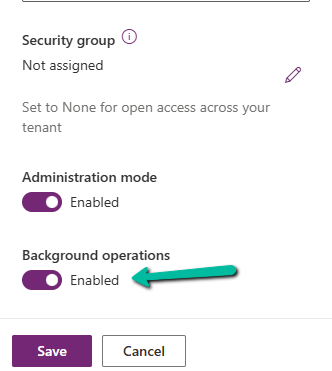
If required, we can disable the administration mode or at least enable the background operations.
However, the flows will not automatically switch On even if we enable either the Administration Mode or Background operations.
Here we need to switch them On manually or use PowerShell scripts or API to do so.
Refer to blog posts for details on it –
PowerShell – https://www.syskit.com/blog/managing-microsoft-powerapps-and-flow-like-a-pro-part-3-managing-flows/
Console App / API – https://nishantrana.me/2024/06/12/enable-disable-turn-on-turn-off-multiple-cloud-flows-using-code-power-automate/
Additional Considerations –
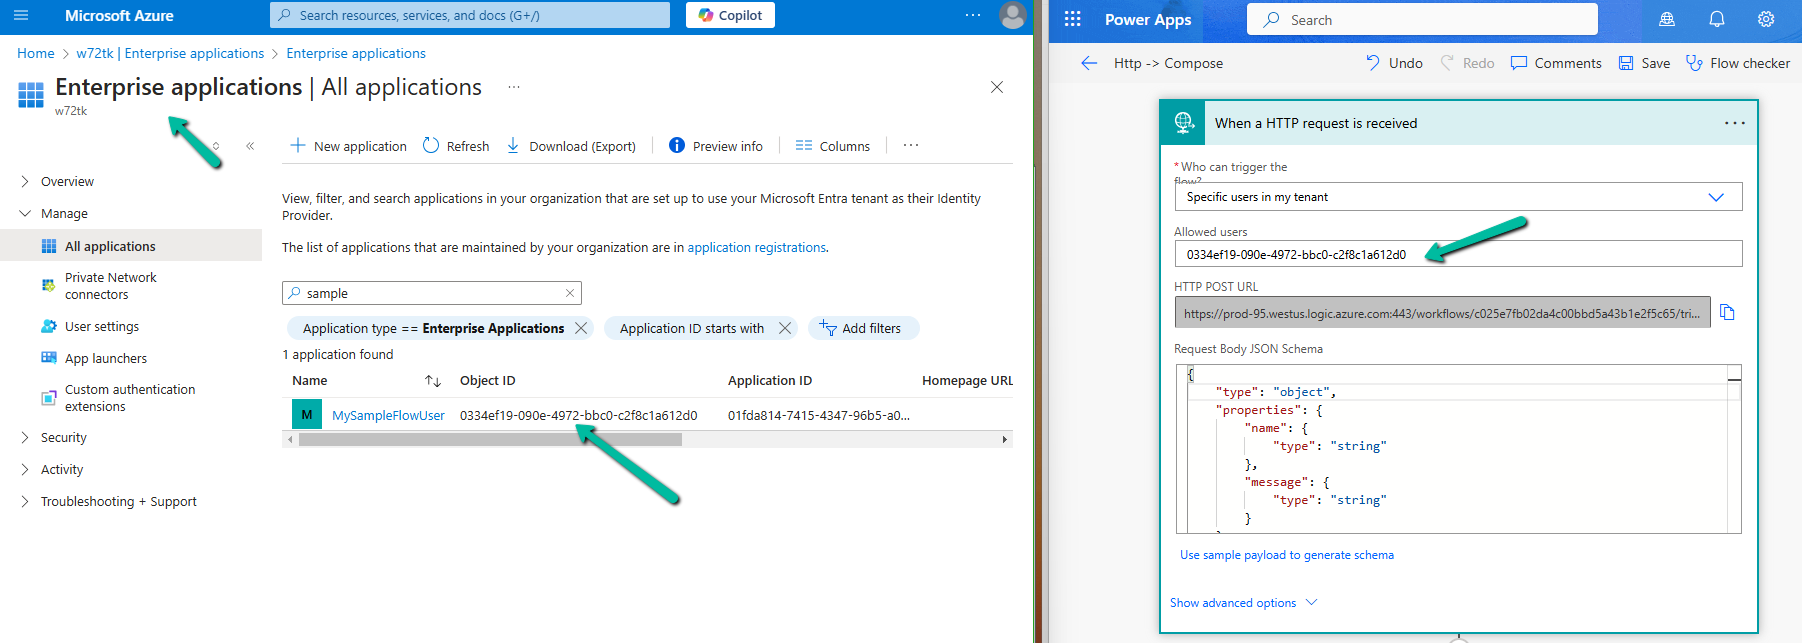
Connection References: If the flows use connection references (like SharePoint, Dataverse, Outlook, etc.), we need to verify them in Solution > Connection References and update them if necessary.
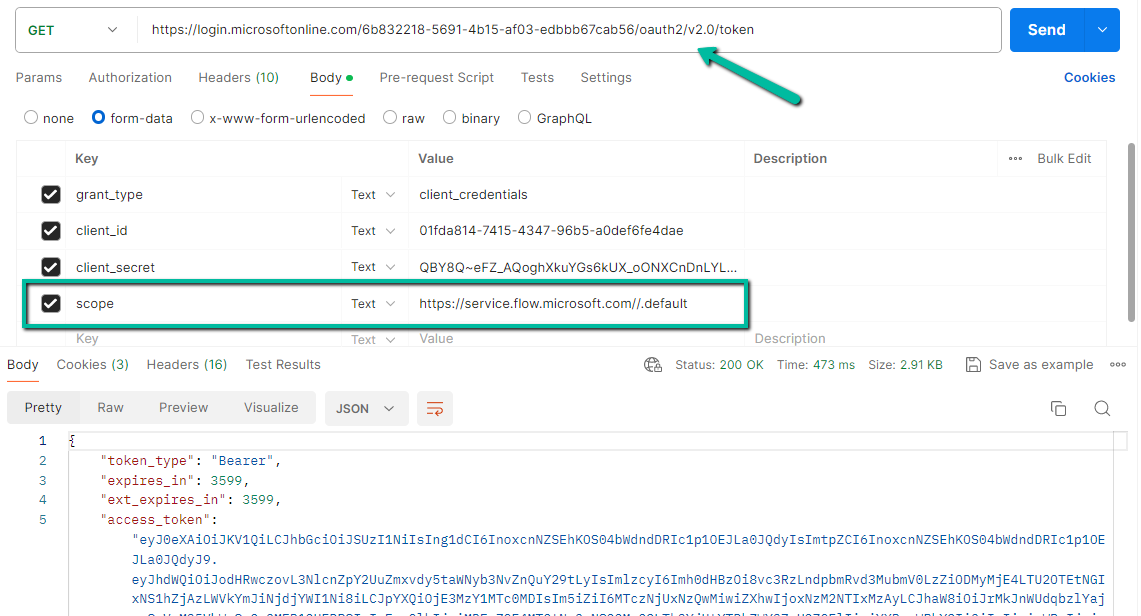
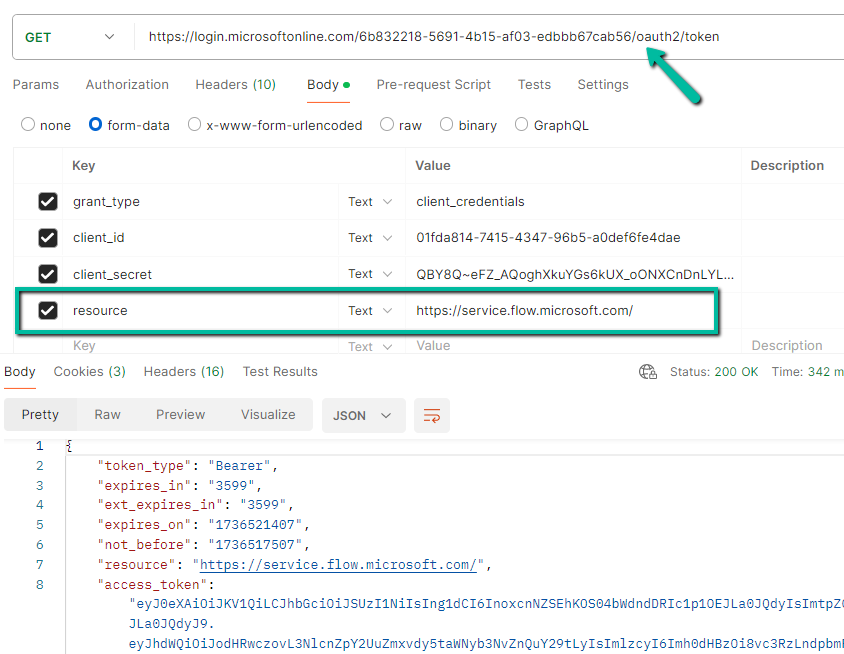
Environment Variables: If the flows depend on environment variables (e.g., API URLs, credentials), we need to update them the new environment.
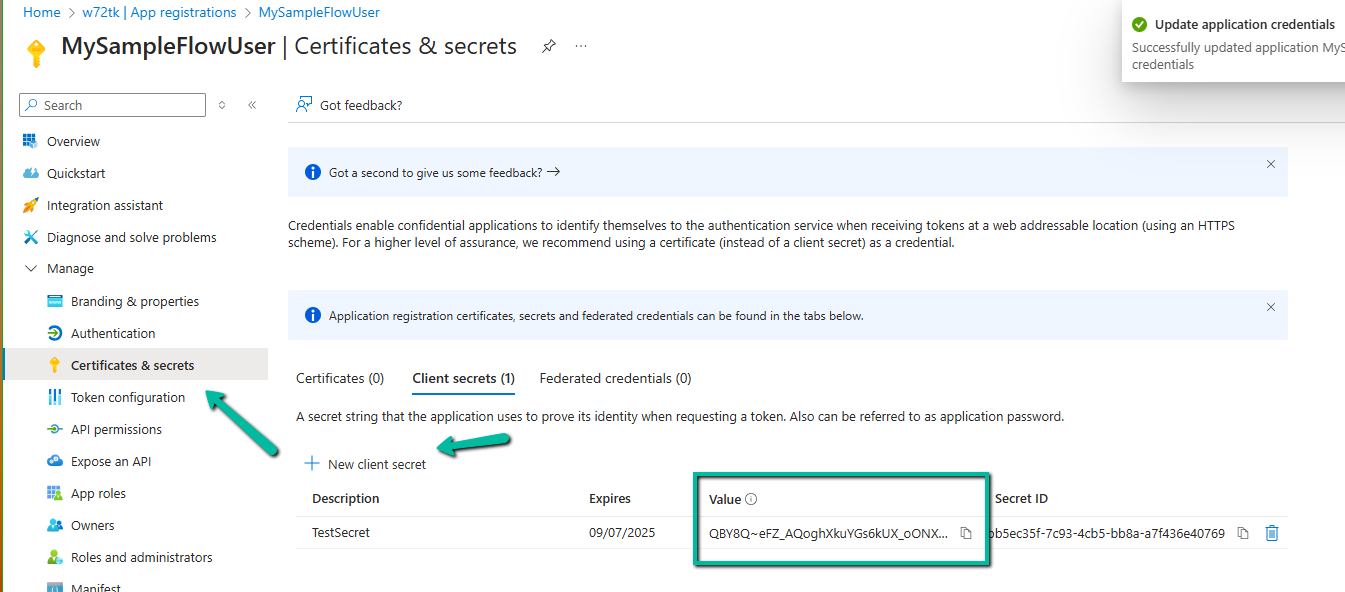
Reassign Flow Owners: If the original owner of a flow is missing from the copied environment, we need to assign a new owner.
Lastly, if flows are not behaving correctly, check the callback registration records
Get more details around copying the environment.
Hope it helps..