Concurrency Control – Apply to each for improving performance (Power Automate / Dataverse)


Let us fetch 5000 contact records using List Rows, and then update it using Apply To Each.

It took around – 37 minutes

Now let us enable concurrency control for Apply To Each action, and let it run under 20 (default) degree of parallelism.

This time it took around 4 minutes.

Let us increase it to the maximum this time, i.e. 50.

This time it took around 2:45 minutes.

Thus Concurrency Control option can help in processing records faster by processing records in parallel instead of one by one by using parallel threads. However, if the ordering of the way records need to be processed is critical, then we need to be careful before using it and also at times it can cause the API’s request limit to be hit.

Get more details on Concurrency limits

Hope it helps..

Advertisements

Fix – Cannot write more bytes to the buffer than the configured maximum buffer size: 104857600 (Power Automate / Dataverse)


We might below error in our flow –
BadRequest
. Http request failed as there is an error: ‘Cannot write more bytes to the buffer than the configured maximum buffer size: 104857600.’.

This is because of the 100 MB Message Size limits in Power Automate.

We can enable Allow chunking option if supported by the action.

Or we can fix it by specifying Select columns and Filter Rows to limit the data returned as in the case of the List Rows action of Dataverse.

Hope it helps..

Advertisements

The webhook call failed because the Http request timed out at client side. Please check your webhook request handler – Dataverse / Dynamics 365


Recently we were getting the below for one of our webhooks registered on Update of lead.

Exception Message: The webhook call failed because the Http request timed out at client side. Please check your webhook request handler.

To test the timeout, we created a below Microsoft Flow with HTTP trigger, Delay and actions to be used as Webhook.

Helpful post – https://d365demystified.com/2021/11/23/call-flow-from-webhooks-in-dynamics-365-crm-power-automate/

Let us register this through the Plugin Registration tool.

We can get the values from the HTTP Post URL Generated.

For the Endpoint URL, enter URL Path and use Params for Key and Values.

Register the synchronous step on the update of the lead for the webhook

Let us trigger the flow, right now we have Delay set as 10 seconds.

The flow runs successfully as expected.

Now let us update the delay to 61 seconds and trigger the flow again by updating the lead record.

As expected we get the time-out error this time.

The same is the case if we register the plugin step asynchronously.

For the asynchronous step, we can check the corresponding system job for the error.

https://learn.microsoft.com/en-us/dynamics365/customerengagement/on-premises/developer/use-webhooks?view=op-9-1#possible-causes-for-failure

Hope it helps..

Advertisements

Enable / Disable (turn on / turn off) multiple cloud flows – Dataverse


Within the Maker Portal, we can only turn on / turn off one cloud flow at a time.

If we select multiple flows, we do not see that option.

Here we can make use of XrmToolBox’s Bulk Data Update plugin.

Get the required cloud flows to be disabled from the Workflow table having Category as Modern Flow.

Select the required cloud flows (or all flows returned), navigate to the Set State tab, and set the appropriate Status and click on Update records.

Or, from the Advanced Find also we can look for the Processes with the Category as the Modern Flow

And use Activate and Deactivate options (here for a few flows we faced issues while trying to activate even though we used the proper account for doing so)

Hope it helps..

Advertisements

Auto-create SharePoint Folder (SharePoint Document Location) on record create using Power Automate Flow (Dataverse)


We recently had a requirement to create the SharePoint folder automatically on the Account records creation, instead of having the users click on the Documents tab to create it.

We could write a Power Automate flow to achieve this.

Here we have enabled the Share Point server-based integration. Also, the SharePoint Site and the main or parent folder for the Account are already created/configured.

Below is the corresponding Document location record for the parent Account folder.

  • So basically, we will create a new folder inside the Account folder in the SharePoint site configured in CRM.
  • Then create a new SharePoint Document Location record specifying the Account document location as a parent.
  • And then Associate / Relate the new account record created with this new document location record.

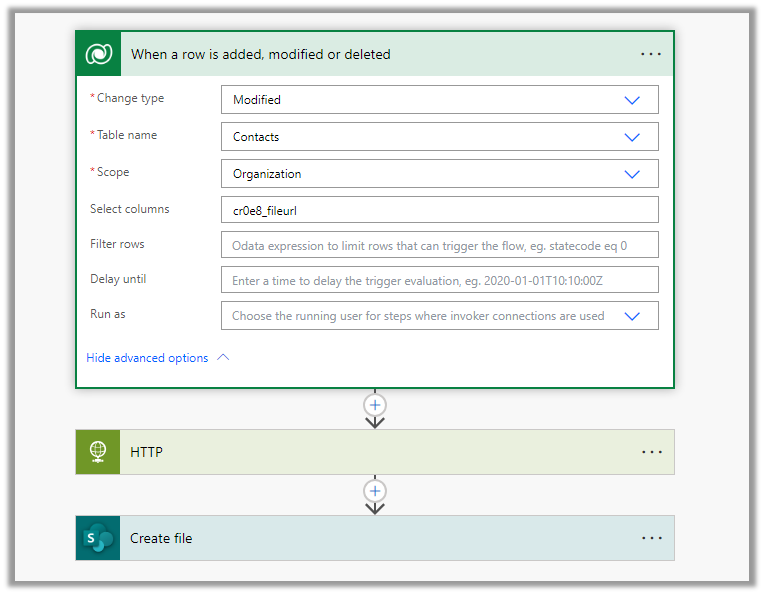
Below is how our Flow will look like –

  1. Triggers on Account record creation.

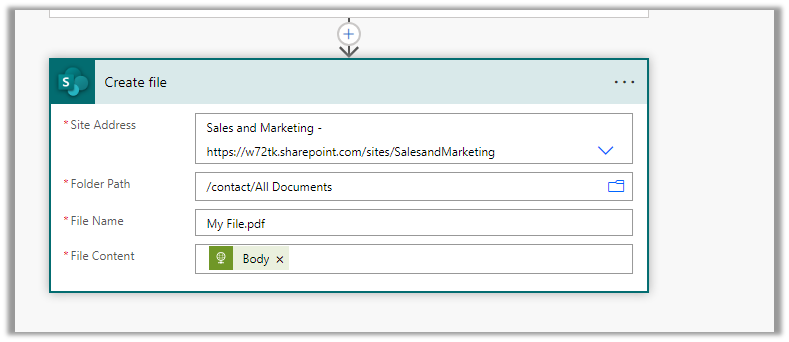
2. Create a new folder inside Account Folder, here for the name of the folder we are using the format “AccountName_AccountNumber

3. Create a new Document Location record, associating the Account document location with the parent location record. Here we are specifying the same folder name in the relative URL.

We can also fetch the GUID of the Account document location and/or use a variable to store the GUID.

4. Lastly, we are associating these 2 new records.

Below is our newly created account record.

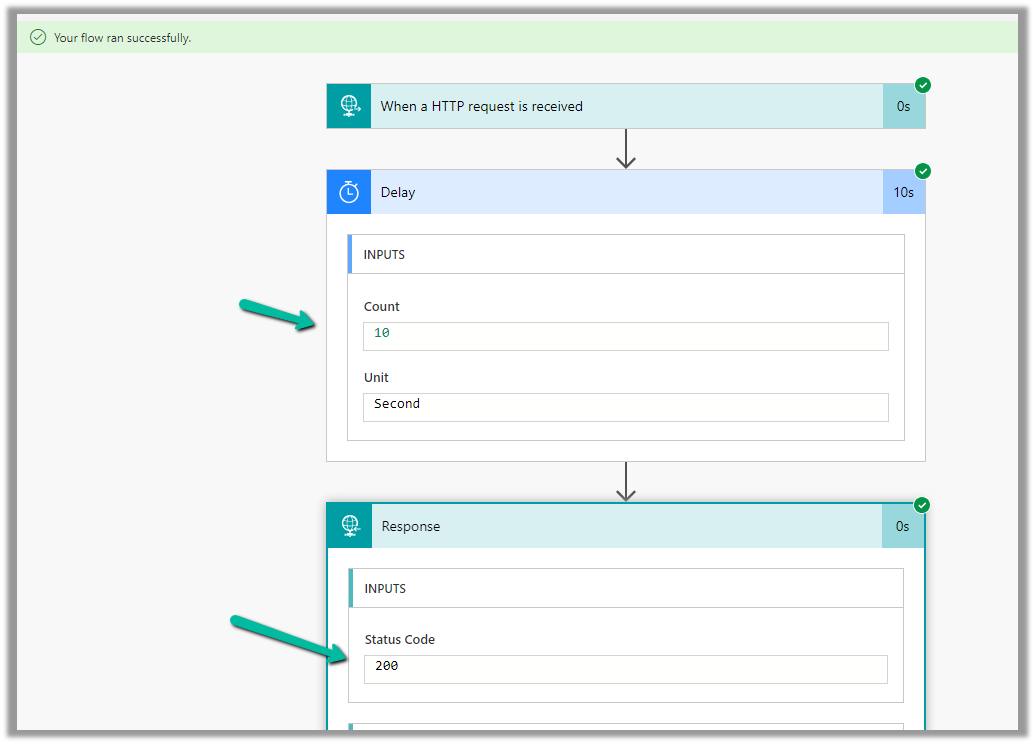
Below we can see our flow ran successfully.

We can see the new folder created and associated.

Here if we click the Documents tab immediately after creating the account record, before our flow runs, we might have the OOB folder also getting created along with our custom folder (flow being asynchronous). If our custom folder is already created and associated before the user clicks on the documents tab, then CRM will not be creating a new folder.

Hope it helps..

Advertisements

How to – Upload a file by URL to SharePoint (Power Automate / Dataverse)


Recently we had a requirement to upload a document (pdf) to a SharePoint folder.

We had the URL of the field saved in one of the fields of the Contact table in Dynamics 365 / Dataverse.

Below is our field and the URL in it. (the URL points to the Manual of Fulla 2, one among many awesome products by Schiit)

Below is how our flow looks like

Here we already have Server-Based SharePoint integration enabled. https://nishantrana.me/2023/07/28/based-on-entity-behavior-for-sharepoint-folder-dynamics-365-dataverse/

The flow triggers when there is an update in the File URL field of the contact record.

Next, we are using HTTP action to use the GET method to get the content of the file. As it is a public URL we haven’t specified any Authentication.

Next, we are using Create File action of SharePoint, we have specified the Site Address, Folder Path, File Name, and most importantly the Body of the HTTP action to the File Content property.

On the successful run of the flow,

we can see the document (pdf) uploaded in the SharePoint folder.

Hope it helps..

Advertisements