Using the new BypassBusinessLogicExecution parameter we can bypass both sync as well as asynchronous custom logic (i.e. sync / async custom plugin and custom workflow registered), unlike the BypassCustomPluginExecution parameter which applied to only the synchronous custom logic.
Let us see it in action with a simple example.
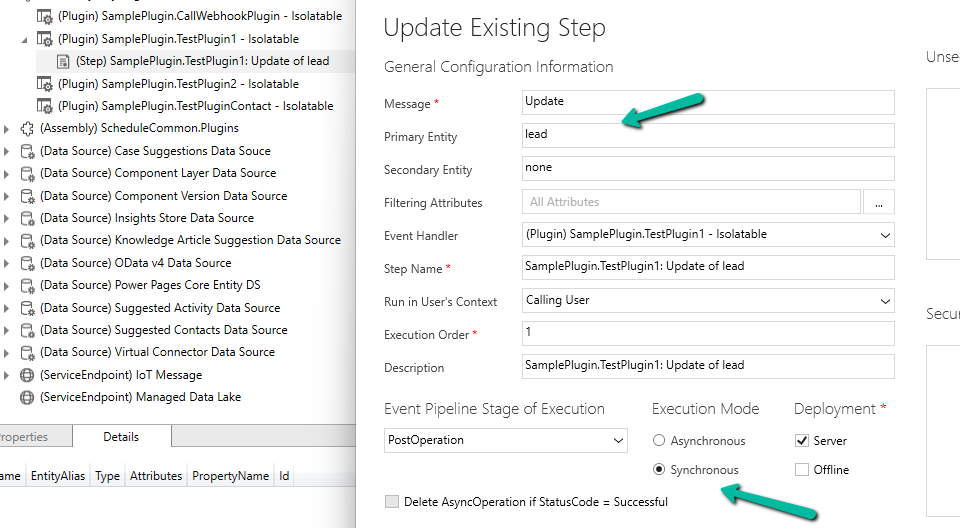
We have the following Plugin registered against the lead table that writes to the Plugin Trace Log.

We have the Update step (synchronous) registered for the plugin.
Below is our console app that updates one of the lead records triggering the plugin.
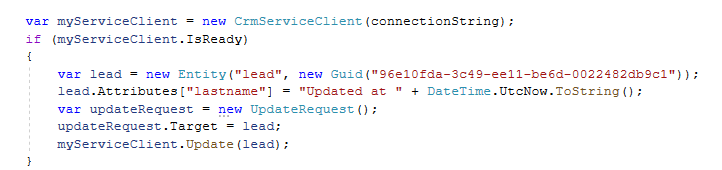
On running it we can see our plugin step triggered and a trace log created.

Now let us use the BypassCustomPluginExecution parameter of Update Request or BypassPluginExecution property of CrmServiceClient.

This time as expected the plugin is not triggered, so no plugin trace log record was created.
However, if our plugin step is registered in Asynchronous mode, we will have our plugin triggered, even if we are using the BypassCustomPluginExection parameter.


For bypassing the Asynchronous plugin only, or Sync Plugin, or both Async or Sync plugin, we can use the new optional parameter BypassBusinessLogicExecution passing the following values to it
- CustomSync – to bypass synchronous logic.
- CustomAsync – to bypass asynchronous logic.
- CustomSync, CustomAsync – to bypass both Sync and Async logic.
On running the below code, our Plugin Step registered Asynchronously earlier is not triggered, in fact, any Synchronous step also, as we have specified both the CustomSync and CustomAsync.

“Also, any Workflow (Asynchronous or Real-time) registered will not trigger.“
In short,
- BypassBusinessLogicExecution + CustomAsync parameter = Asynchronous workflow/plugin will be bypassed. We will have our Sync Plugin and Real-time workflow getting triggered.
- BypassBusinessLogicExecution + CustomSync parameter or BypassCustomPluginExecution or BypassPluginExecution = Synchronous workflow/plugin will be bypassed. We will have our Asynchronous Plugin and Real-time workflow getting triggered
- BypassBusinessLogicExecution + CustomSync + CustomAsync = Both Async / Sync Plugin and Workflow will be bypassed.
A few key points –
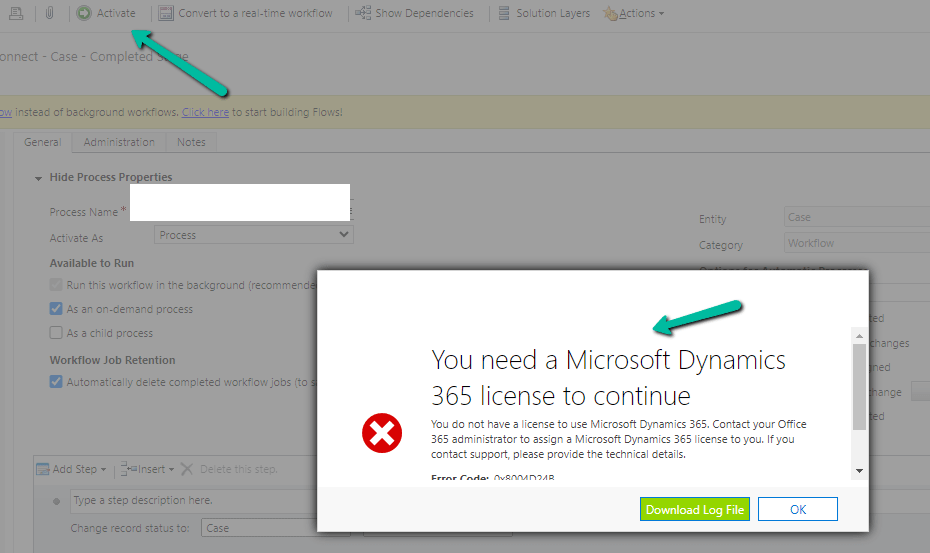
- The user making the request needs to have the prvBypassCustomPlugins privilege.
- These parameters will not apply to Core Plugin and Workflow included in a solution where Microsoft is the publisher.
- Power Automate flows are not bypassed using these optional parameters.
Get all the details here
Hope it helps..