Custom API (preview) allows us to define our custom messages that can be called from web services, similar to Custom Actions. Usually, we would be creating custom workflow actions just to create a new message, to which we can hook our plugin, without defining any logic in the workflow. For this scenario or pattern now we can use Custom API instead.
There are different ways of creating a custom API.
- Through the Maker Portal.
- Using Web API or Organization Service.
- Editing the solution files.
The 3 key entities involved here are
- CustomAPI
- CustomAPIRequestParameter
- CustomAPIResponseProperty
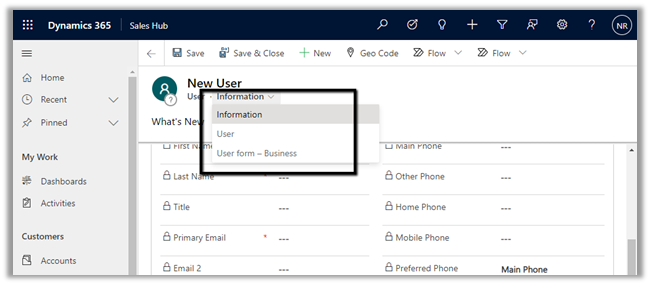
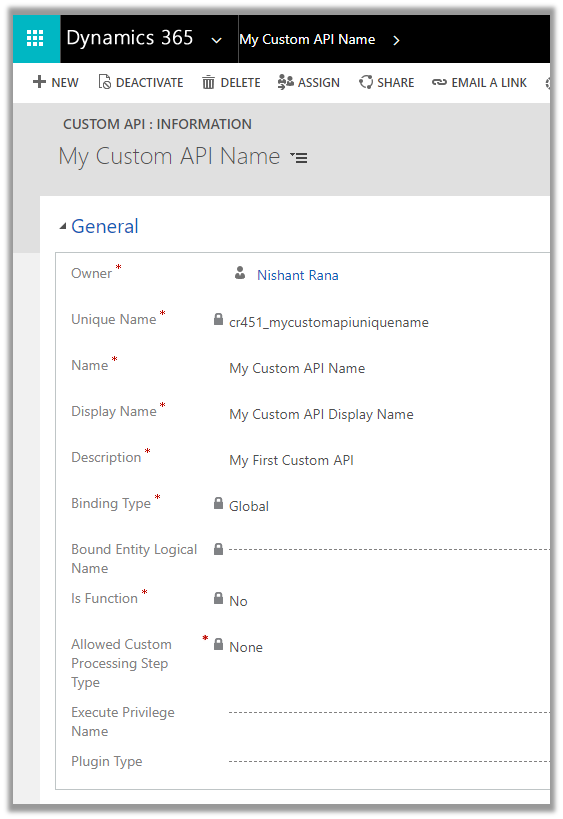
Let us try creating a CustomAPI through the maker portal.
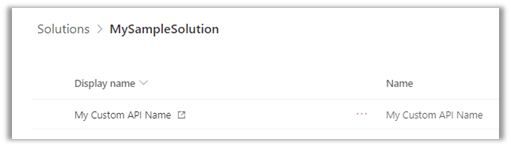
Create a new solution, and click on New and select Custom API

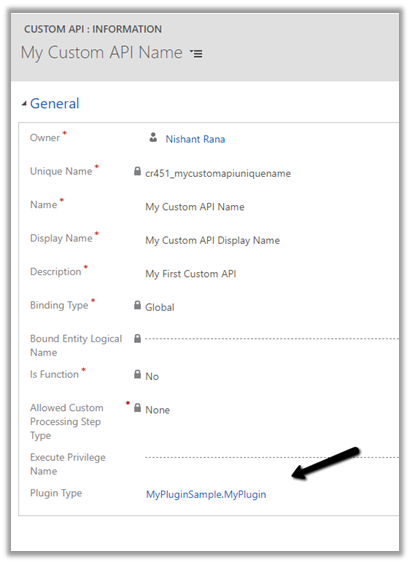
Let us start with a very basic custom action.
|
Unique Name |
This will be the name of the message. Should have the prefix same as solution’s publisher. |
|
Name |
The name of the Custom API will show up inside the solution
|
|
Display Name |
Localized display name of the Custom API |
|
Description |
Localized description of the Custom API |
|
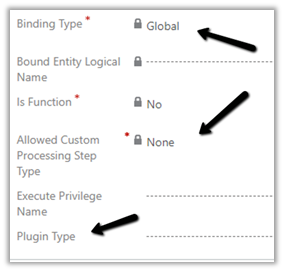
Binding Type |
|
|
Bound Entity Logical Name |
Logical name of the entity in case of binding type – Entity and EntityCollection. |
|
Is Function |
|
|
Allowed Custom Processing Step Type |
|
|
Execute Privilege Name |
|
|
Plugin Type |
Reference of the plugin registered for the Custom API |
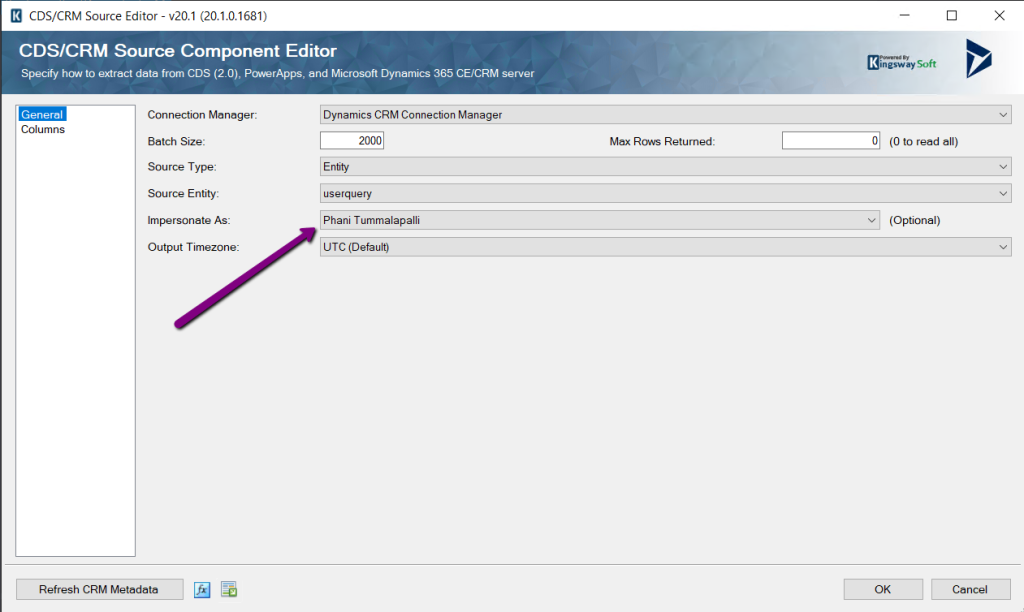
So right now we have a very basic custom API registered of Global type, which doesn’t allow any steps to be registered and doesn’t need any privileges to execute
Let us write a sample plugin and associate with this new message.
Let us register the assembly
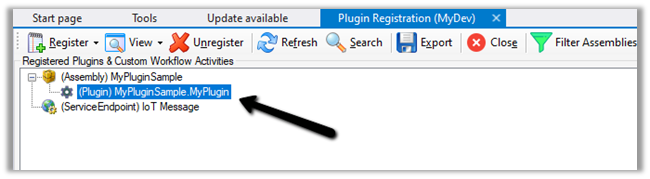
Now let us go back to our Custom API record and associate the Plugin registered.

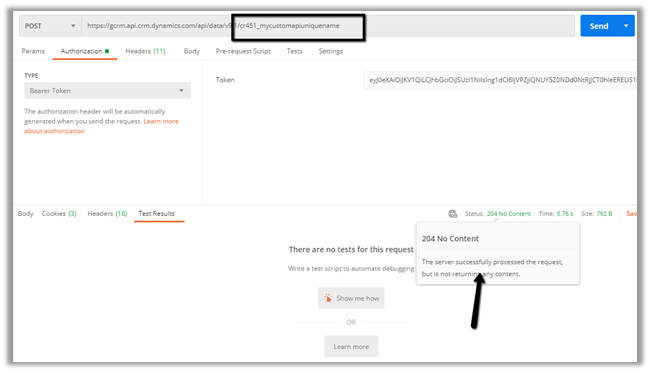
Let us trigger the plugin by calling the Custom API through the Postman.
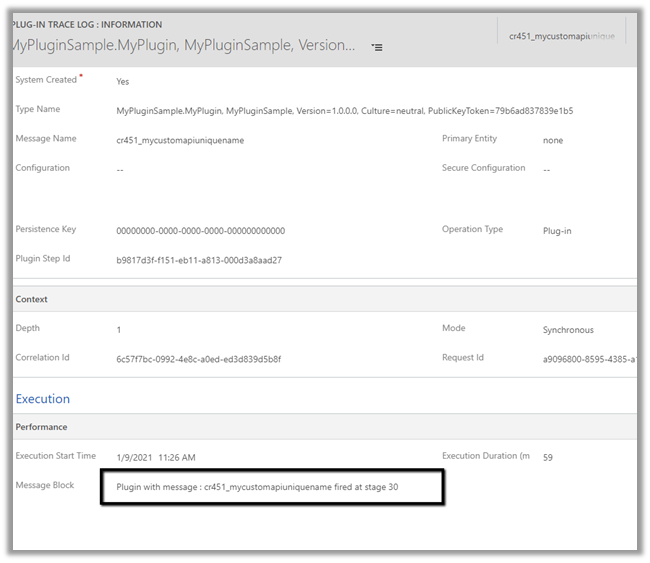
Let us check the plugin trace log inside Dynamics 365 App.
Get all details here
https://docs.microsoft.com/en-us/powerapps/developer/data-platform/custom-actions
Hope it helps..
Blog posts on 2021 Release Wave 1 – Dynamics 365
RECENT POSTS –
Multiple Active Business Process Flow Instances for a record in Dynamics 365 / Dataverse
We recently worked on a requirement where we had to sync Business Process Flow (BPF) data between two different Dataverse environments for the Case (Incident) table. At first glance, the requirement looked straightforward —…
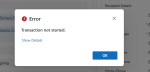
“Transaction not started. There is no active transaction” error (Dynamics 365 / Dataverse)
We recently ran into an interesting and slightly frustrating issue while trying to mark an activity (Appointment/Phone Call/ Task) as Completed in Dynamics 365. Whenever we tried to mark the activity as completed, we…
Plugin Registration Tool Login with Multi-Factor Authentication (MFA) – Uncheck “Show Advanced”
If we’re logging into the Plugin Registration Tool using an account protected with Multi-Factor Authentication (MFA), there’s one small setting that can cause login failures — Show Advanced. We need to make sure “Show…
No Dependencies Shown… But still can’t delete the component? Check Your Cloud Flows (Dataverse / Dynamics 365)
Recently, while performing cleanup in one of our environments, we were removing unused components to reduce clutter and technical debt. As part of this activity, we attempted to delete an old Business Process Flow…
Solution Failed to Import – Missing Lookup View Dependency in Dataverse / Dynamics 365
Recently, while trying to import a solution, we got the below dependencies error. Solution ” Configuration” failed to import: The dependent component SavedQuery (Id=50658a7f-473b-ec11-8c64-000d3a8ead20) does not exist. Failure trying to associate it with SystemForm…
Renaming Sitemap Display Name in Dataverse / Dynamics 365
While working with a model-driven app in Dataverse, we needed to change the display name of the sitemap. What made this interesting was that there is no option in the UI to rename the…
Fixed: Audit History Page Not Loading (Dataverse / Dynamics 365)
Recently, we ran into an issue where the Audit History page stopped loading on the form. Interestingly, the problem was limited only to the Account forms. Whenever we tried to open Audit History, we…
Why We Switched Our Plugin from PreOperation to PreValidation – Dataverse / Dynamics 365
We had a business requirement to block the closing of a Quote as Lost under certain conditions. Instead of leaving the quote in an Active state, we wanted the system to explicitly move it…
Using the Restore Message to Recover Deleted Records in Dataverse
Accidental data deletion in Dataverse happens more often than we expect. A bulk delete job, an incorrect Power Automate flow, or incorrect manual delete can remove important records in seconds. Instead of restoring the…
Advancing and Finishing a BPF Using RetrieveProcessInstancesRequest and RetrieveActivePathRequest (Dataverse / Dynamics 365)
In earlier posts, we looked at how to move a Business Process Flow (BPF) stage and finish the process by directly updating the BPF entity instance. In this post, we’ll use RetrieveProcessInstancesRequest and RetrieveActivePathRequest…
Something went wrong. Please refresh the page and/or try again.


![[Tool Showcase – PowerMakerAI] Talk to Your CRM Like a Teammate — Meet PowerMakerAI’s Context-Aware Chatbot](https://nishantrana.me/wp-content/uploads/2025/12/dashboard.png?w=1200&h=900&crop=1)


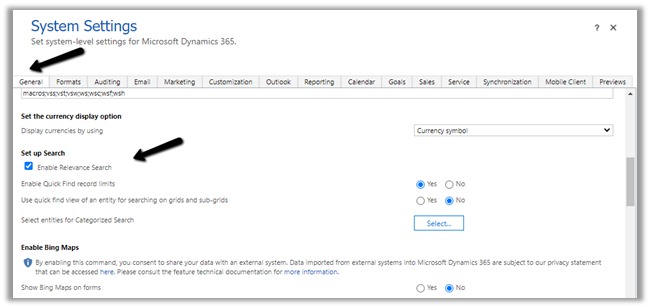
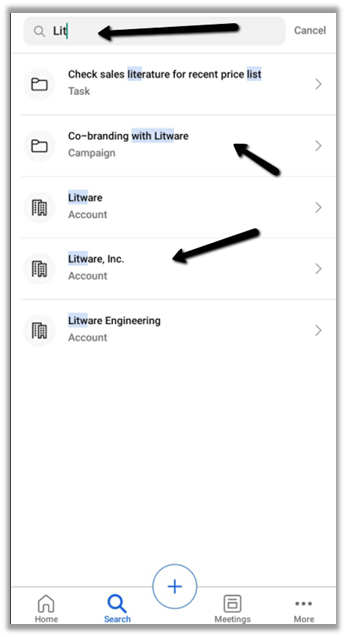
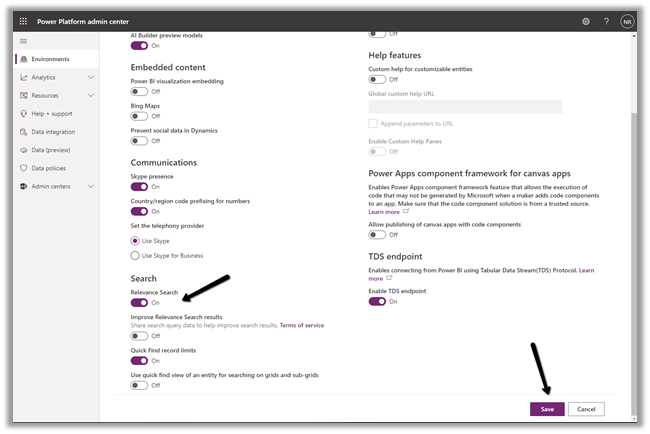
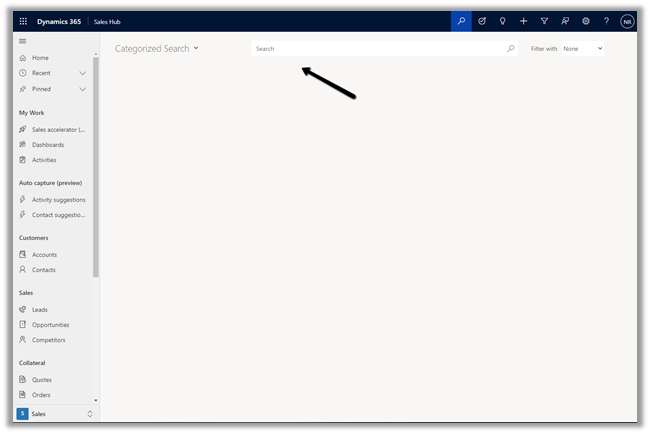
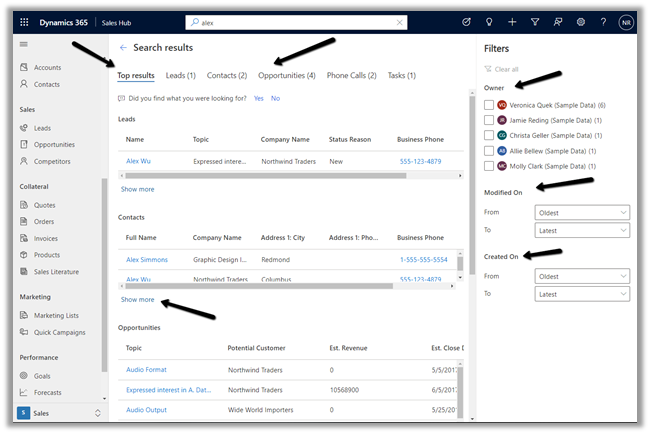
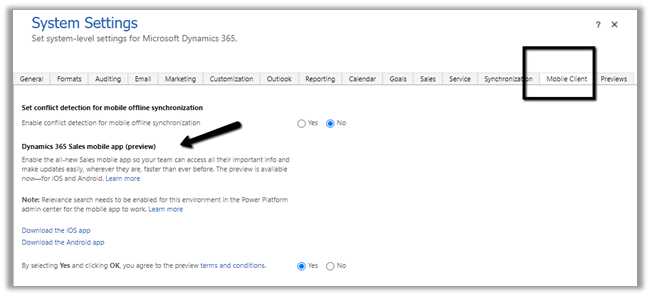 We also need to enable Relevance search on the environment for the mobile app’s search to work.