Recently we had to change the password of the user account being used as an owner of the cloud flows as well as the used for connection/connection reference.
So we tried it on a trial environment first, below is our flow that runs every 5 minutes and creates a contact record (Dataverse), sends an email (Office 365 Outlook), and creates a file (SharePoint) owned by the same account along with the connection reference.
Below is our cloud flow

We can see the details around Connection References and Owner. We can also see it running successfully getting triggered after every 5 minutes.

Now let us update the password of the account that is being used in the flow.

Interestingly after password change our Flow kept running successfully without any errors.

Contact records are created in the Dataverse.

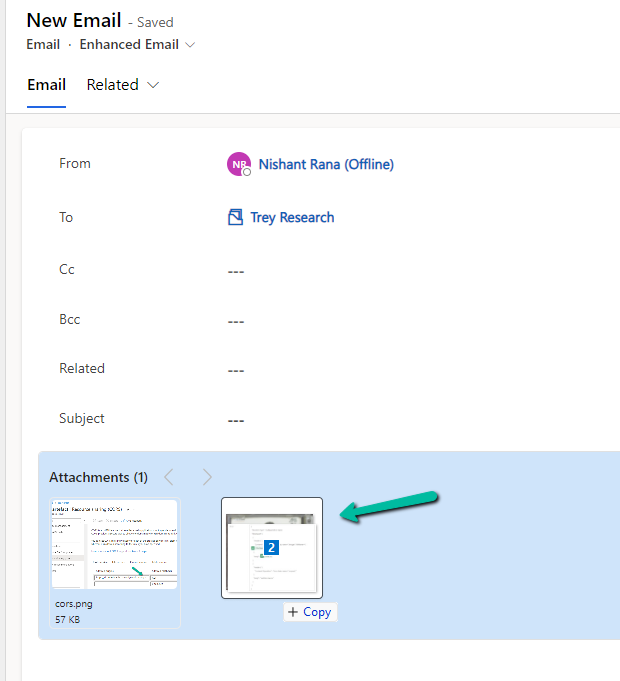
Mail sent using the Send an email action.

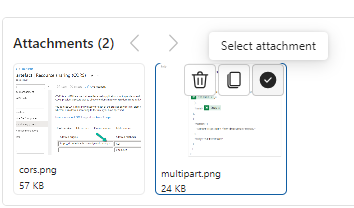
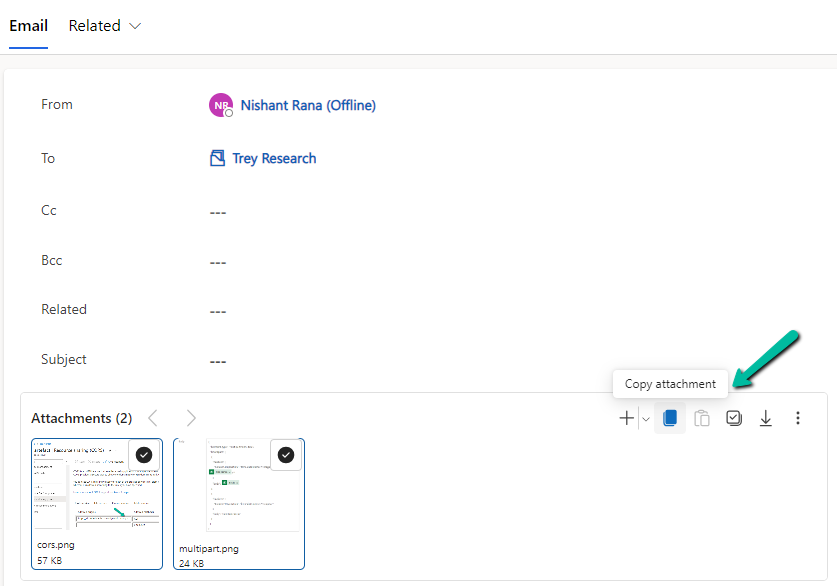
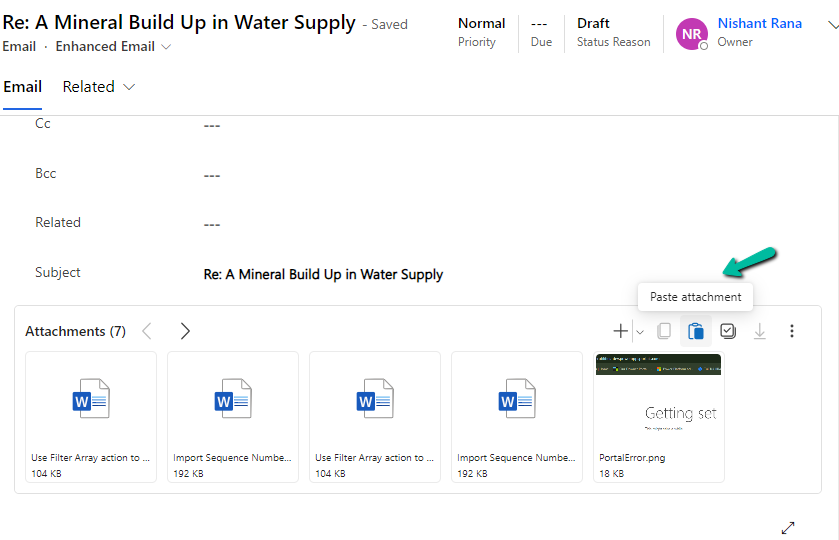
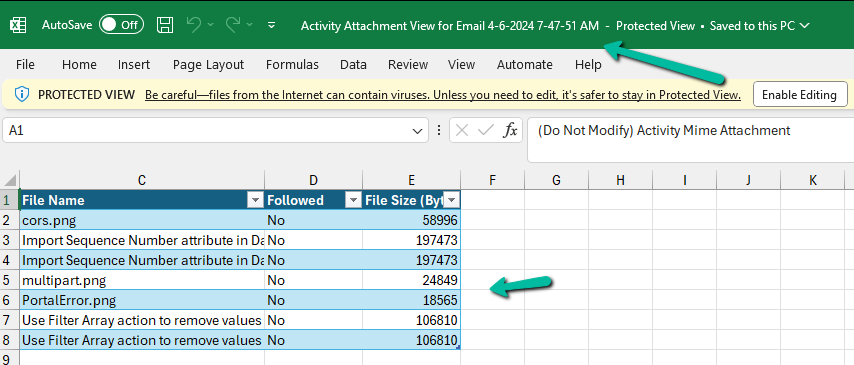
Files getting uploaded using the Create file action of SharePoint.

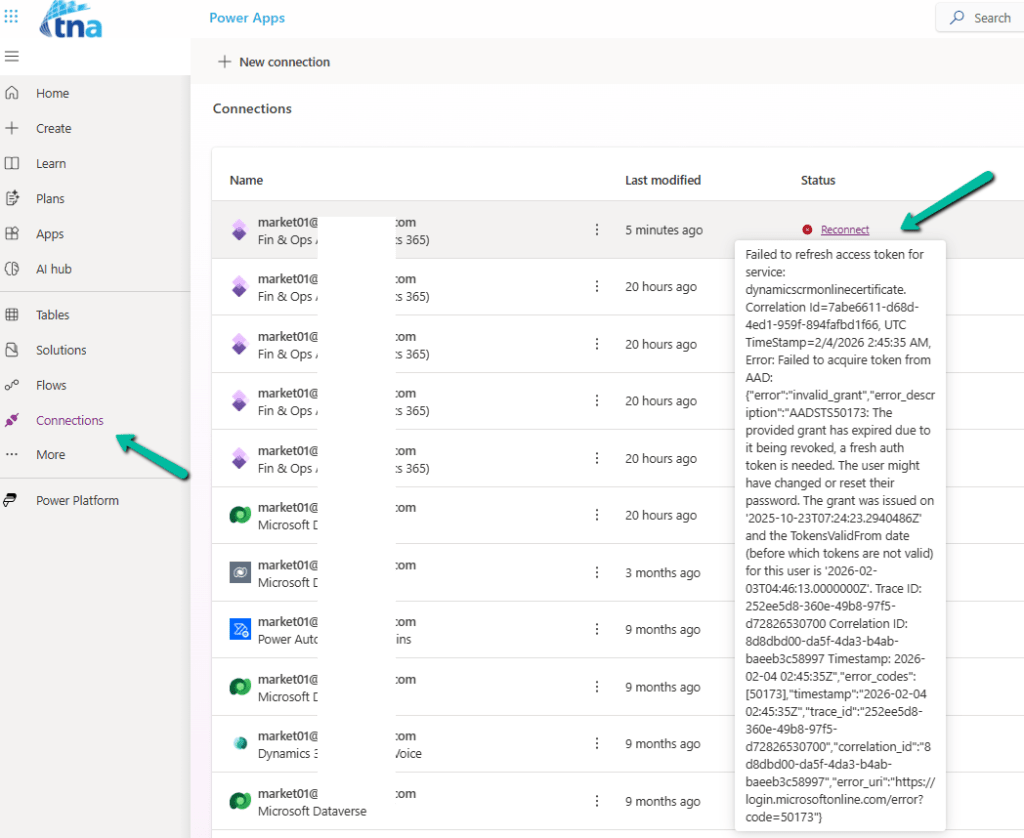
Also, we see the status of the connections showing as Connected.

It could be because Power Automate might be using cached credentials for a certain period after the password change, and/or the connections that use the refresh tokens to maintain authentication, have their tokens still valid.
Here what we can do immediately after changing the password is open the connections and click on Switch Account, sign in again using that account. That will referesh the connection.


That is exactly what we did for our Prod and other environments after we updated the password and we didn’t face connection failed issues or any other error for all our exiting flows.

Below is an example where we didn’t refresh the connection and got the below reconnect / failure message after the password was changed.
Using Service Principal in Power Automate – https://benediktbergmann.eu/2022/01/04/setup-a-service-principal-in-power-automate/
https://www.dynamicpeople.nl/en/news/service-principals-power-automate/
Hope it helps..