Let us take a very simple example to understand how to migrate the multi-select option set in Dynamics 365.
Few points to consider before we use Multi-select option set
https://nishantrana.me/2018/04/27/limitations-of-multi-select-option-sets-in-dynamics-365-ce/
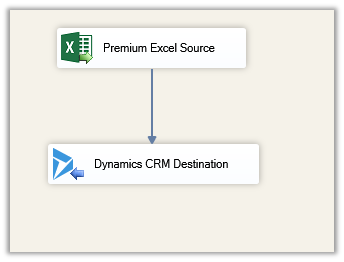
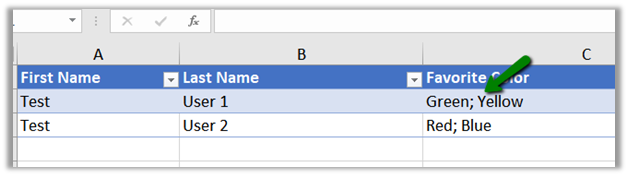
Here we will take excel as our source.
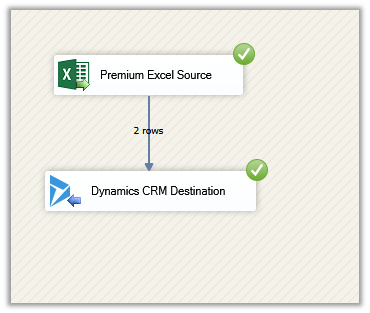
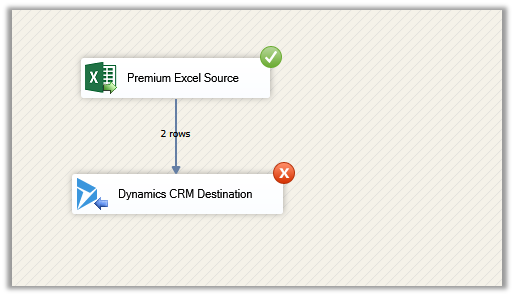
Create a new SSIS package, add the Excel Source component and Dynamics CRM Destination component in the Data Flow.
https://www.kingswaysoft.com/products/ssis-productivity-pack
https://www.kingswaysoft.com/products/ssis-integration-toolkit-for-microsoft-dynamics-365
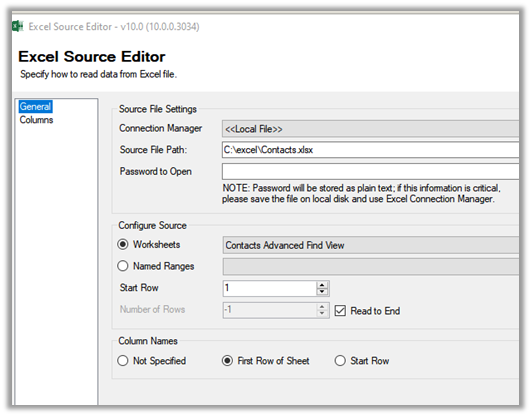
Specify the source file path.
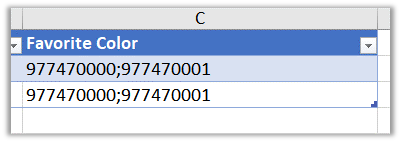
Here Favourite Color column will be mapped to multi-select option set field
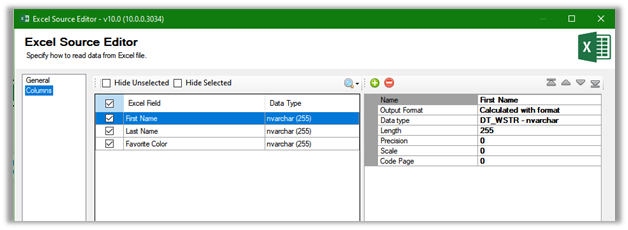
Source excel file

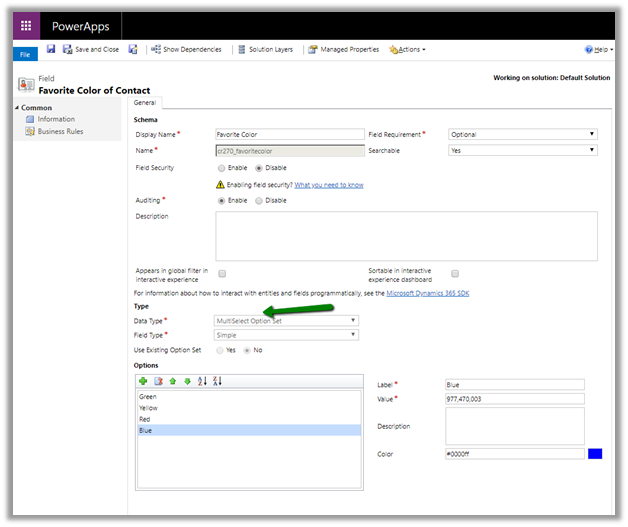
The field in CRM
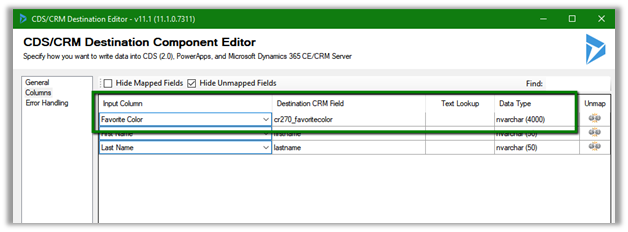
Within the Dynamics CRM Destination, specify the mapping. As the field is of nvarchar type in CRM we need to make sure that we are passing multiple values to it separated by a semicolon.
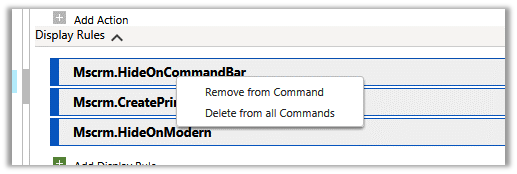
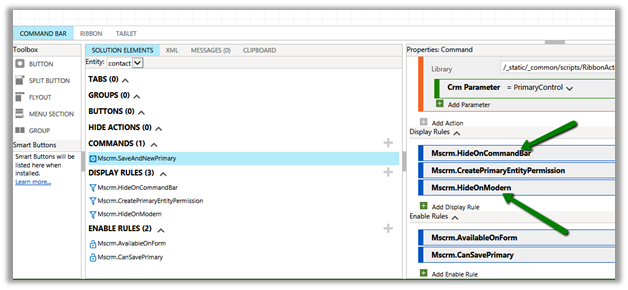
The way we map the normal option-set field is quite different than the multi-select
https://nishantrana.me/2018/09/20/easily-map-optionset-using-crm-optionset-mapping-editor-in-ssis/
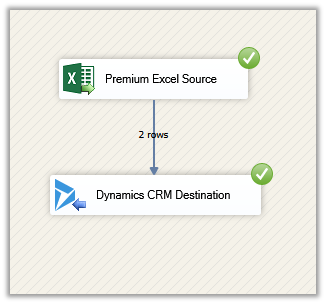
Let us run the package.
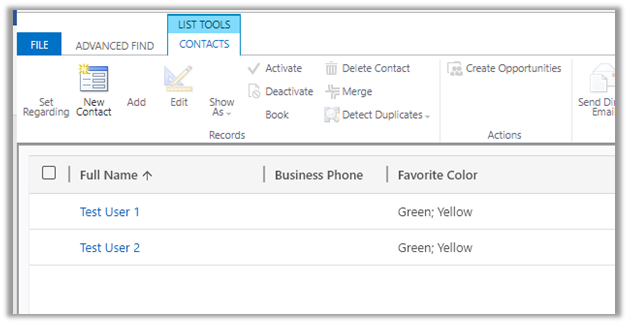
After successful execution, we can the records created with the options specified.
Now let us take another scenario, where we have text or label specified instead of values in the source

On successful execution
We can see the records created.
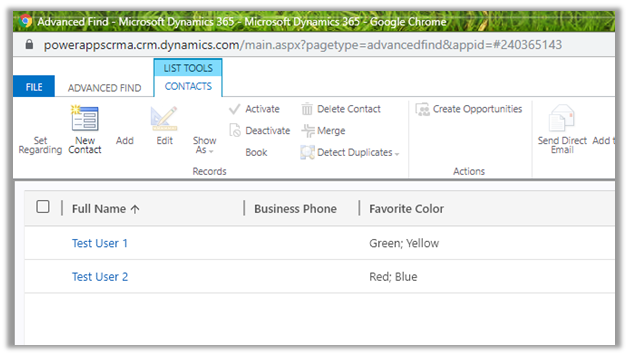
Thus, we can specify either values or labels separated by a semicolon (if multiple) for migration to work seamlessly with the multi-select option set.
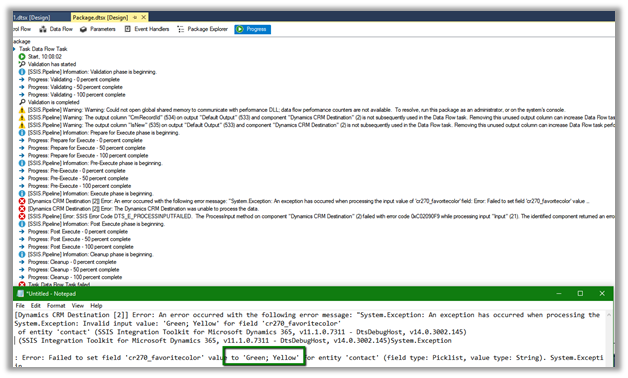
We need to make sure there are no spaces after the semicolon else we would get the exception
Error message
To get started with SSIS with Dynamics 365
https://nishantrana.me/2018/11/26/ssis-and-microsoft-dynamics-365/
Hope it helps..