We were recently exploring the Dynamics 365 Field Service mobile app, we saw that for the users with a mobile offline profile configured – Add the user to an offline profile, when they go offline they will see the below message –
“Only Notes are available in offline mode. If you would like to view your other items, please reconnect to online mode when possible”.

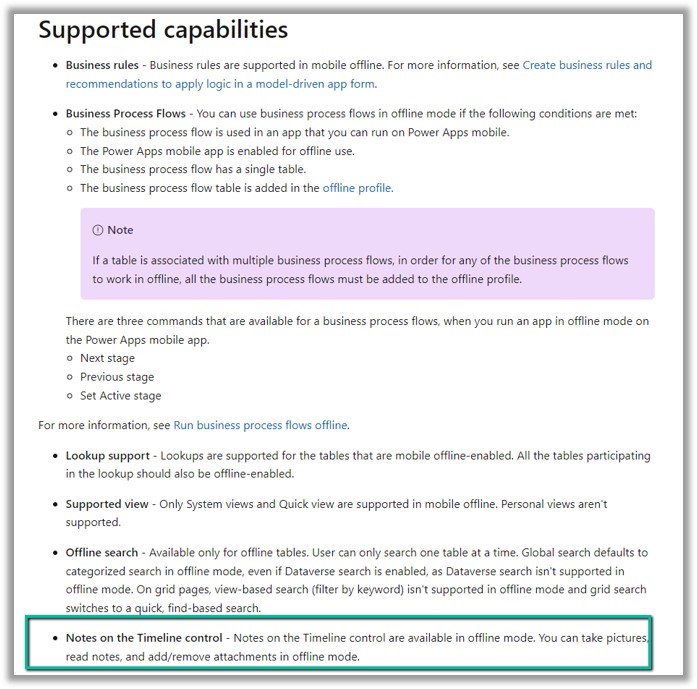
What it means is that if users go offline, only the Notes records (along with the attachment) will be available on the timelines. The users can also add/remove attachment in the offline mode. This capability was added as part of the 2019 Release Wave 2
Offline Supported Capabilities –
Hope it helps..
Advertisements