Below are some of the enhancements added to the filtering experience for the views in 2020 Release Wave 1.
Previously to sort the records we had to click on either the sort icon or the header to sort the records.
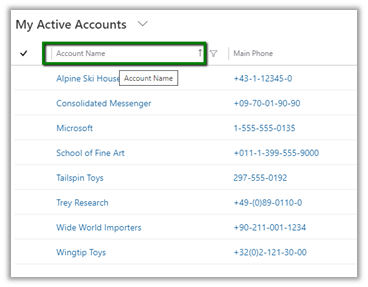
With the 2020 Release Wave 1 clicking on the header or sort or filter symbol with open the below screen with the option of both sort and filter. Also if we see, the options to sort and filter have moved closer to the header text of the column instead of right-aligned in the previous version.
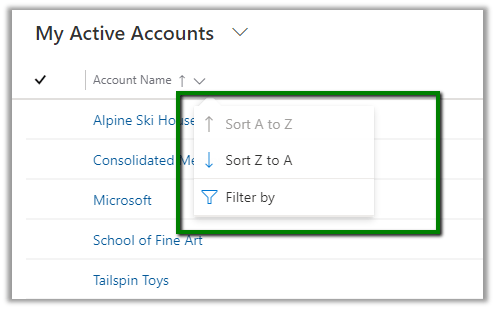
And for filtering also we had to specifically click on the filter icon earlier.
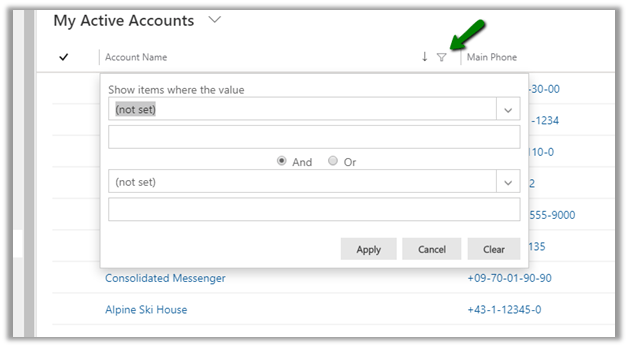
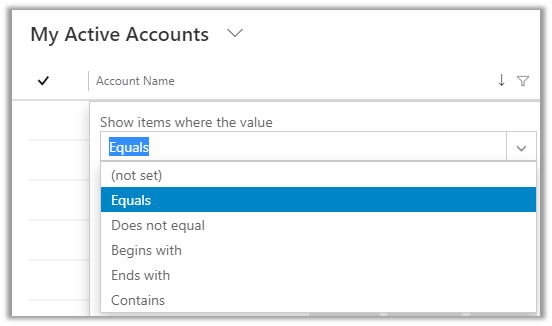
For the text field below filter options will be displayed earlier
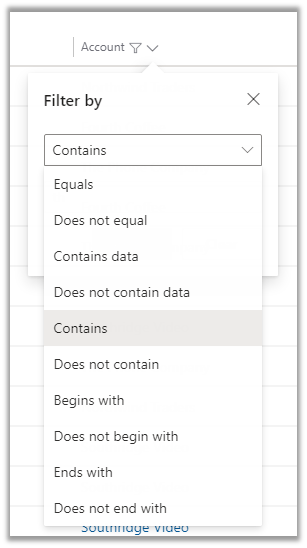
For Wave 1 Release 2020, we need to select Filter By

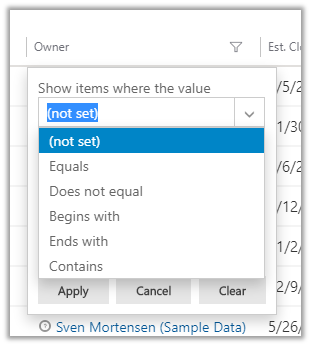
And below are the filter options available for the text fields.
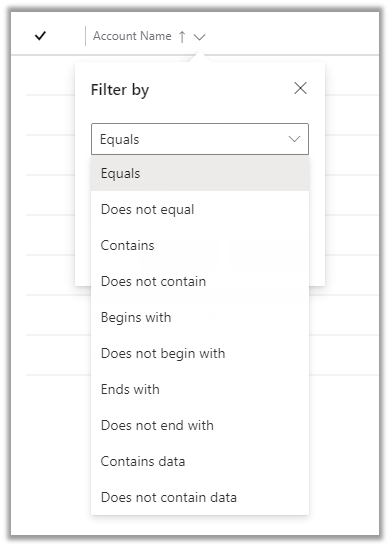
The most helpful here would be the addition of Contains data and Does not contain data filter.
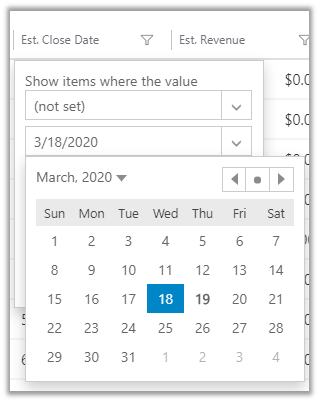
For the Datetime field prior to Wave 1 Release 2020, we had the below very limited filter options available.

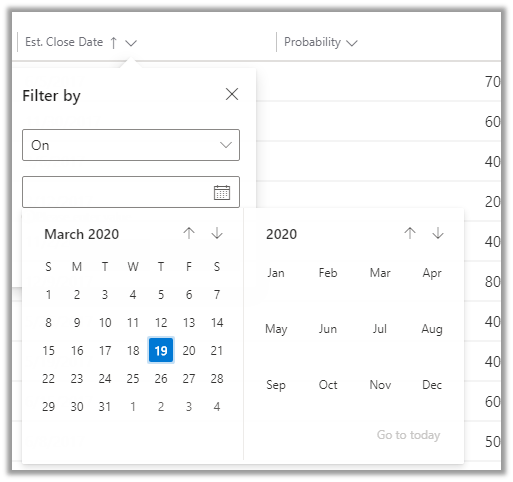
Now in Wave 1 Release 2020, we have the following filter options specific to DateTime field added
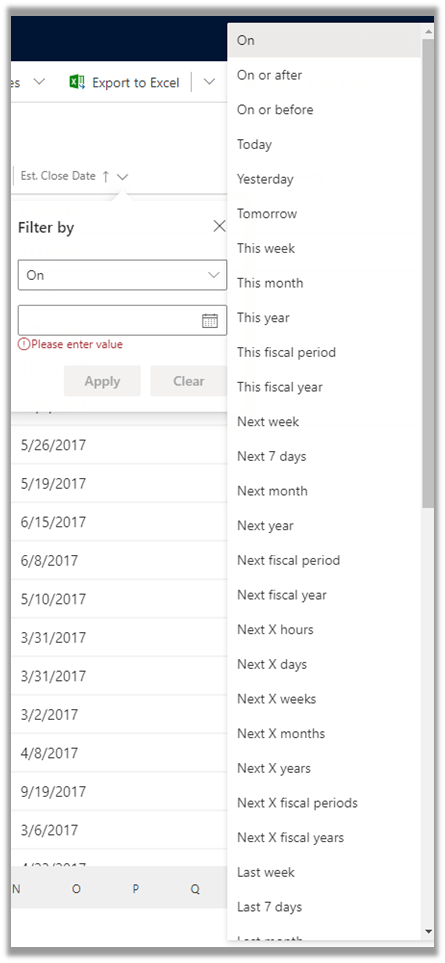
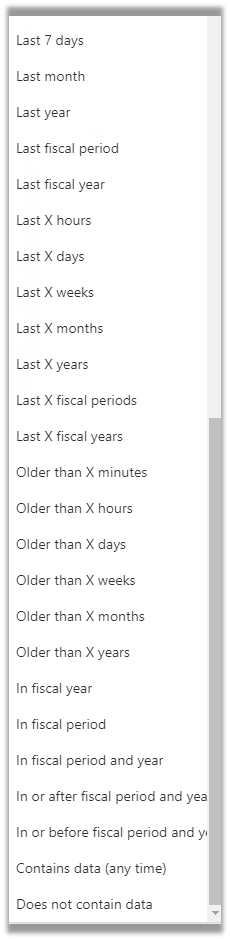
along with updated Calendar View for selecting the date
Earlier à
Now à
For Optionset fields
Earlier à
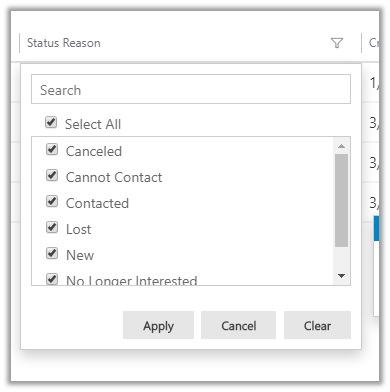
Now à
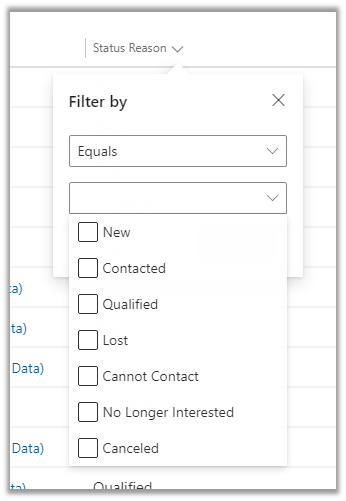
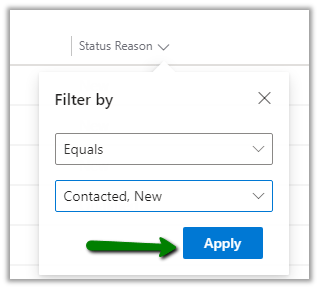
Instead of having all the options selected now it comes as unselected and to apply the filter we need to select the specific value and then click on Apply.
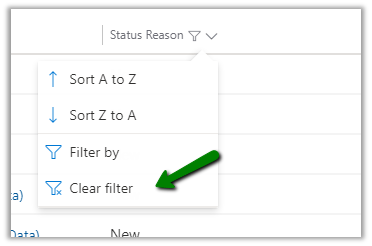
And select Clear Filter to clear the filtering
For Lookups à
Earlier
Now à
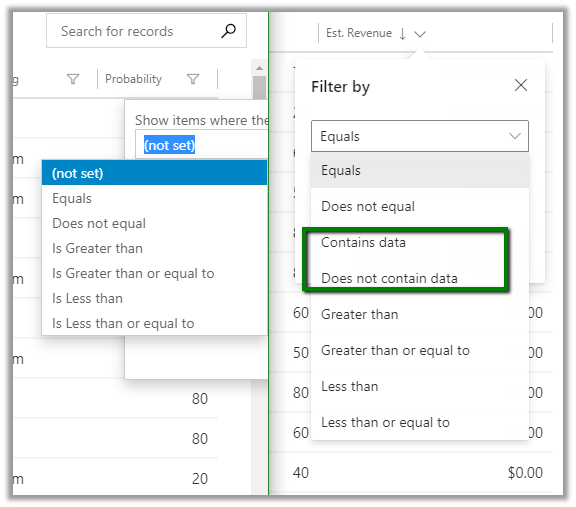
- For Numeric Field we now have the contains
data and does not contain data filter options added.
These enhancements specific to filtering will definitely add to more productivity for the users.
Check other blog posts on
Release 2020 Wave 1: https://nishantrana.me/2020-release-wave-1/
Release 2019 Wave 2: https://nishantrana.me/2019/12/31/dynamics-365-2019-release-wave-2-blog-posts/
Hope it helps..