How to – Disable / Read Only fields in Editable Grid control (Dynamics 365 / CRM)
Say for e.g. we have a requirement to make a certain field or column in the Editable Grid as read-only. Here we have enabled Editable Grid control for Contact table. Below are the 2 ways of achieving it – Here we are taking the email field as an example. Field level security – We have…

How to – Use Append and Merge to combine data from multiple data source in Power Platform dataflows
Let us continue with our previous post where we loaded the data from on-prem SQL DB to CDS using dataflows. https://nishantrana.me/2020/07/07/load-data-from-sql-on-premise-to-cds-common-data-service-using-power-platform-dataflows-in-power-apps/ Now suppose we have another table (or any other data source) having the contact details, which we would like to append/merge along with our previous data source. For simplicity, here we have created a…

Load data from SQL On-Premise to CDS (Common Data Service) using Power Platform dataflows
Let us continue our previous post where we created a connection to the below On-Premise SQL Server Database using an On-premises data gateway. https://nishantrana.me/2020/07/06/configuring-on-premises-data-gateway-to-connect-tosql-server-on-premise-data-source-power-platform/ Here we will use the Power Platform dataflows to load contact entity in CDS using that same on-prem table. Sign in to Power Apps https://make.powerapps.com/home Navigate to Data – Dataflows and…


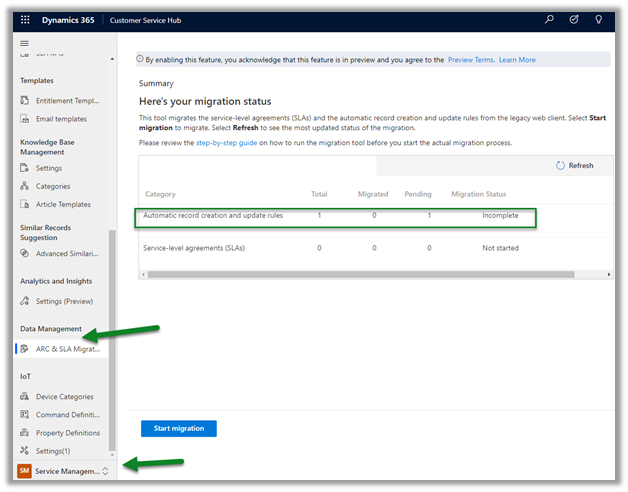
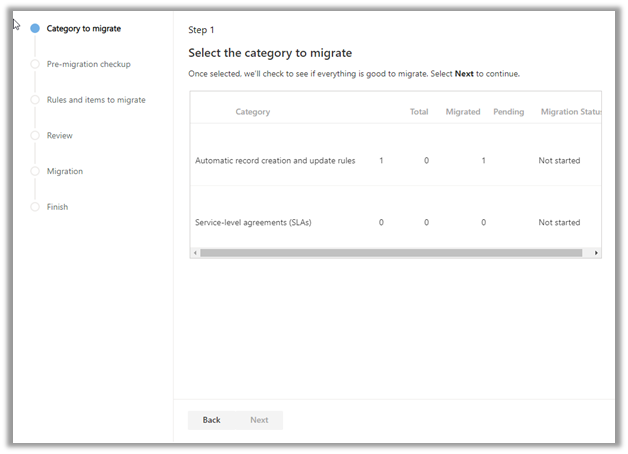
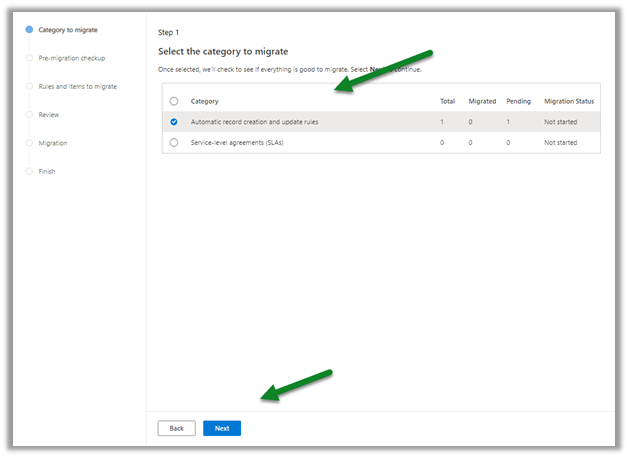
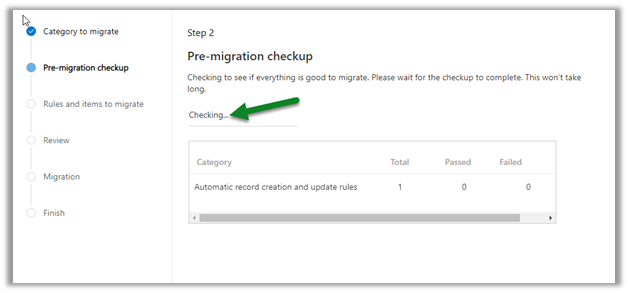
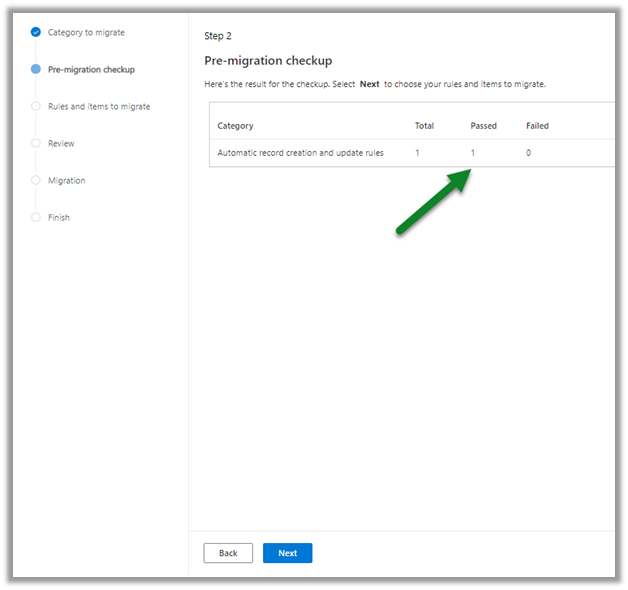
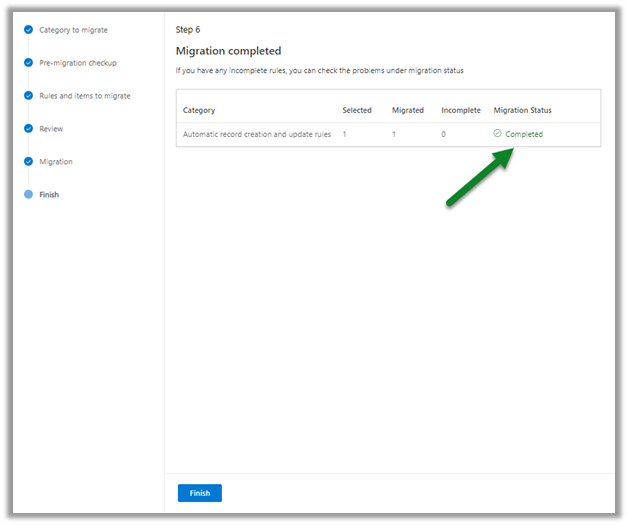
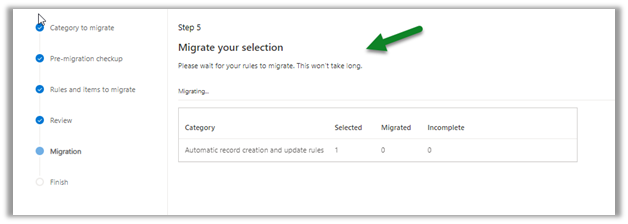 Below we can see the migration completed.