
Approvals App for Teams was introduced early this year. To see it in action, let us start by first adding the Approval app in Teams.
Search for the app.

And click on Add.

The Approval app shows all the Approvals Received and Sent within teams, which can be filtered based on status.
We can also select the environment.
We can create a new approval request by clicking on New approval request

For the new Approval request, we can define –
- Request Type – Basic or eSign (requires Adobe Sign)
- Name of the Request.
- Approvers – could be one or more. For more than one approver, we can select Require responses from all the users.
- Additional Details.


We can add attachments.

It seems we can only add only one attachment.

Custom responses allow us to add our custom responses.
We can add 2 custom responses with a limit of 20 characters as shown below.

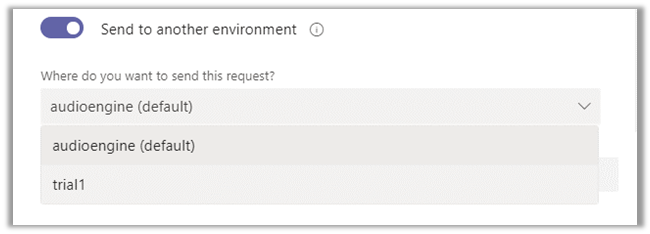
Send to another environment, lets us choose another environment within that tenant.
Now say we have below flow created that sends approval when a case is updated.

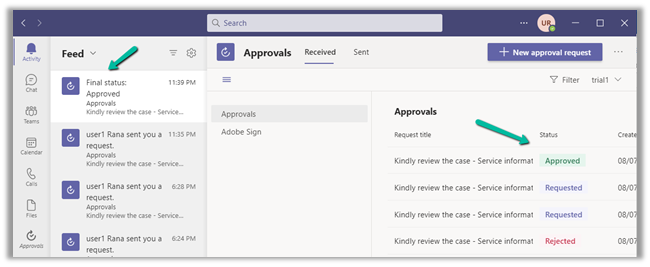
On getting triggered, the approver (assigned to) user will receive notification in Teams.

And in the team’s Feed as well as the Approvals app.

The approver can open the request and can take appropriate action.

On Submitting the response, say e.g. Approve, notifications are received again with the updated status of the request as shown below.
Check more posts on Approvals in Power Automate
https://nishantrana.me/2020/08/31/approvals-power-automate-dynamics-365/
Hope it helps..
Discover more from Nishant Rana's Weblog
Subscribe to get the latest posts sent to your email.


Thanks Nishant.
Please also provide more details on :
1. Cancellation of Approvals
2. Reminders of approvals
3. Attachments in Teams (missing)
Thank you for all your blogs.
LikeLiked by 2 people
Thanks for highlighting those key points !
LikeLiked by 1 person
Limit on number of approval requests raised in a day?
Limit to maximum number of approvers?
LikeLike