PCF Control to show Twitter Likes Timeline


In the same line as Profile Timeline PCF Control, we can use the same concept to create a control that shows likes timeline that displays the recently like tweets of a specific public Twitter Account.

More on this

https://developer.twitter.com/en/docs/twitter-for-websites/timelines/guides/likes-timeline

Here we have specified the public twitter account nishantranacrm in this case, it will show all the tweets that are liked by that profile.

We can have both the Profile Timelines and Like Timelines control for the profile that we are interested in for a lead, contact or account record.

Get it here

https://github.com/nishantranacrm/PCFTwitterLikesControl

Hope it helps..

PCF Control to show the Twitter profile timelines


Created a simple PCF Control to show the twitter timelines for the profile. It basically uses embedded tweets.

Get the control here

https://github.com/nishantranacrm/TwitterPCFControl

Simply enter the twitter profile in the text field and it will render the latest tweets of that profile.

Inside an account form à

For the contact record à

Embedded timelines make it extremely easy to embed the Tweets on a web page.

We can navigate to publish.twitter.com to generate the code.

Here I have searched from my profile, which then next gives us the display options to select.

Here we selected the Embedded Timeline display option, which generated the code for us.

The code that we are using inside our PCF Control.

Read more about it here

https://developer.twitter.com/en/docs/twitter-for-websites/timelines/overview

Hope it helps..

Very simple PCF Control to show Gravatar


The Gravatar or globally recognised avatar is basically an image associated to our email id, which appears besides our comments, blogs posts, sites etc.

https://en.gravatar.com/site/implement/

To request an image of Gravatar, we need to first calculate hash of the email id and pass it to the URL

The format à

https://www.gravatar.com/avatar/{HASH}

e.g.

https://www.gravatar.com/avatar/205e460b479e2e5b48aec07710c08d50

https://en.gravatar.com/site/implement/images/

Using this information, just created a PCF control for single line of text – email type that will show the Gravatar associated to it. It was more from learning perspective than trying to implement a business case or requirement.

This is how the control looks like within the form.

For another email id, it shows the corresponding avatar image.

For cases where there are no gravatar associated it shows the default image

And as we are using it for the email type of text field, the usual validation provided by the platform works seamlessly.

Get the tool here

https://github.com/nishantranacrm/GravatarPCFControl

Hope it helps..

Customize Opportunity Close Dialog Box – Dynamics 365 For Sales


With the 2019 release wave 2 plan, finally, we can customize the opportunity close dialog box (Unified Interface only)

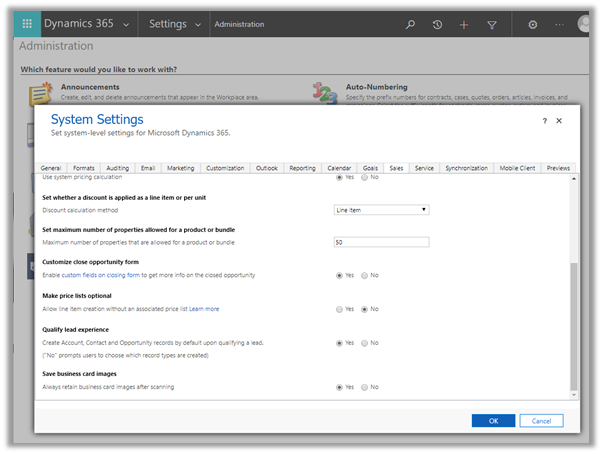
Enable it from the Sales tab of System Settings dialog box.

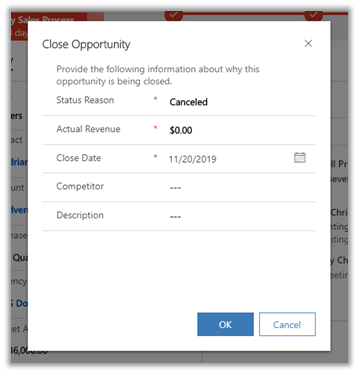
The default out of the box Close Opportunity Dialog Box à

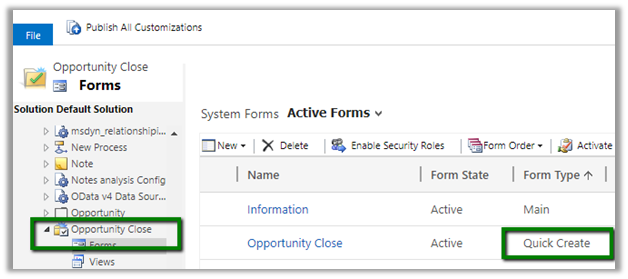
Now to add or remove fields to the dialog box, we need to customize the Quick Create form of Close Opportunity entity.

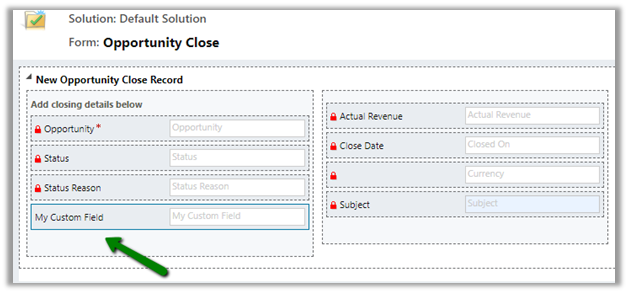
Change the ordering of the fields, added a custom field, removed Competitor and Description dialog box.

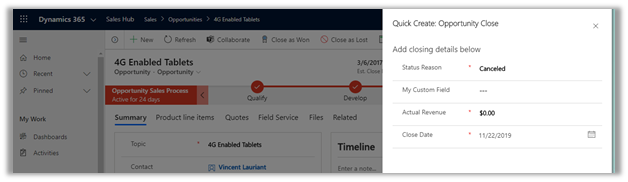
Updated Close Opportunity Dialog Box

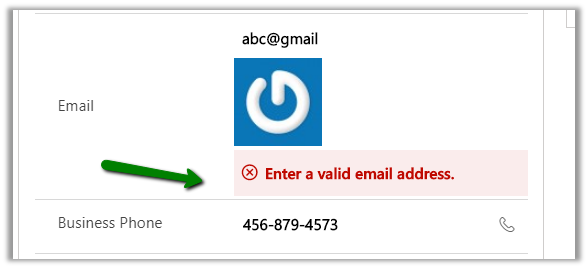
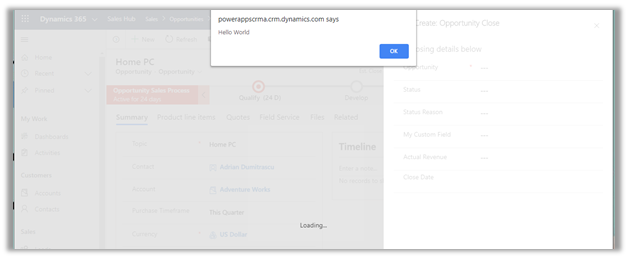
We can use client-side validation on it

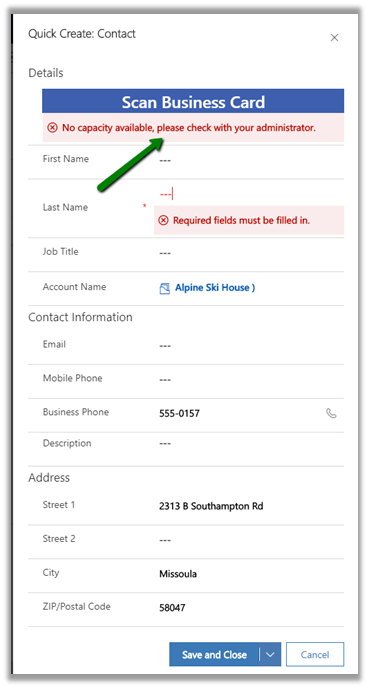
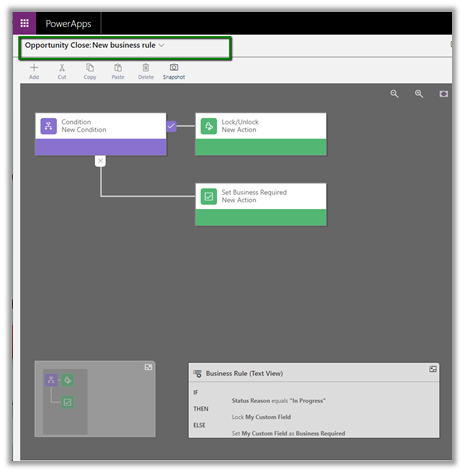
We can specify business rules

We can also customize the Main (Information) form.

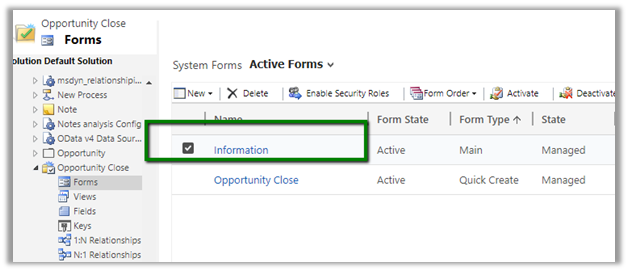
This form can be used to check the details of closed opportunities.

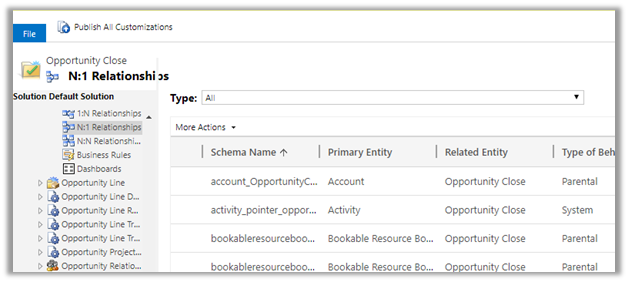
Entity Relationships cannot be customized.

Great to see the feature available as it was one of the most requested features in the product.

https://experience.dynamics.com/ideas/idea/?ideaid=4792dfee-121a-e611-80e2-c4346badc228

Hope it helps..

No capacity available please check with your administrator error while using business card scanner control in Dynamics 365 Sales


We might get below error while trying to use scan business card feature in Dynamics 365 Sales

This is because as pre requisite it requires AI Builder licensing.

https://docs.microsoft.com/en-us/ai-builder/administer-licensing

For enabling the 30 day

free trial login to PowerApps

https://make.powerapps.com/

For the AI Builder, start the free trial.

Once enable we can see the business card scanner control working properly.

Hope it helps..

Perform actions on the host model-driven form from embedded canvas app using ModelDrivenFormIntegration control in Dynamics 365


Let us continue our previous example of embedding the canvas app within the model-driven app and extend it to perform actions on the host form using ModelDrivenFormIntegration control.

This ModelDrivenFormIntegration control acts as a bridge and brings the contextual data from the host model-driven form to the embedded canvas app.

Here we will look at some of the pre-defined actions that can be performed using the ModelDrivenFormIntegration Control.

For this update our existing Canvas App and add the below buttons to the Form control in the canvas app

  • Save Form

For the Save Form button, first, create the flow (Power Automate) which will update the record.

https://nishantrana.me/2019/11/04/step-by-step-calling-flow-from-powerapps-dynamics-365-ce-crm/


Below we are calling the Flow from Save Form button and passing GUID of the record along with values of name, city and phone field.

Here we have used ModelDrivenFormIntegration’s Item property to retrieve the id of the account record in our formula that is being used to call the Flow (Power Automate)

Result

updating the address 1 city field by appending text “Redmond” in the embedded canvas app.

save

  • Refresh Form

The true and false parameter value of the RefershForm method specifies whether to show prompt or not before saving any unsaved data on the host form.


Result

refreshing the form, shows the address 1 city field of the form in the right section with the appended text “Redmond” as saved earlier.

refresh

  • Navigate to Main Form

NavigateToMainForm method’s parameters are entity name, form name, record id.


Result

Here we are opening the same record.

navigatemain

  • Navigate to View

NavigateToView method’s parameters are entity name and view name.


Result

Opens the view specified in the parameter

NavigateToView

  • Open Quick Create Form

NavigateToView method’s parameter is entity name.


Result

Opens the quick create form of the entity specified in the parameter.

Get all the details here 

Hope it helps..

Advertisements