Few points to consider -Status Reason transitions in Dynamics 365


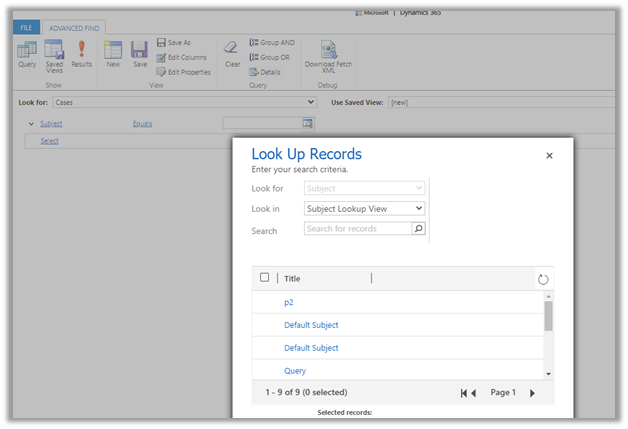
We can specify Status Reason Transitions for Case as well as custom entities. Using the status reason dialog box, we can define (filter) which values are available to be set as next status reason.

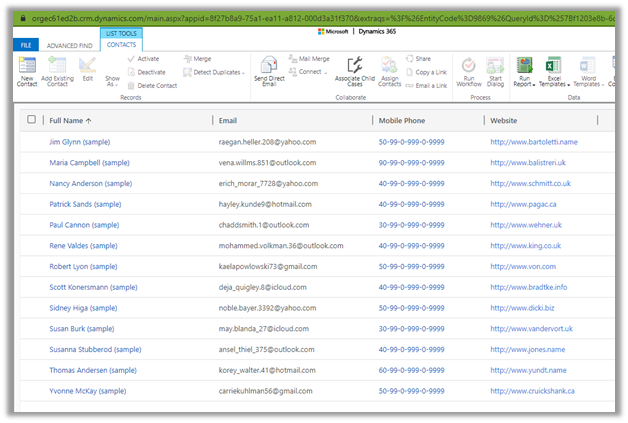
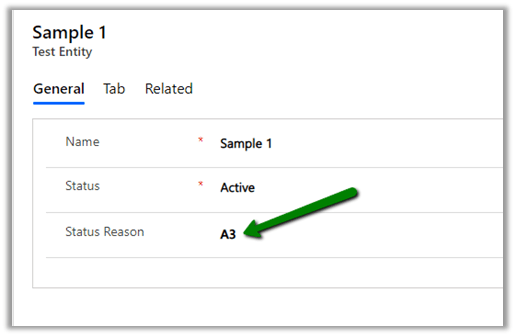
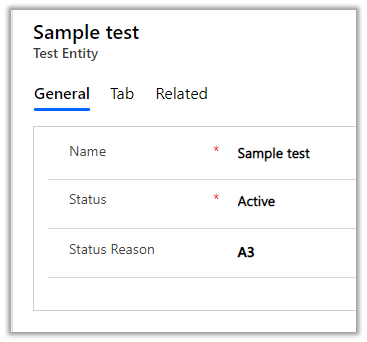
Let us take a scenario where we have the following values defined for Status Reason for Active State in a custom entity named Test Entity.

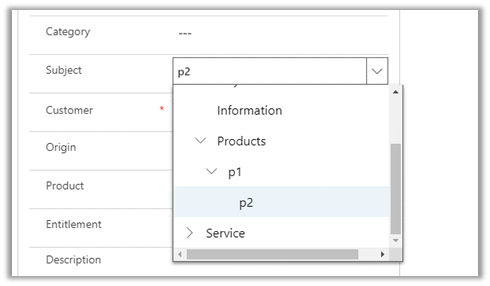
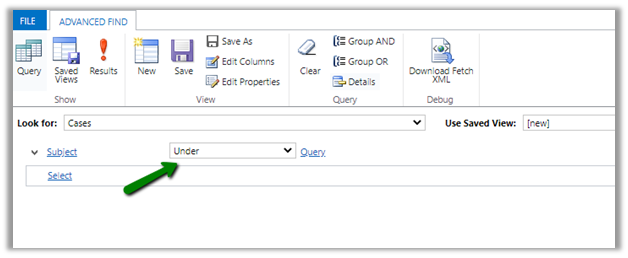
Just to keep it simple we have a just on transition defined i.e. from A1 we can only select A2.

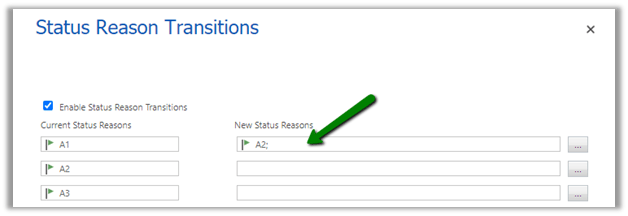
So now when a user creates the Test entity record with A1, the only other option user can select is A2.

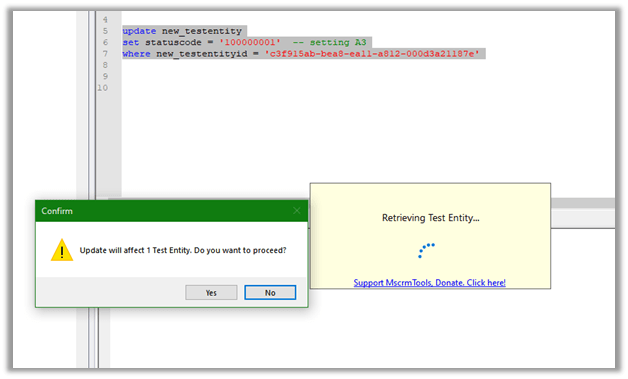
Now let us try updating it through backend and set value as A3 for the same record with value A1 as status reason. (Here we have used SQL 4 CDS plugin)

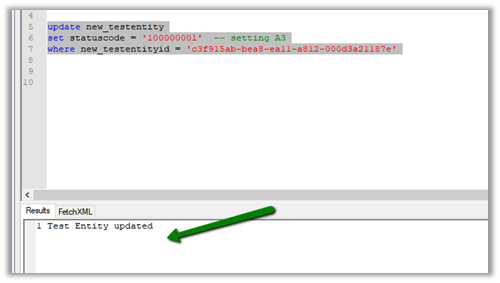
Well, it updates the record with value A3 and doesn’t throw any error.

This would make us think that it only works from the client side and will not work from the server side.

Let us now create a workflow to update the value to A3.

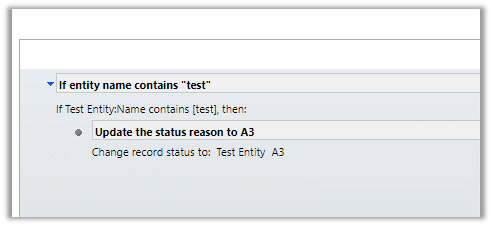
Let us update the subject of the record to trigger the workflow for the below record.


Interestingly we get the error and are not able to set it to A3 as expected.

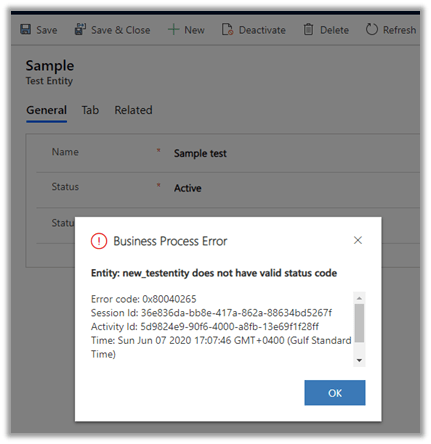
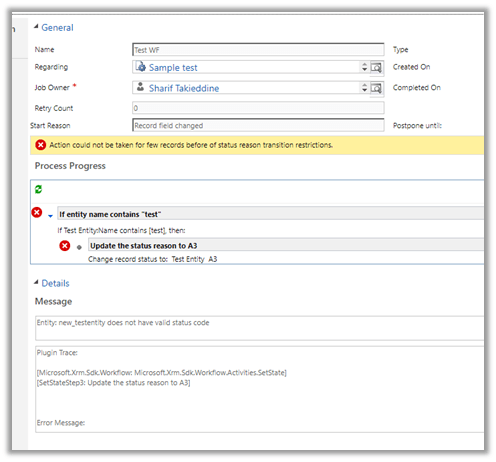
That was with the real-time workflow, for the asynchronous workflow also we get the error.

Let us give it one more try and update it through service.

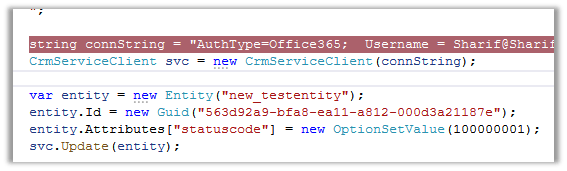
Through the service call, we can update it.

So basically, the State transition rules will work as expected from user interface and workflows, however, through service we are still able to override it, which we need to be aware of before using this feature.

Hope it helps..

Sample Decision Matrix Template for Single vs Multi Instance – Dynamics 365


Deciding on a single instance or multi instance is a difficult process, specially for an Enterprise Customer, as each has its own share of pros and cons.

Sharing a sample decision matrix that could help us to decide on single versus multi-instance.

Download it here –

https://drive.google.com/file/d/1uRRZHyPjEo8QoD-OGaJqmyc5QLBf8mNB/view?usp=sharing

Also check the below post for more details

Single vs Multi-instance – Points to consider

Hope it helps..

Differences between Subject and Category Entity in Dynamics 365


Subject entity \ feature has always been an integral part of Dynamics CRM at least since 3.0.

It gives a nice hierarchical way of organising and maintaining information.

To create or update Subject, navigate to Service Management area.

Similar to Subject entity, Category entity was introduced in CRM 2016 Update 1 (Service Pack 1 – On-Premise).

Navigate to Service Management area, to work with Category entity.

  • Can we customize Subject or Category Entity?

We cannot customize Subject. It is available for Case, KB Articles, Product Catalog items and Sales Literature.

We can customize Category Entity.

We can create forms, add fields, views, business rules, dashboards etc.

Can create 1 – N relationship from Category to other entities.

We cannot create N- 1 or N-N relationship.

It has N-N relationship with Knowledge Article entity

  • Is category User Owned or Organization Owned entity?

User Owned

  • How are they rendered inside form?

Subject are rendered as tree structure


Category are rendered as lookup

We can also specify Auto-numbering for Categories

  • What happens if a delete a Subject or category?

Deleting the subject will not delete its child record.

Deleting the category will delete its child record.

  • Can we run advanced find on Subject and Categories?

We can do it on Categories, not on Subject.

  • How does Subject render when used in advanced find filter condition? Tree view?

It renders like a lookup


Few considerations while migrating  Subject records

https://crmchap.co.uk/importing-exporting-subject-records-between-dynamics-365-customer-engagement-environments/

Hope it helps..

Advertisements

Check Dynamics 365 App and Power Platform features availability at different geography


Recently we had to find out what all Dynamics 365 Apps and Power Platform features are available in our UAE region.

To get these details navigate to

https://dynamics.microsoft.com/en-cy/geographic-availability/

and open the report

Below are the different Products and Geography available.

Below is the report filtered for UAE for Power Platform.

For Dynamics 365 App

Hope it helps..

Implement character length validation in a Canvas Power App | Power Platform


priyeshwagh777's avatarD365 Demystified

Often times, you want to know the size of text entered in a field and want to indicate a user that they need to restrict the text to your specific size, like Twitter. And make sure the user is restricted within the limits. So, I’ve added a button to show that validation –

undefined

And you want to dynamically check the length as you type to see how much is remaining
undefined
And maybe also add some validation like disabling the button if the limit is reached
undefined

Let’s look at how we can implement this in Canvas Power App!

Setup

Let’s get to building this out!

  1. Let’s say you have a Text Input. I’ve simply called it “Message
    undefined
    undefined
  2. Then, I have the Label field called as “CharLength“. This will be a place holder for our counter of characters in the Message textbox.
    undefined
    undefined
  3. And finally, a Submit button which…

View original post 340 more words

Using Data Anonymizer component (SSIS) to mask data in Dynamics 365


At times to ensure compliance, we need to mask the data, especially in our sandbox environments, while still maintaining the structure of the data.

Here we can make use of the Data Anonymizer component of KingswaySoft’s SSIS productivity pack to mask the existing data.

Create a new SSIS package, add CDS Source, Data Anonymizer, and CDS Destination component.

CDS Source and CDS Destination are connected to the same sandbox environment where we are going to mask the data.

We have selected email address1, mobile phone, website URL field of Contact entity to be masked in CDS source along with contactid primary key to be used for Upsert action in CDS Destination.

Open the Data Anonymizer component and specify the property for each of the fields.

Email Address 1 –

Select Anonymization Type as Email (Personal)

Mobile Phone –

Select Anonymization Type as Regex and specify the Pattern for the Regex.

URL –

Select Anonymization Type as URL

Inside the CDS Destination component, select Upsert Action with matching Criteria as Primary Key as we are using contactid.

Map the fields

Execute the package

We’d see the updated contact records inside Dynamics 365

Get all the details of Data Anonymizer Component here

https://www.kingswaysoft.com/products/ssis-productivity-pack/help-manual/data-generation-and-anonymization/data-anonymizer

Here are few other articles on SSIS (KingswaySoft)

https://nishantrana.me/2018/11/26/ssis-and-microsoft-dynamics-365/

Hope it helps..