In the previous post, we saw how to create XML connection and using it as a source to create records in Dynamics 365 CE.
https://nishantrana.me/2019/01/11/scribe-online-xml-to-dynamics-365-ce/
In this post, we will see how to consume the hierarchical XML data as a source and create parent-child records in Dynamics 365 CE.
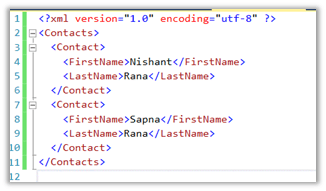
Suppose this is our source data with the following relationship
Contact à n Contract à n Asset à n Asset Line

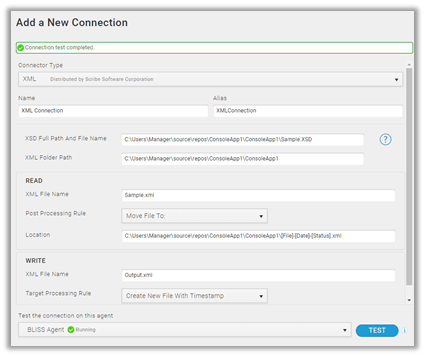
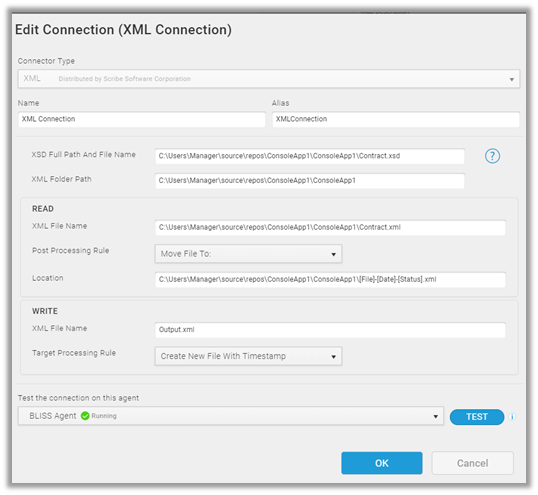
As a first step we need to get the XSD for it, which we will use while defining the XML connection.
https://www.freeformatter.com/xsd-generator.html
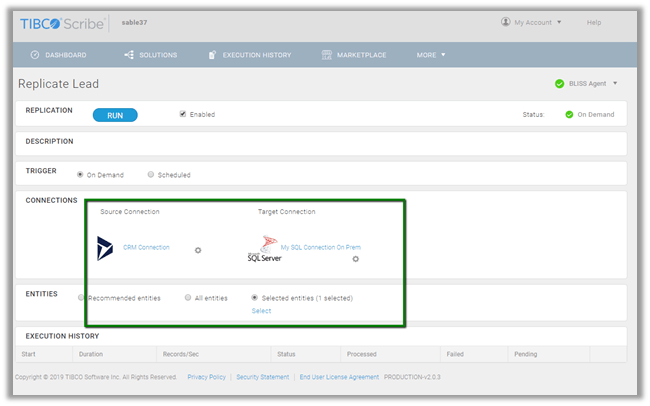
Our XML connection
Similarly, add the CRM Connection.
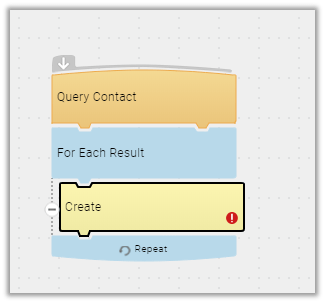
This is how our final mapping will look like
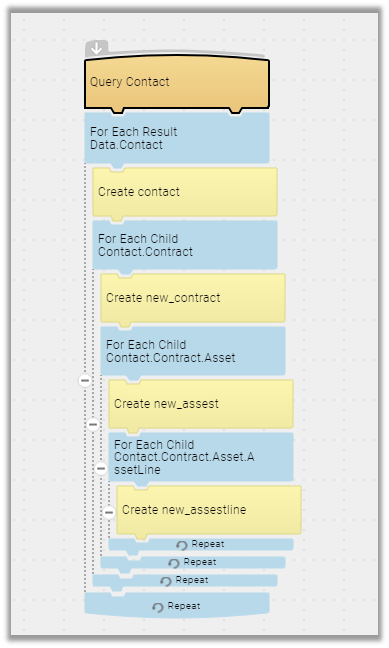
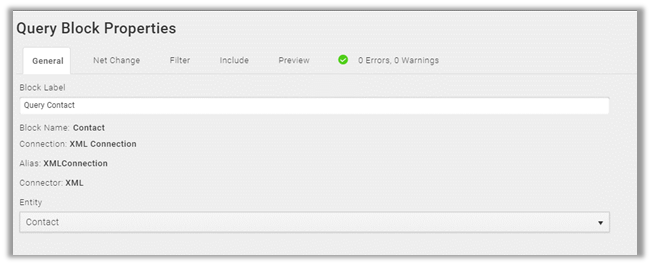
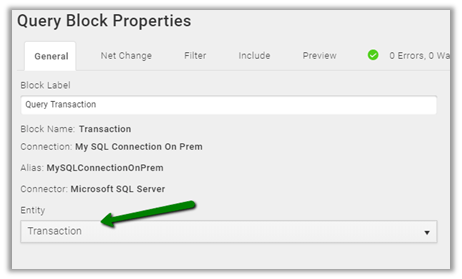
For Query Contact Block (xml) à select Entity as Contact.
For the Include tab, we have selected all the child (tag) entities to be included.

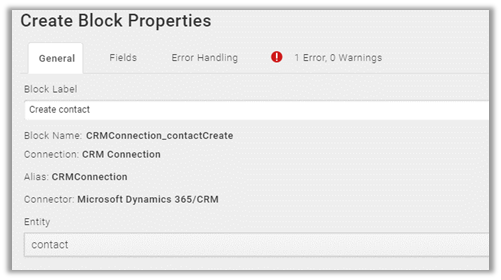
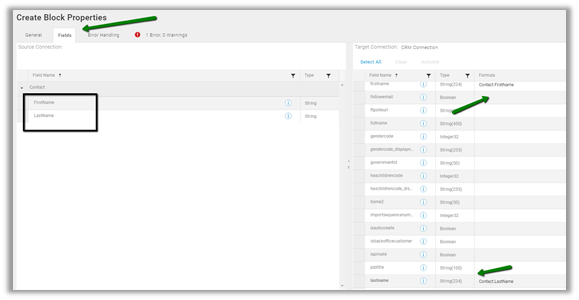
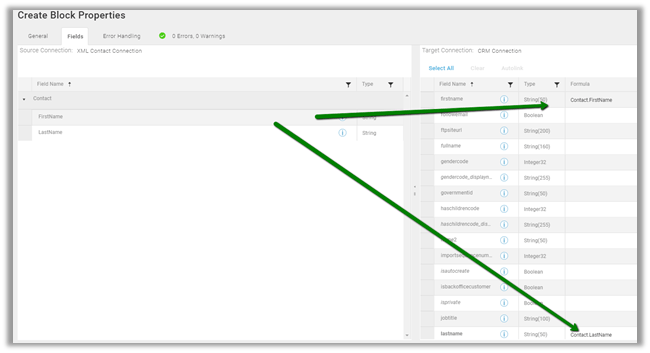
For Create Contact (CRM) block we have mapped the first name and last name field
For For Each Child block select the relationship.

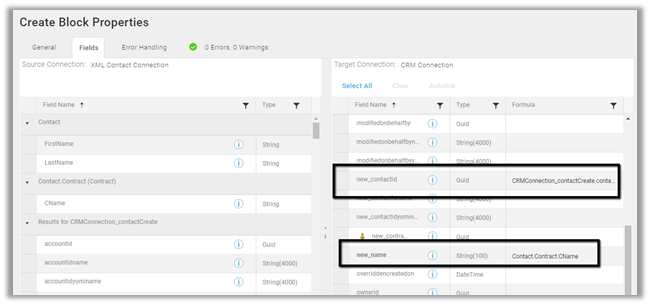
Followed by Create Contract block with following fields mapping.
Here we are setting the contact’s lookup in the contract entity using the Results from Contact Create steps.
Repeat the same steps for remaining child entities like Asset and Asset Line by selecting the relationship in for each child block and in the next create step setting the fields appropriately.

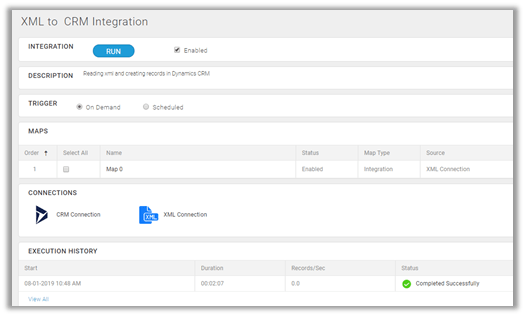
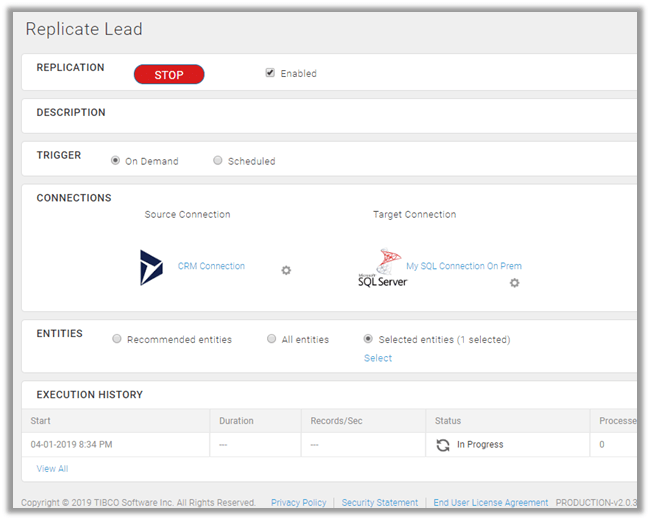
Validate and close the map and run the solution.
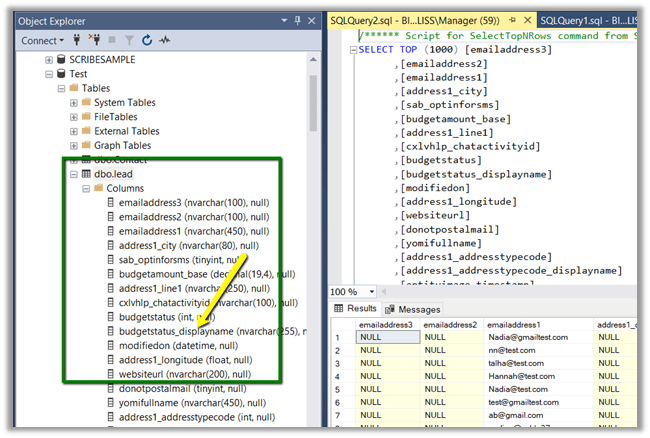
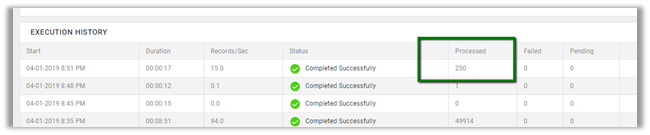
On successful run, we can see the records created in CRM

Hope it helps..