We recently had a requirement of multi-level approval in our Project. We thought of evaluating the PowerApproval add-on from Power Objects.
The add-on is powerful, feature-rich and allows us to easily configure our Approval logic and to track it as well.
Let us quickly see the steps to configure it and start using it.
Download the Solution and import it in the organization.
https://www.powerobjects.com/powerpacks/powerapproval/
After successful import, open the configuration page of the PowerApproval Solution and click Try or Subscribe, provide the required details to start using it.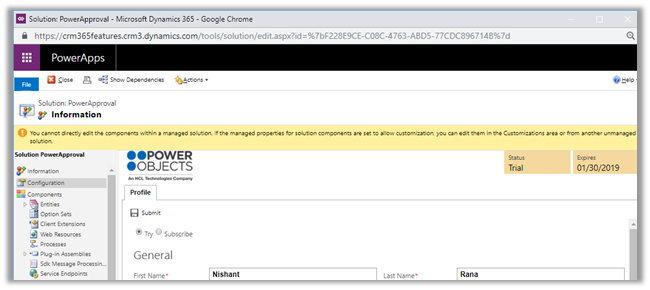
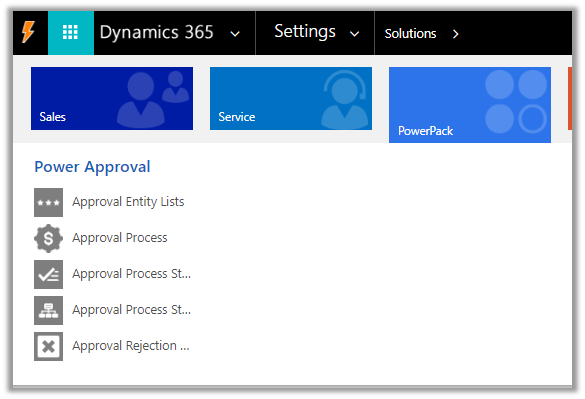
The solution adds the following PowerPack area in the interface and the entities that we would be working with.
Suppose we want to enable the Approval process for Contract entity of Dynamics 365 CE, so we would open the Approval Entity Lists and create a new record as shown below using the schema name.
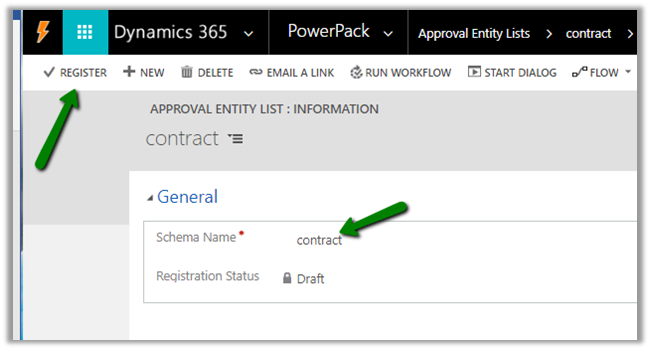
Save the record and click on REGISTER to enable the approval on the contract entity.

Next, we define the Approval Process by creating the record of that entity and defining it within the Approval Process Step related records.
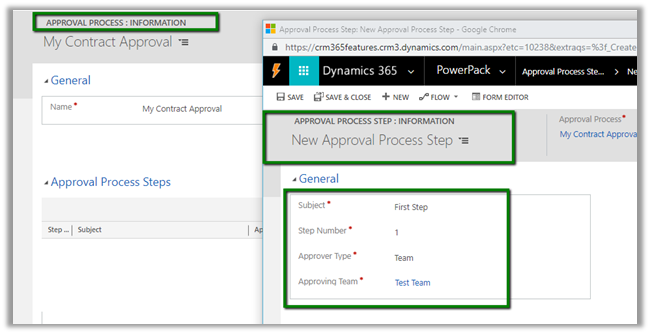
Here we have created the Approval Process record named My Contract Approval and inside the Approval Process Steps sub-grid, we have added a new record named the First Step.
Step Number as 1 as it is the first step.
Approver type can be either user, team or the manager.
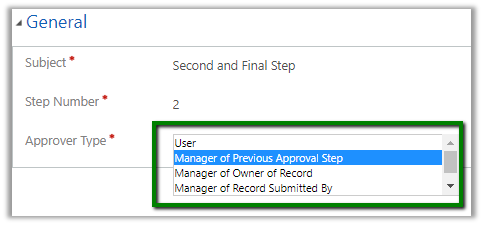
Here we have selected team for the first step.
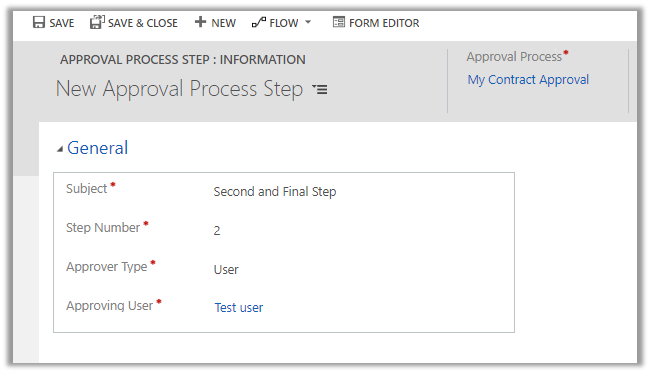
For the second step, we have defined User – Test User as the approver.
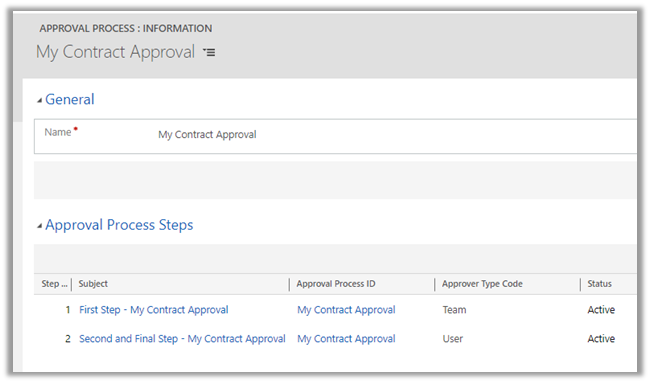
This is how our approval process looks like
The users need to have the PowerApproval Admin
and PowerApproval User roles (part of PowerApproval solution), to design and work with the Approval process.
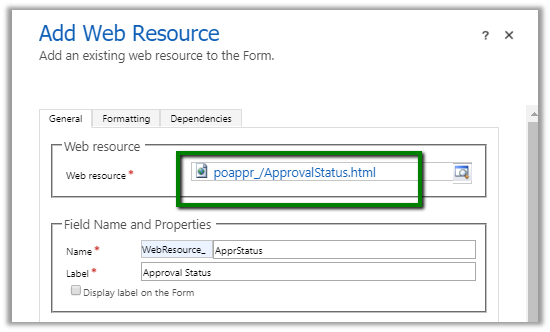
Next, we will customize the Contract form to add the PowerApproval web resource. (Insert a tab, and insert the web resource with 20 rows)
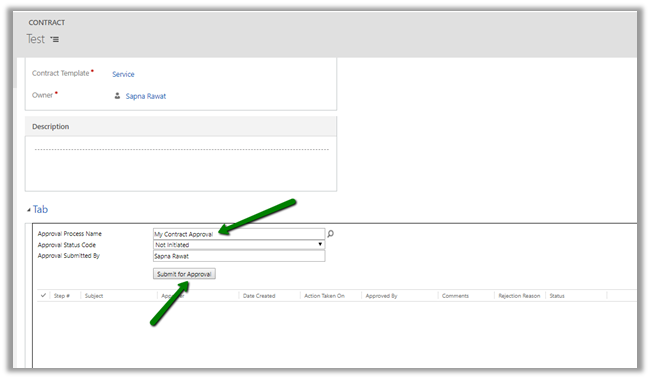
After publishing the changes, let us now create a contract record to see the approval process in action.
In the contract record, select the Approval Process and click on Submit for Approval. (The approval can also be triggered using workflow)
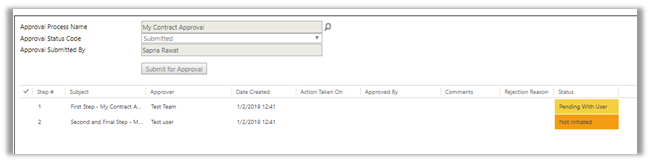
We can see the following update after submission, the field grayed out and status reflecting the current status highlighted in color.
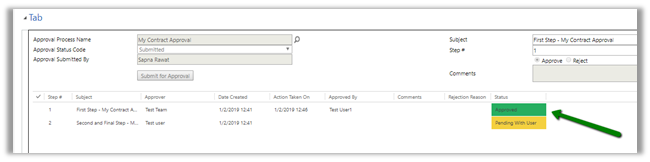
Now let us login with the user who is the part of Test Team.
The user gets the option of Approving and Rejecting it and also to put his comments.

Let us select Approve and click on Submit. This updates the steps with appropriate status.
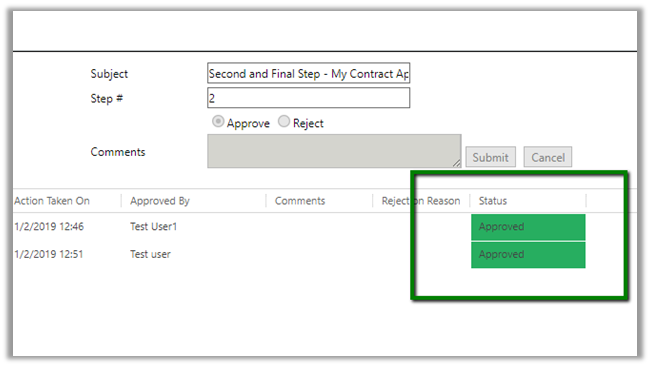
Now let us login with the Test User who is the final approval. As we can see the field is enabled again for this user and had grayed out for the previous step user.

Again, let us select Approve and click on Submit. The web resource refreshes automatically with the current status.
Similarly, we can have a situation where it is rejected in the first step by the approval and it being submitted again by the initiating user and then approved by the user and then in the final step of the approval again rejected. This is properly reflected in the web resource within our contract record.
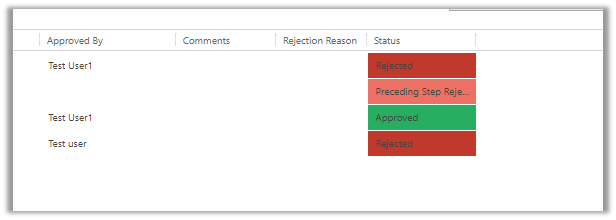
When the final user rejects it in the last step, it cannot be submitted again by the user who initiated it.
Thus we saw how easy it is to configure and start using the approval solution PowerApproval in matter of few minutues.
The user guide à
https://www.powerobjects.com/guides/powerapproval
Pricing à
https://www.powerobjects.com/powerpacks/powerapproval/

The other options of implementing it could be by using the Approval Flows (although it won’t be as feature rich)
https://docs.microsoft.com/en-us/flow/modern-approvals
Hope it helps..