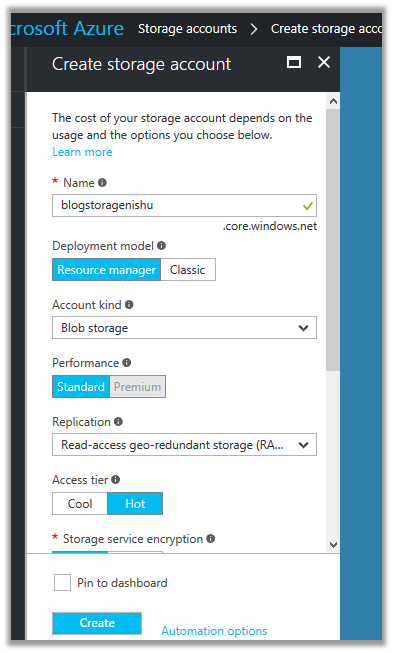
Here we will be creating a storage account of type blob storage and a container inside it. Then we will create a console application, add required nuget packages and upload a file to the container.
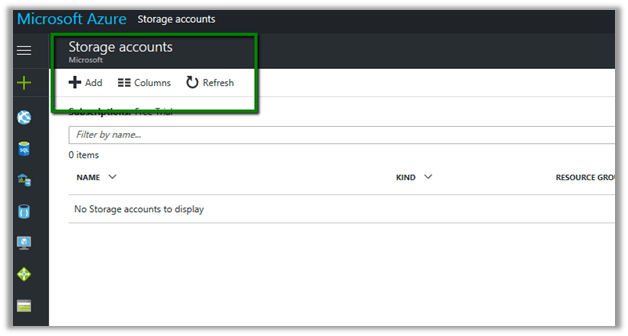
Log in to Azure Portal
Click on Add to add a new storage account.
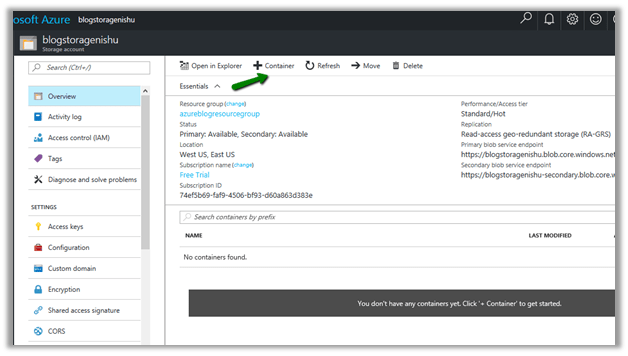
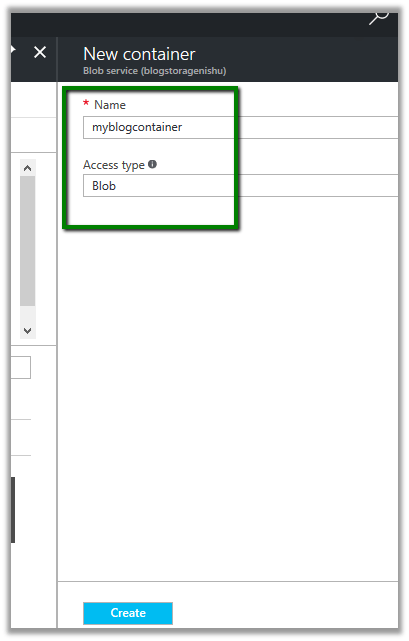
Create a new container in it to store the blob files
Now we’d write a console app to connect to this container and upload a file.
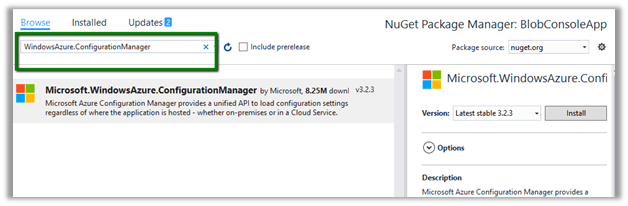
Create a new console application and add references to below Nuget Packages.
- Windows.Azure.Storage
- Windows.Azure.ConfigurationManager

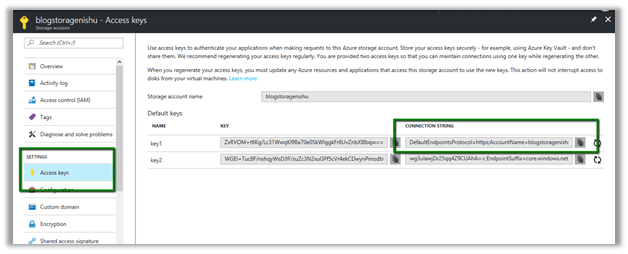
In Azure Portal – Storage Account, go to Access Keys and copy the connection strings for the storage account.
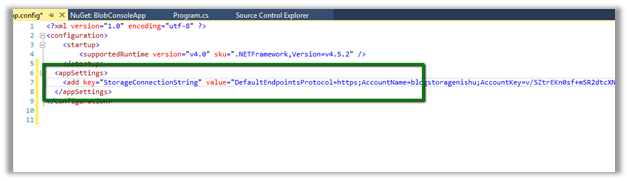
Inside console application add an appSettings section and add a key and paste the above copied connection string there.
The source code to upload the Blob file
// Retrieve storage account from connection string.
CloudStorageAccount storageAccount = CloudStorageAccount.Parse(
CloudConfigurationManager.GetSetting("StorageConnectionString"));

// Create the blob client.
CloudBlobClient blobClient = storageAccount.CreateCloudBlobClient();

// Retrieve a reference to a container.
CloudBlobContainer container = blobClient.GetContainerReference("myblogcontainer");

// Retrieve reference to a blob named "myblob".
CloudBlockBlob blockBlob = container.GetBlockBlobReference("WeekendChamps.jpg");

// Create or overwrite the "myblob" blob with contents from a local file.
using (var fileStream = System.IO.File.OpenRead(@"C:\Users\Bliss\Downloads\WeekendChamps.jpg"))
{
blockBlob.UploadFromStream(fileStream);
}
The file uploaded in the container

Hope it helps..
Discover more from Nishant Rana's Weblog
Subscribe to get the latest posts sent to your email.


A progress bar would be a nice addition, for people uploading large files, here’s one solution:
https://blogs.msdn.microsoft.com/avkashchauhan/2010/11/03/uploading-a-blob-to-azure-storage-with-progress-bar-and-variable-upload-block-size/
LikeLike