Fixed – InvalidStateError: Failed to read the ‘responseText’ property from ‘XMLHttpRequest’: The value is only accessible if the object’s ‘responseType’ is ” or ‘text’ (was ‘arraybuffer’).


Recently we got the below error when we tried to download and zip the files from within CRM’s Web Resource. The files were stored in Azure Blob Storage. We were using JSZipUtils for it.


Access to XMLHttpRequest at ‘https://abcnon…..’ from origin https://abc-dev-abc.crm6.dynamics.com’ has been blocked by CORS policy: No ‘Access-Control-Allow-Origin’ header is present on the requested resource.
BlobAttachmentPreview.js:663 Uncaught Error: InvalidStateError: Failed to read the ‘responseText’ property from ‘XMLHttpRequest’: The value is only accessible if the object’s ‘responseType’ is ” or ‘text’ (was ‘arraybuffer’).
    at f.onreadystatechange (jszip-utils.min.js:1:1544)

As we can see in the details, the error turned out to be the CORS issue.

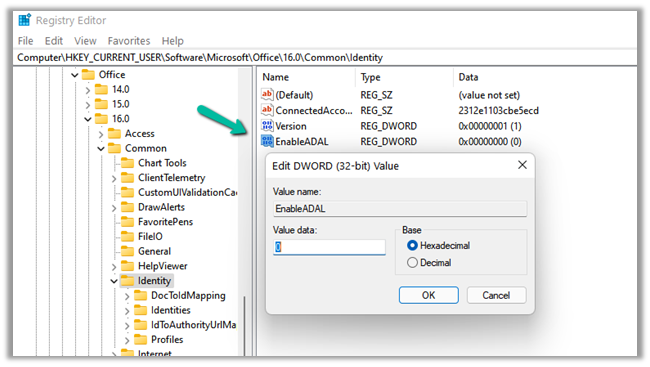
Mistakenly we had the forward slash added to end of the URL specified in the Allowed origins.


Before – https://abc-dev-abc.crm6.dynamics.com/
After – https://abc-dev-abc.crm6.dynamics.com
Removing the slash at the end fixed the issue, as the Azure Blob Storage CORS rules typically require exact matching for allowed origins
.

Hope it helps..

Advertisements


Advertisements

Fixed – Feature ‘Semantic classification, Document Highlights, etc. ’ is currently unavailable due to internal error – Visual Studio


Recently we were getting the below notifications in our Visual Studio 2019.

The way we managed to fix it was by disabling the following option – “Use 64-bit process for code analysis

Navigate to Tools >> Options >> Text Editor >> C# >> Advanced

The “Use 64-bit process for code analysis” option in Visual Studio allows the code analysis tools to run in a 64-bit process instead of a 32-bit process. This option is relevant when we are performing static code analysis, and here we had recently installed a Visual Studio extension that does the same. So might as well be a compatibility issue with that extension.

Hope it helps..

Advertisements

FluentValidation – build strongly-typed validation rules in .NET


Install the FluentValidation .NET library for validation.

Below is our sample Contact class and its corresponding validator class.

The validator class needs to inherit AbstractValidator<Contact> and define the validation rules in the constructor using the RuleFor method.

Instantiate the validator class, and pass the object to be validated.

Here we have passed incorrect values for all the properties of the contact.

The ValidationResult holds all the validation error details.

Give it a try – https://docs.fluentvalidation.net/en/latest/index.html

Hope it helps..

using FluentValidation;
using FluentValidation.Results;
using System;
using System.Collections.Generic;
using System.Linq;
using System.Text;
using System.Threading.Tasks;

namespace FluentValidator
{
    class Program
    {
        static void Main(string[] args)
        {
            var myContact = new Contact();
            var contactValidator = new ContactValidator();

            myContact.FirstName = "";
            myContact.LastName = "Lei";
            myContact.Email = "aa.gcom";
            myContact.Age = 10;
            myContact.FamilyStatusCode = (FamilyStatusCode)Enum.Parse(typeof(FamilyStatusCode),"5");

            ValidationResult result = contactValidator.Validate(myContact);
        }
    }

    class Contact
    {
        public string FirstName { get; set; }
        public string LastName { get; set; }
        public string Email { get; set; }
        public int Age { get; set; }
        public FamilyStatusCode FamilyStatusCode { get; set; }
    }

    enum FamilyStatusCode
    {
        Single = 1,
        Married = 2,
        Divorced = 3,
        Widowed = 4
    }

    class ContactValidator : AbstractValidator<Contact>
    {
       public ContactValidator()
        {
            // First Name should not be null
            RuleFor(contact => contact.FirstName).NotEmpty();
            // Last Name should not be null and minimum length should be 4
            RuleFor(contact => contact.LastName).NotNull().MinimumLength(4);
            // Email Address Validation
            RuleFor(contact => contact.Email).EmailAddress();
            // Age should be between 18 to 60
            RuleFor(contact => contact.Age).ExclusiveBetween(18, 60);
            // Family Status Code Enum should be a valid value
            RuleFor(contact => contact.FamilyStatusCode).IsInEnum();

        }
    }
}
Advertisements

How to – Change the display name of user in Microsoft 365


Recently we had to update the display name of one of the users.

Below are the steps to achieve the same –

Login to Microsoft 365 admin center with System Administrator account.

Navigate to Active Users

Select the user, click on ellipsis () and select Manage Contact Information

Edit the details and click on Save changes.

After successful update.

We can see the display name changed for the user and the same reflected at other places immediately.

Hope it helps..

Advertisements

Fixed – Trusted Platform Module has malfunctioned, with Error Code 80090030 in Microsoft Teams


Recently while trying to login into Microsoft Teams we got the below error –


  • As suggested in the different articles – we didn’t find any Teams Account Credentials to be removed.


  • Windows update also didn’t fix the issue.
  • Neither updating the driver from Devic Manager.


  • Creating EnableADAL key with Value data 0 also didn’t work.

Navigate to HKEY_CURRENT_USER\Software\Microsoft\Office\16.0\Common

Expand the Common key and select the Identity subkey. Right-click on the space on the right side and go to “New > DWORD (32-bit) Value.”

Right-click on the newly created value and select Rename. Type EnableADAL.

By default, the Value Data of EnableADAL should be 0. If not, double-click on it and enter 0 in its Value Data. Click OK to save the changes.


  • tpm.msc è Prepare the TMP and Clear TPM also didn’t work.

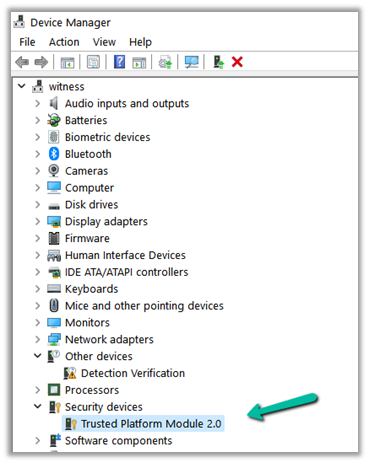
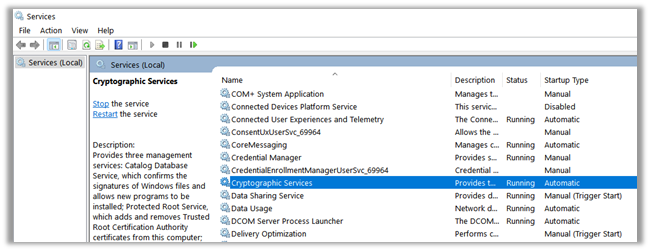
Cryptographic Services were also running properly.

In our case, we were getting below additional error.

Eventually disconnecting the work account worked in our case.

https://nishantrana.me/2022/04/18/fixed-sign-in-required-your-device-is-having-problems-with-your-work-or-school-account-sign-in-again-to-access-your-organizations-resources/

The other solution that worked temporarily for us was to uninstall and reinstall the Microsoft Teams.

https://www.microsoft.com/en-ww/microsoft-teams/download-app

Hope it helps..

Advertisements

Fixed – Sign in required. Your device is having problems with your work or school account. Sign in again to access your organizations resources


Recently we were getting the below pop up in Windows every time after restart.

The fix was to Disconnect the work / school account.

Navigate to Accounts è Access work or school

Click on Disconnect the work or school acount.

That fixed the issue for us.

Hope it helps..


Advertisements