Precedence Constraint component in SSIS allows us to control the flow of the execution of tasks within the Control Flow.
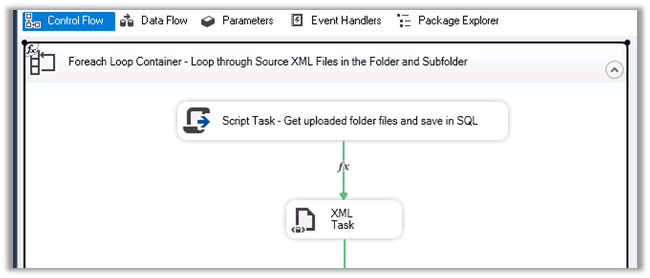
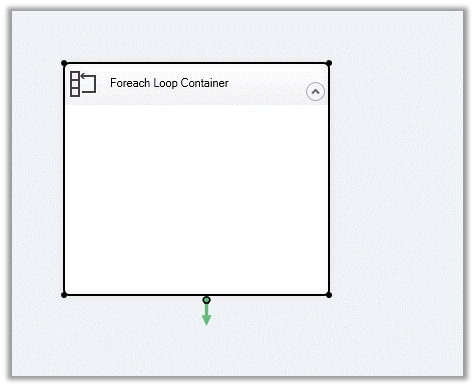
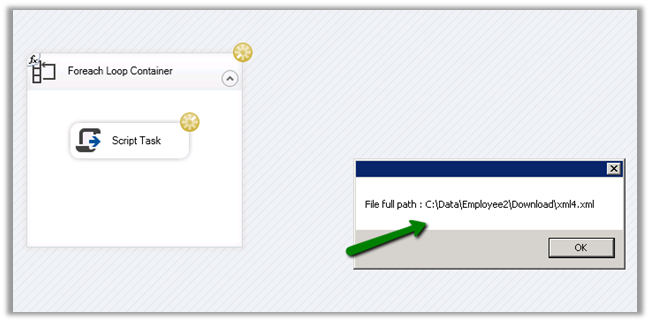
Suppose we have the below package wherein we are traversing through the folder using Foreach Loop Container and are processing XML and docx files within that folder.
And we want them to be processed differently.

We have the following user-defined variables specified.
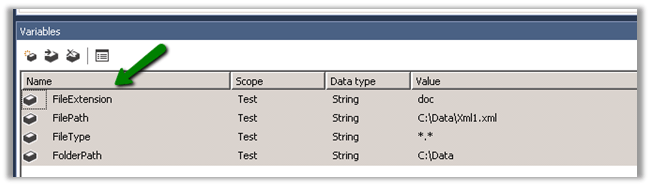
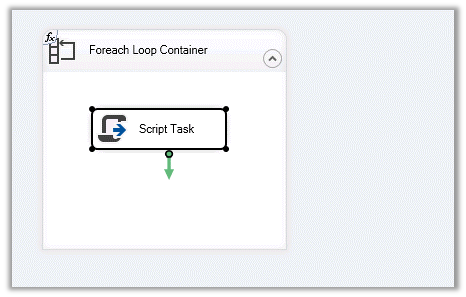
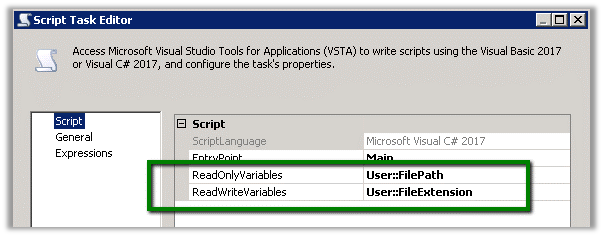
Within the Script Task, we have specified FilePath as the ReadOnlyVariables to read the full file path and figure out the extension and FileExtension as the ReadWriteVariables to which we will write the result.
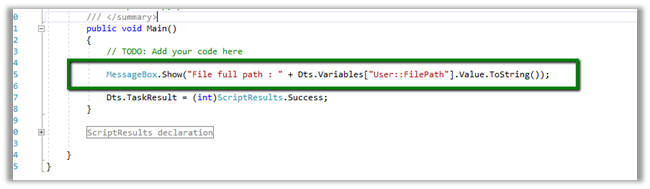
Below is our code for the Script Task, here we are reading the file path and getting the extension and setting the FileExtension variable.

Now back in our control flow, open the Precedence Constraint Editor and select Evaluation expression as Expression and Constraint.
The constraint should be success and for the expression, we have defined the FileExtension variable’s value to be .docx, and both the condition to be true i.e. Logical And.


Similarly, define the Precedence Constraint for the second brand of the Script Task as shown below.

Now run the package and based on the file extension we would see the execution taking the appropriate path, processing the next component and showing the correct message.

Hope it helps..