CRM is a very versatile tool that’s often used for B2B sales and all its aspects, including tracking opportunities, leads, contracts, consolidating collaterals, documents and keeping contacts, tasks and events under one platform.
One of the most-overlooked essentials in B2B is the sales proposal process. But a timely CPQ, or Configure, Price, Quote software built in right on your CRM can give you that boost you’ve never had.
Thinking of adding CPQ to CRM? Consider these 7 elements to get the best system for your B2B needs.
Why Will You Need Single Sign On?
At first glance, having an SSO will mean a safer and more secure platform than without, but the biggest benefit you can take from this is complete accessibility. Sales tools must be visible and easy to get into so you and your staff can use it more. Plus, your CRM will be on the same platform as your tools, including your proposal.
In short, you’ll have the power to distribute, approve, create and collaborate on the proposal you’re working in one easy-to-use system that’s controlled by a single SSO, eliminating the need to install multiple software.
Are Templates Really That Important?
Proposals can mean the difference between landing your dream job and being stuck in your current situation. You’ll need a professional, high quality, detailed and engaging proposal or else it will get sent to where the sun doesn’t shine.
Templates can get you that stunning proposal quickly and consistently. Sales quotes won’t have to be done from scratch, thereby saving you time and effort. For business proposal templates that win deals, take a look at https://qwilr.com/templates/business-proposal-template/ and customize accordingly.
The end result? Cleaner, more professional proposals that show the client you’re really serious about your job. Automation and pre-filled templates can bring you there sooner than one without.
What About Reporting?
Sales processes are mainly made up of two parts- the sale itself and afterwards, the reporting. Metrics are there to be seen and analyzed so you can do better on your proposals the next time around. Real-time monitoring on the most important sales aspects mean you’ll be able to target areas of improvements to get better results the next time around.
When you learn how to read the data you’ll be more equipped to make the necessary adjustments for improved success. This is true of CPQ, CRM and A/B testing as well.
How Integration Can Benefit You
In the world of fast-paced B2B, the quicker you can point leads to your sales team, the greater the chances of turning a profit.
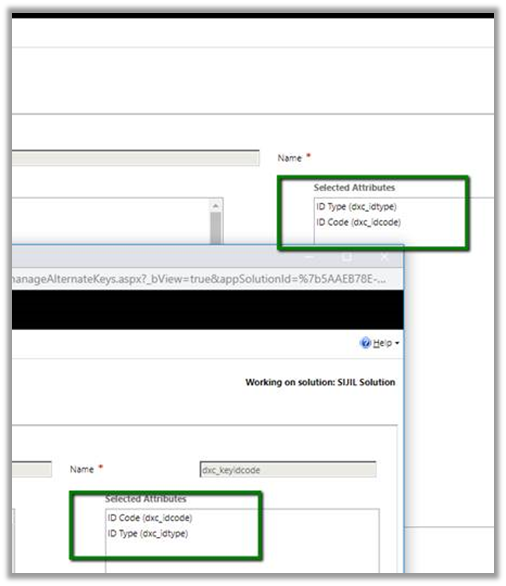
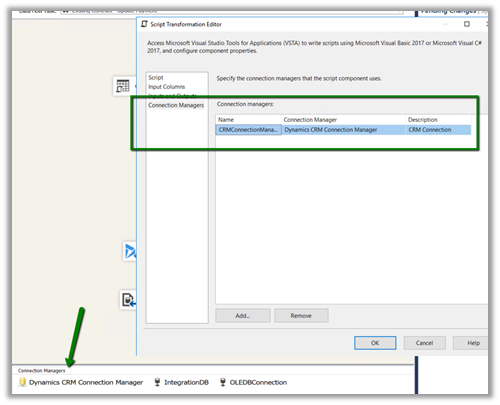
Automated proposal software integrated into your CRM platform is one of the best ways to close that gap. For example, you can use Zapier to connect to Microsoft Dynamics (on version 8 and above) and Qwilr with up to 20 unique configurations. Or, have the Microsoft Dynamics CRM tied to Qwilr easily and without having to input a single line of coding.
Here’s how the process works. Zapier connected to Qwilr supports the CRM account with automatic lead updates. Your sales team will know almost in real-time if there’s a possible lead they should follow. That said, it’s only a matter of time before your sales team becomes a well-oiled machine, nurturing proposals and getting more sales and profits.
The Role Of Support
You will need a CPQ that offers support for software development, maintenance and management. Free up all your time, concentrate on proposals and work on leads instead of having to do system troubleshooting.
Why Value and Scalability Are Important
B2B sales, mergers and growth can happen in the blink of an eye, and for that reason you will need a CPQ system that can keep pace. Moreover, while a good bargain is appealing, an invaluable partner is better for long-term success.
CRM Flexibility
Being able to spread winning bundles and create them via templates is one of the must-have features for CRMs as a whole. CPQ will make your sales team work as one even if they’re not all on the same office, area or location.